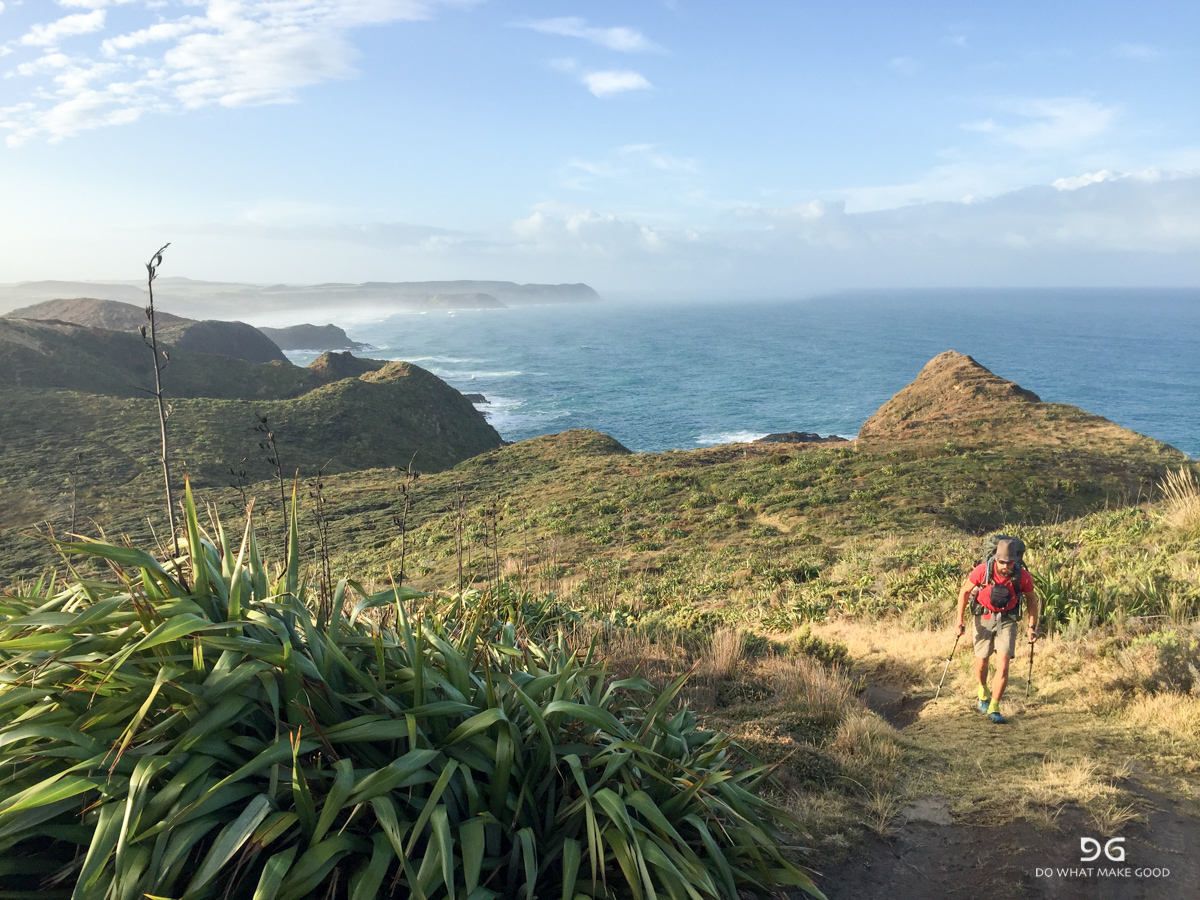
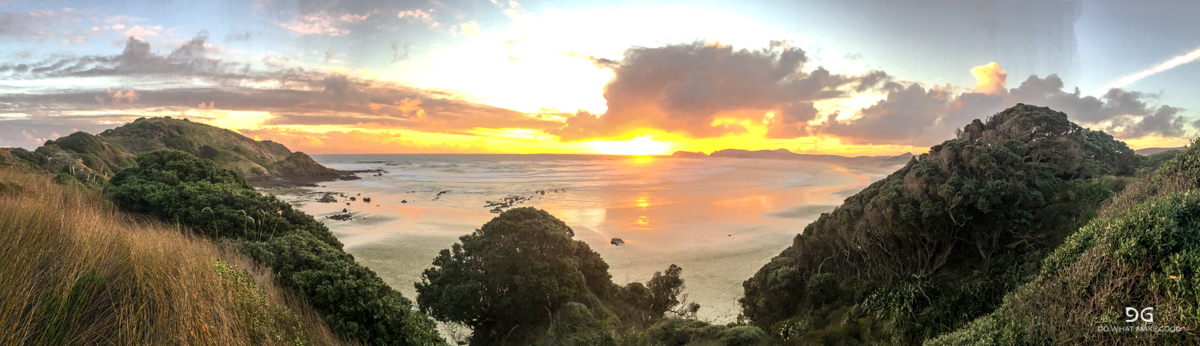
Te Araroa New Zealand
2017: New Zealand
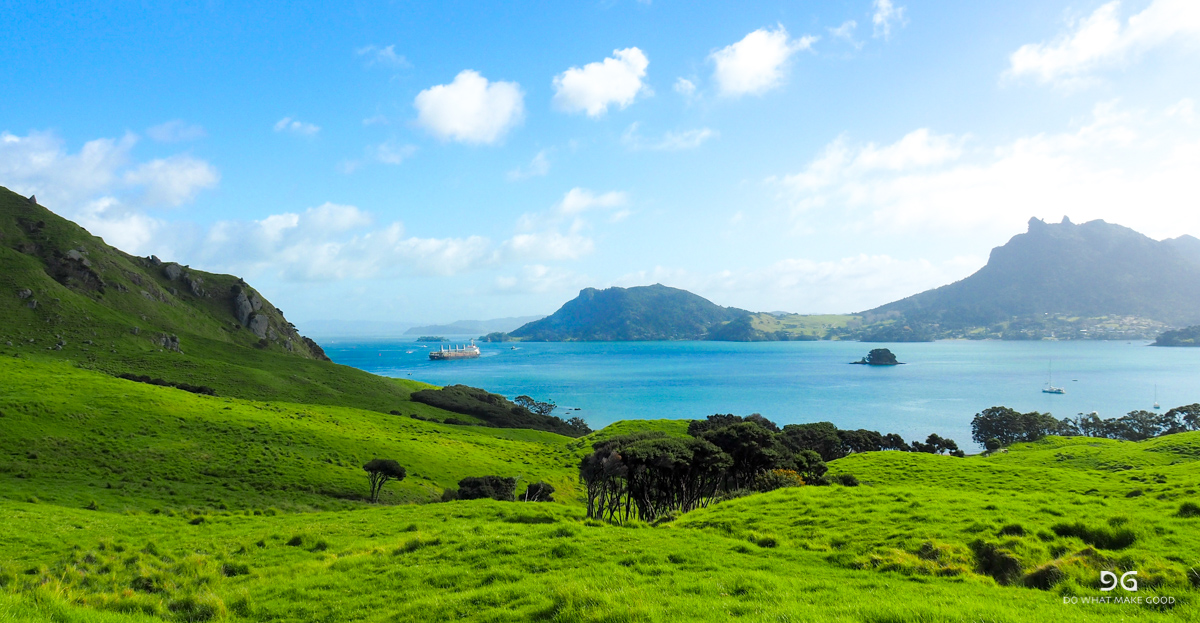
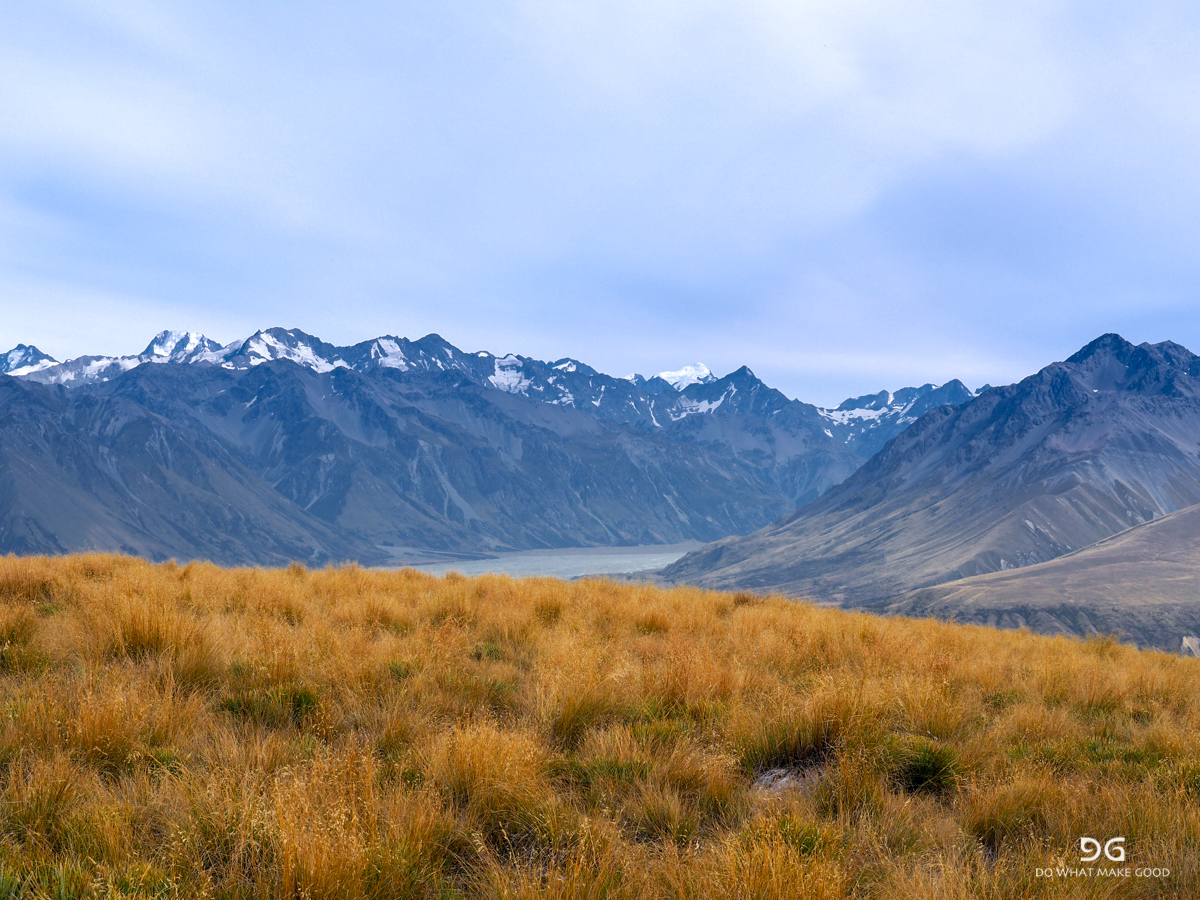
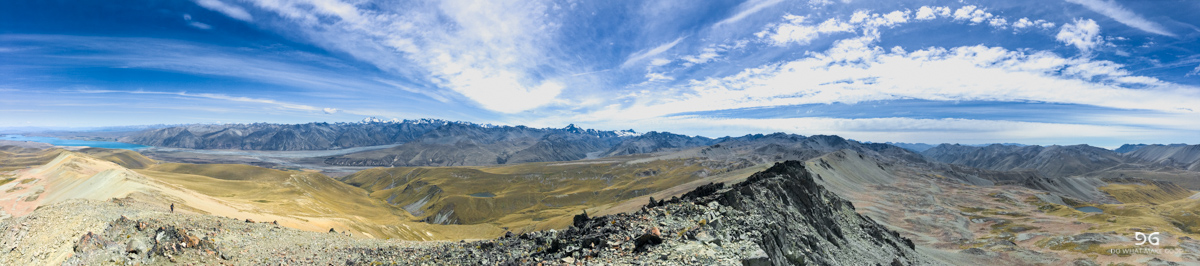
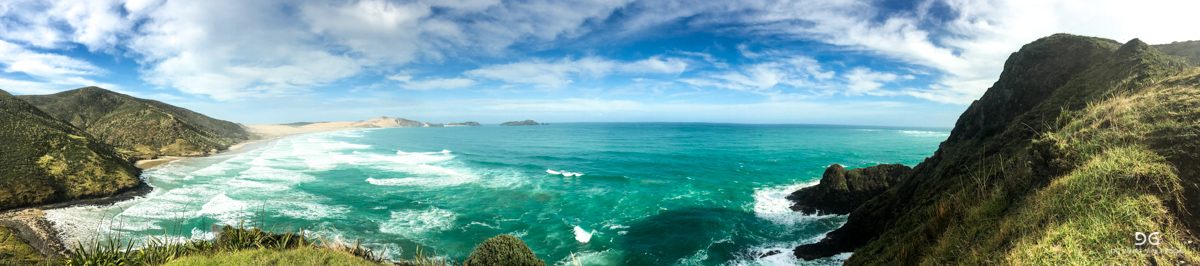
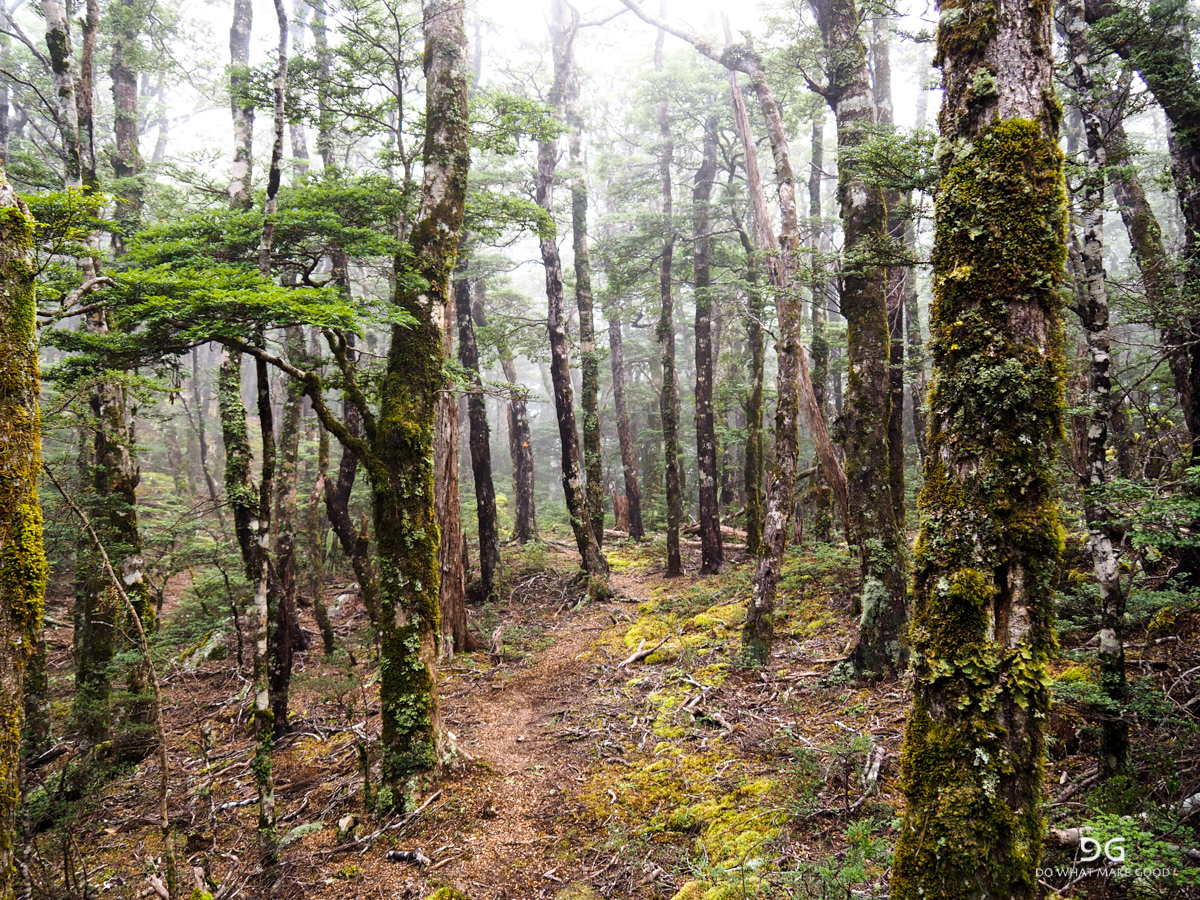
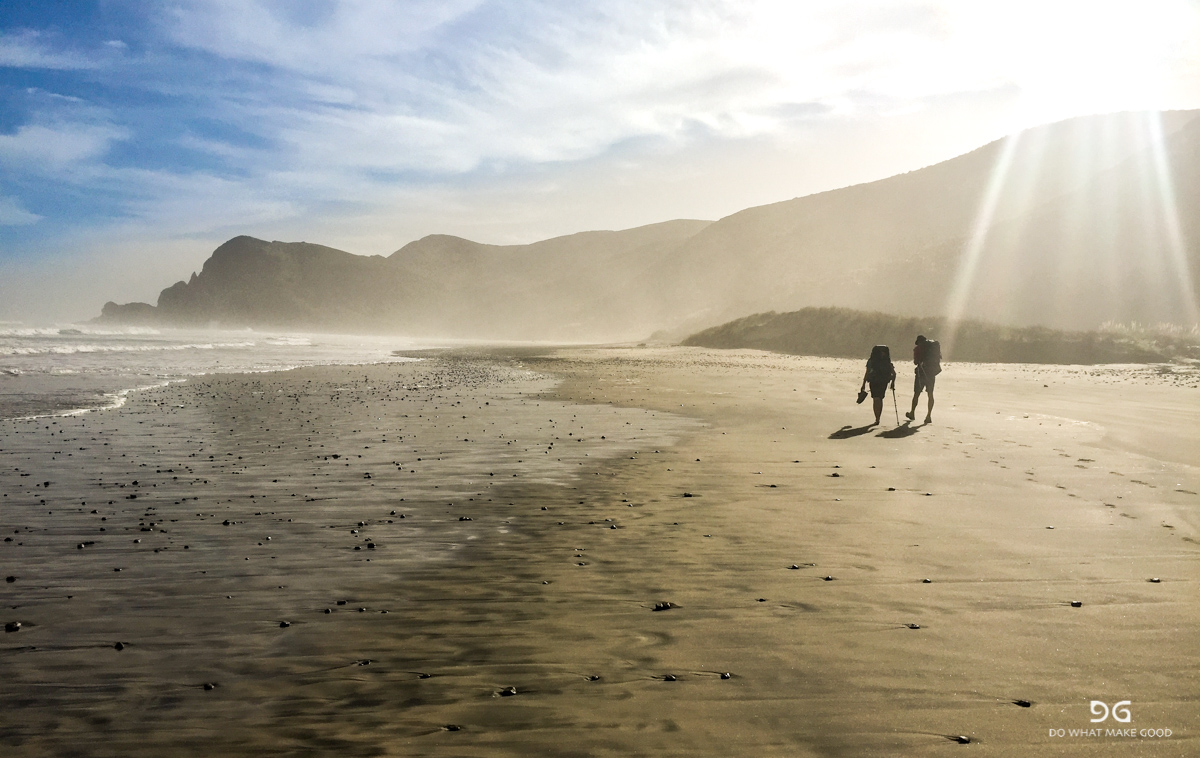
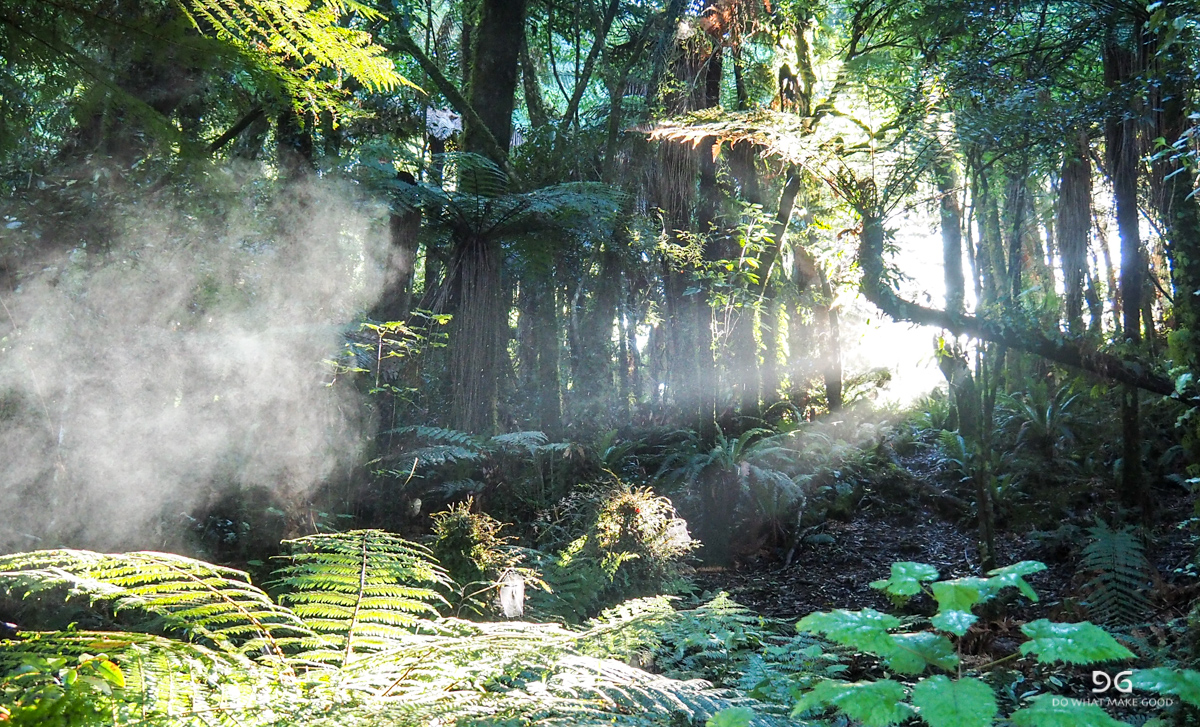
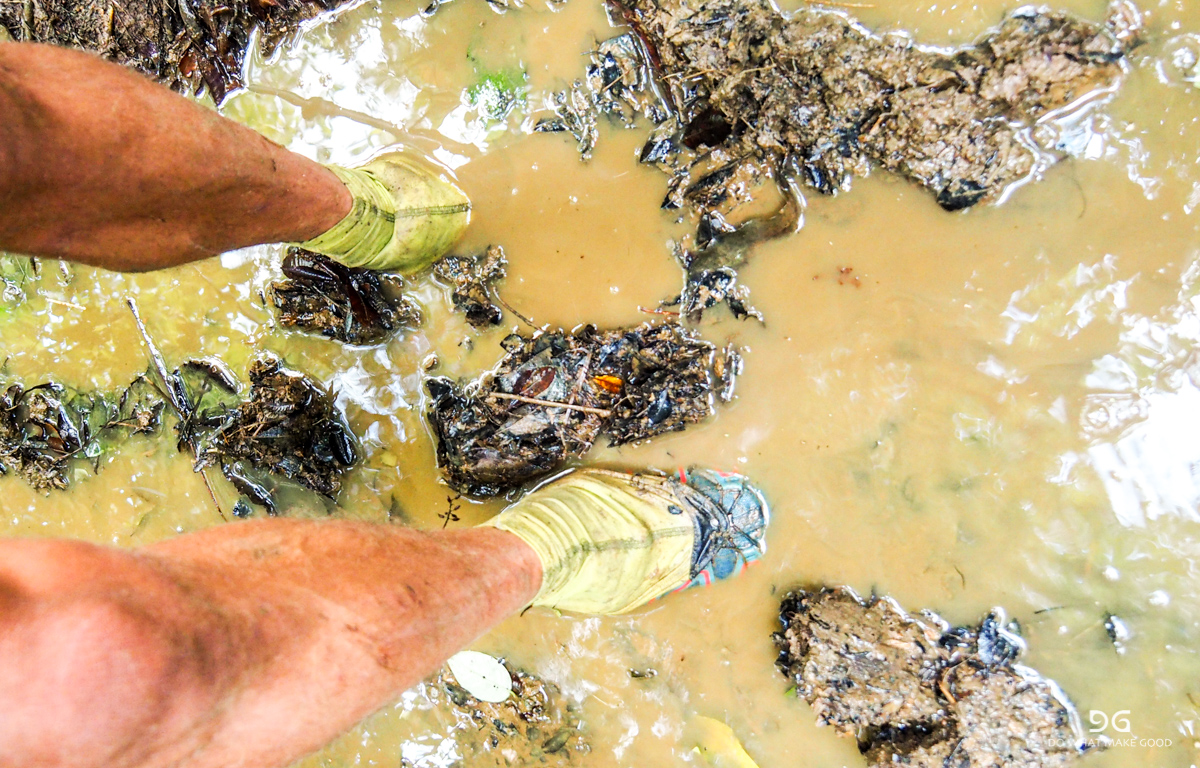
Te Araroa (The Long Pathway). 3.008km on foot from the southern- to the northernmost point of New Zealand. A life changing journey...


My final Pacific Crest Trail / PCT Gear List
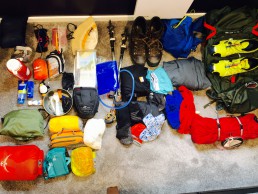
Since I have been asked for advise and recommendations many times during the last weeks regarding the "right gear" I sat down and compiled my gear list again. This Pacific Crest Trail (PCT) gear list includes everything I have used on my thru-hike in 2017. You will see it also includes a few tips and tricks, recommendations & explanations on why and how I used certain items. At the end of the article you'll find an overview table with all items and weight. Also check out the Gear section on my site for further info.
Overview
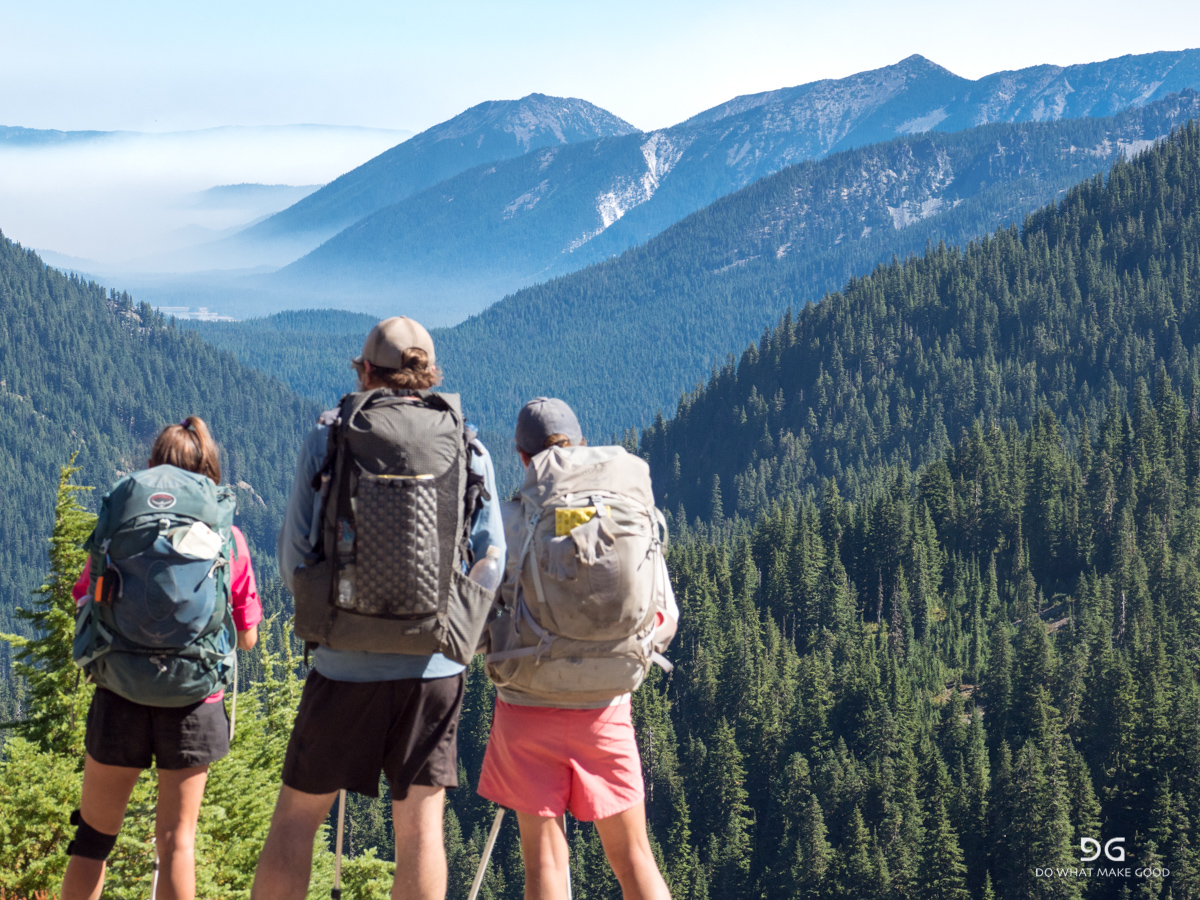
I started out with more and different gear at the beginning of my Pacific Crest Trail journey. Even though I thought I knew what I would need based on my previous experience I changed and optimized quite a few things along the way again. You never stop learning. The most commonly used reference is the one of your "base weight". It includes everything which is in your backpack including the pack itself without food and water. And you usually do not count what you are wearing as your minimal/standard outfit.
I managed to lower my base weight to only 5.4kg (6.6kg incl. my camera gear)! When I saw the numbers earlier I was surprised myself..
Since most of the gear and thoughts are still valid I have recycled a lot from my original post which I put together before I started. If you want to read some background info and compare to what I have now feel free to check out the Post "My Gear List..."
What to pack?
First of all, everybody has a different comfort zone! So there is no right or wrong.
Every environment is different and requires different equipment!
You should never risk your health or even life by under-packing and not being prepared!
The main questions to consider are usually:
What weather will I have to expect? What will be the lowest temperatures?
How remote will I be and how quickly can I escape or receive help in an emergency situation?
This will determine a lot when it comes to the right equipment. The big three are usually your backpack itself, the tent and the sleeping bag. Tent and sleeping bag will depend on the conditions - how stable does the tent have to be (e.g. very stable in Patagonia with a lot of wind and no shelter, less in New Zealand where you can usually camp in the forest and have shelter) and how warm and big does your sleeping bag (and with this usually also the cloth) have to be. By volume and size of all these things you will be able to choose a backpack.
The entire gear list in a quick overview:
|
Item
|
Product
|
Weight
|
|
The hiking outfit
|
||
|
T-shirt
|
130g
|
|
|
Shorts
|
130g
|
|
|
Socks
|
40g
|
|
|
Shoes
|
650g
|
|
|
Gaiters
|
34g
|
|
|
Sun protection
|
100g
|
|
|
Trekking poles
|
600g
|
|
|
Watch
|
64g
|
|
|
1.748g
|
||
|
The big three
|
||
|
Backpack
|
811g
|
|
|
Pouch for backpack
|
14g
|
|
|
Tent
|
539g
|
|
|
Stakes
|
MSR Ground Hog Mini tent stakes (8)
|
80g
|
|
Sleeping bag
|
595g
|
|
|
Waterproof stuff sack
|
25g
|
|
|
Sleeping pad
|
Therm-a-Rest NeoAir Xlite (small - 119cm)
|
230g
|
|
2.294g
|
||
|
Cooking
|
||
|
Cooking pot
|
Trangia Pot incl. handle
|
142g
|
|
Stove
|
83g
|
|
|
Fire
|
Lighter
|
10g
|
|
Spoon
|
10g
|
|
|
Water filter
|
91g
|
|
|
Water container
|
40g
|
|
|
Water Bottle
|
Powerade
|
50g
|
|
Food bag
|
28g
|
|
|
454g
|
||
|
Cloth
|
||
|
Rain jacket
|
180g
|
|
|
Rain skirt
|
54g
|
|
|
Rain pants
|
180g
|
|
|
Down jacket
|
360g
|
|
|
Jumper
|
376g
|
|
|
Beanie
|
32g
|
|
|
Neck gaiter
|
40g
|
|
|
Gloves
|
40g
|
|
|
Socks
|
40g
|
|
|
Stuff sack
|
55g
|
|
|
1.257g
|
||
|
Medics & Hygienics
|
||
|
Teeth
|
Half tooth brush
|
7g
|
|
Teeth
|
Tooth paste
|
24g
|
|
Contact lenses
|
Case, solution, extra pair
|
80g
|
|
Eye
|
Eye infection creme
|
3g
|
|
Nails
|
Standard small nail clipper
|
21g
|
|
Beard
|
Comb
|
6g
|
|
Toilet paper
|
Amount depends on days.
|
30g
|
|
Pain killer
|
Ibuprofen
|
15g
|
|
Diaria
|
Imodium
|
4g
|
|
Disinfection
|
4 alcohol pads
|
1g
|
|
Tape
|
2m of Leuko Surgical Tape
|
30g
|
|
Antihistamine
|
6 capsules
|
7g
|
|
Sunscreen
|
30ml
|
34g
|
|
262g
|
||
|
Repair kit
|
||
|
Tape
|
Ductape wrapped around trekking pole
|
|
|
Fixation
|
6 cable ties
|
6g
|
|
Knife
|
28g
|
|
|
Repair gear
|
1m Dyneema Composite Fabric
|
60g
|
|
Repair gear
|
Special tape for air mattress
|
10g
|
|
Repair gear
|
Tenacious tape
|
15g
|
|
Repair gear
|
Super glue
|
15g
|
|
Stuff sack
|
15g
|
|
|
149g
|
||
|
Electronics
|
||
|
Charger
|
USB with double port & iPhone cable
|
66g
|
|
Battery pack
|
135g
|
|
|
Phone & navigation
|
iPhone 6S
|
145g
|
|
Waterproof case
|
35g
|
|
|
Headlamp
|
55g
|
|
|
Battery
|
2 spare batteries for headlamp
|
22g
|
|
Wallet
|
7g
|
|
|
Stuff sack
|
20g
|
|
|
485g
|
||
|
Camera
|
||
|
Camera
|
Olympus OMD EM1 II (incl. battery & SD)
|
390g
|
|
Lense
|
M.ZUIKO Digital ED 14-150mm 1:4.0-5.6 II
|
285g
|
|
Battery
|
2 extra Olympus batteries
|
90g
|
|
Memory card
|
2x SanDisk Extreme Pro 64GB
|
40g
|
|
Camera clip
|
84g
|
|
|
Camera rain cover
|
Peak Design Shell small
|
113g
|
|
Charger
|
Olympus charger & cable
|
115g
|
|
1.117g
|
||
|
Additional Gear
|
||
|
Pee-bottle
|
Gatorade 1l bottle
|
50g
|
|
50g
|
||
|
Total base weight
|
4.845g
|
|
|
Total base weight incl. camera
|
6.018g
|
|
|
Weight on the hiker
|
1.748g
|
|
[jetpack_subscription_form title="" subscribe_text="Sweet as, brew! Let me know when there's new stuff online!" subscribe_button="Sign Me Up!"]
As summarised earlier for the PCT already:
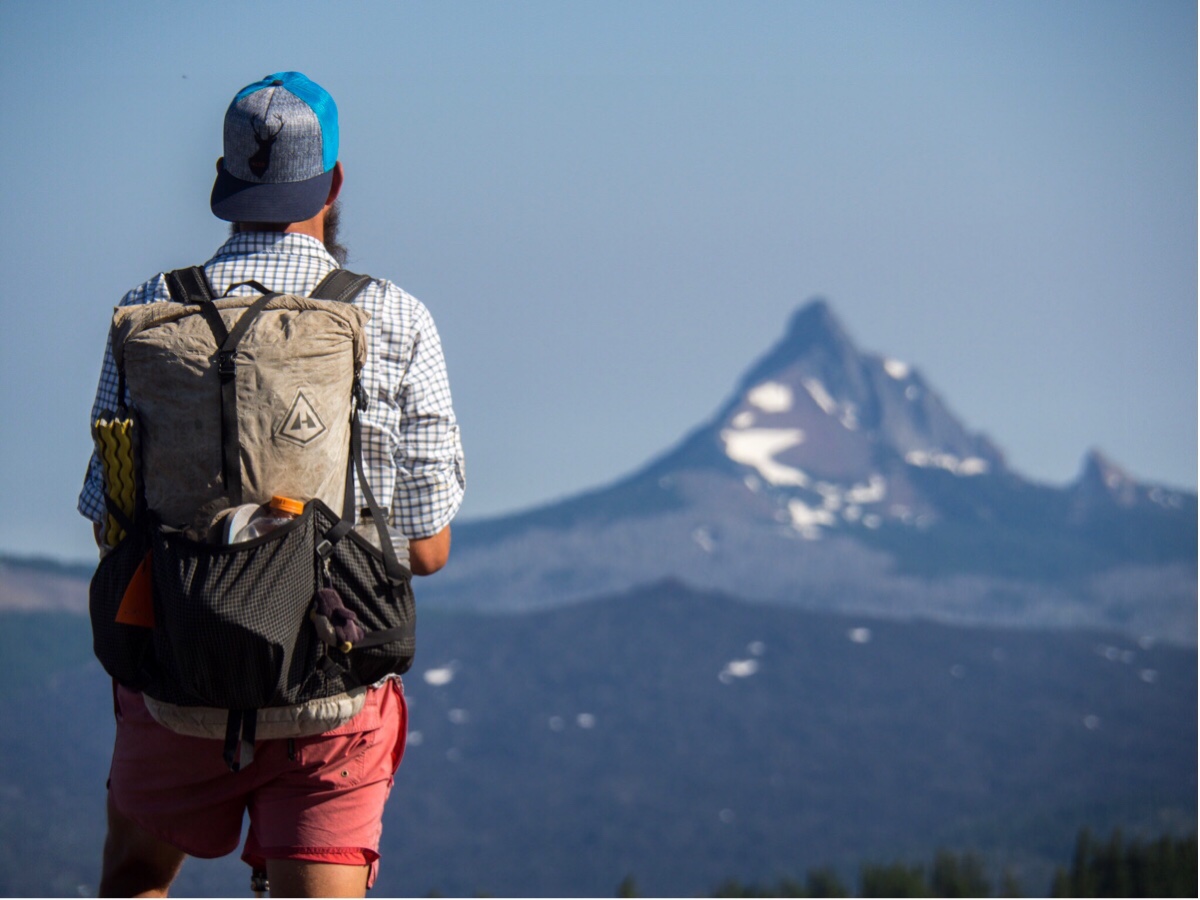
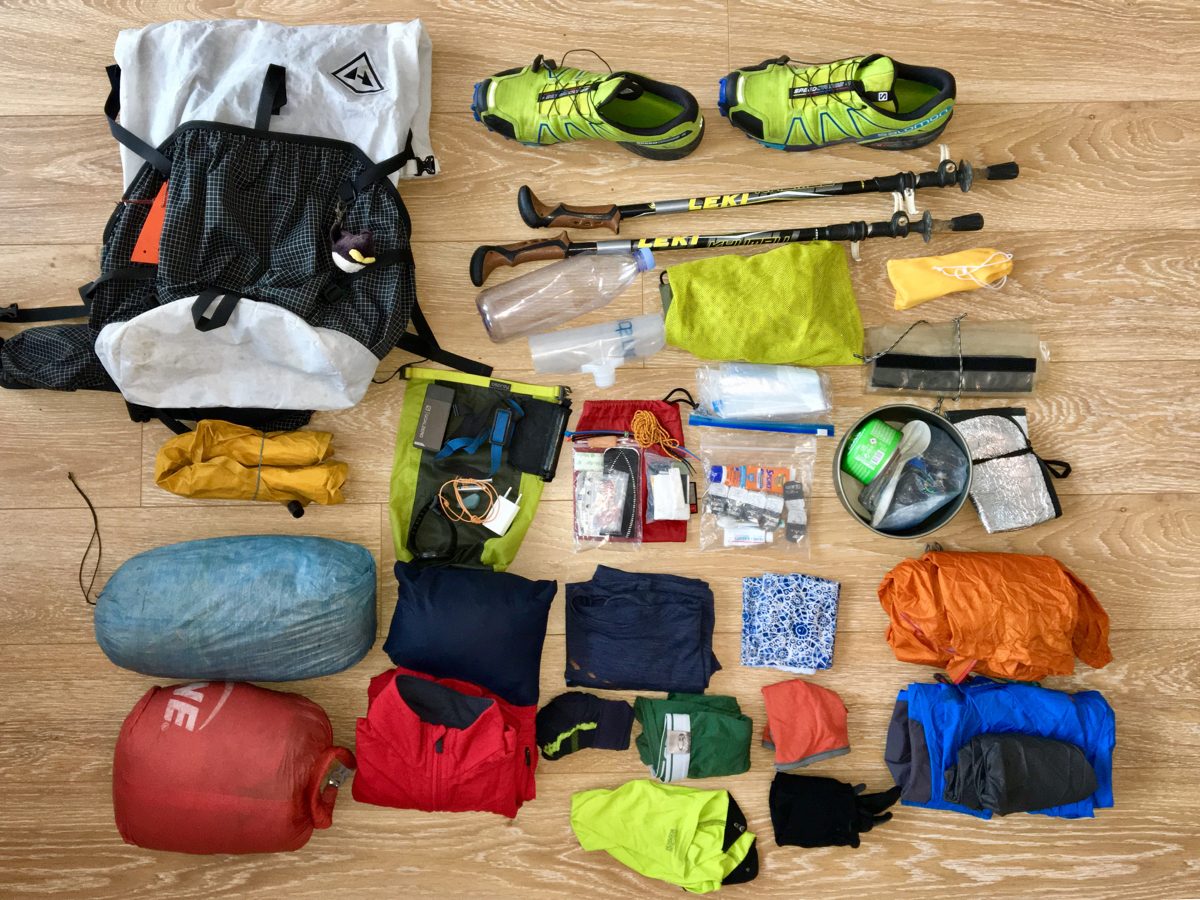
Backpack:
Most important with a backpack is that it fits your back. They all have different harnesses and fit different backs. So make sure to try many. The other features are less important. If you carry heavier loads >15kg you want to have a good hip belt or otherwise you will have bruises on your hips and it's uncomfortable on longer hikes.
My backpack of choice is now the Hyperlite Mountain Gear 2400 Southwest. It's specially designed for ultra-light hikers with a 40l volume and only weighs 811g (in comparison my Osprey 50l bag weighs about 1,8kg!) and it is waterproof in itself. It helps you only taking the things you really need since there is not a lot of space 😉. As a reference my bag is maybe half full with all my gear. The rest is "reserved" for food and I usually fit 5 days in it easily. I would not recommend it with a permanent weight over 15kg, but if you exceed it in the first days of a long hike because of food it should be ok since you will get lighter every day.
I also have a Zpacks Backpack Shoulder Pouch on one of my shoulder straps for my phone, ND filter and snacks.
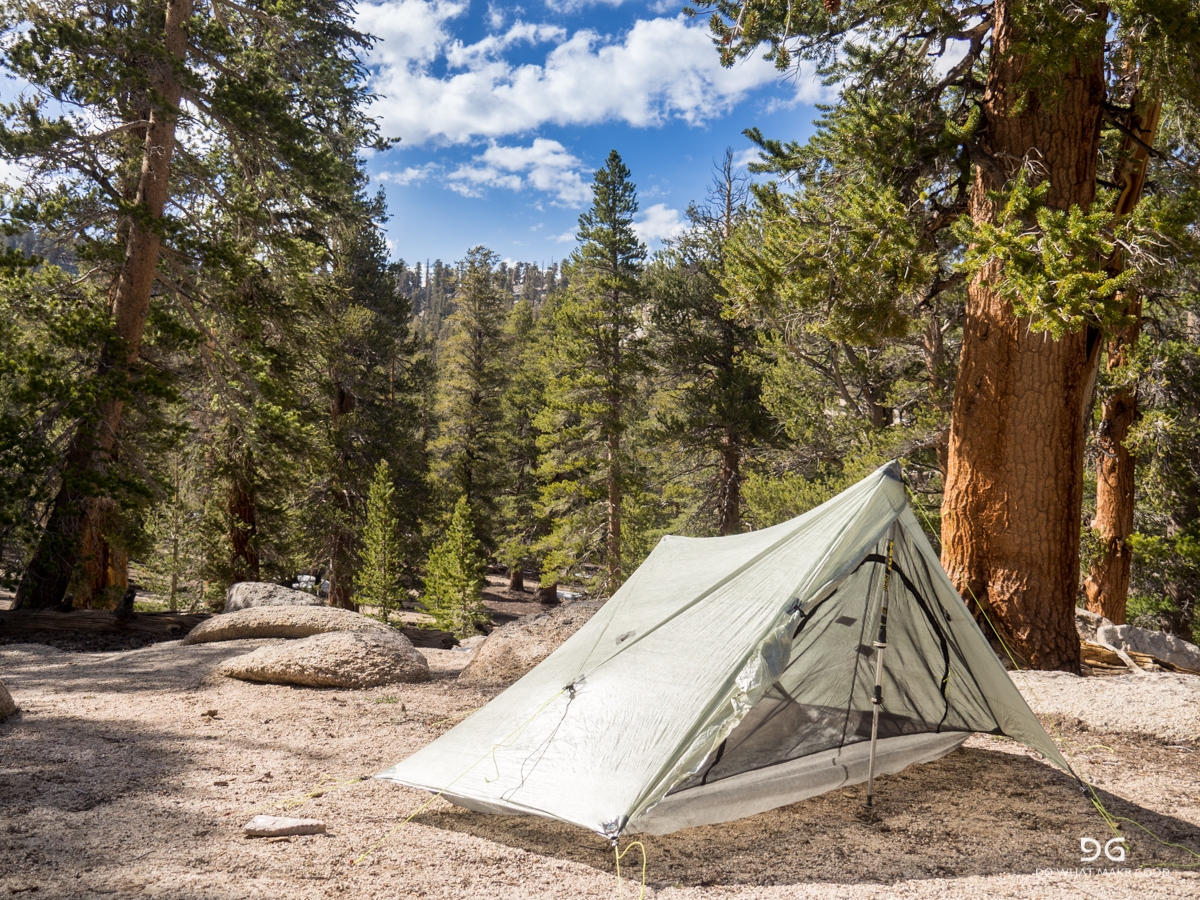
Tent:
The Zpacks Solplex is my choice. It is made out of Dyneema Composite Fabric (also known as Cuban Fibre) which is highly durable and super lightweight with 439g only! Including 8 stakes with 60g the total weight of the tent comes down to 499g. Comfort, space and durability are amazing. Keep your vestibules open for ventilation since in a single wall tent you do get condensation very quickly. It's not cheap with 555US$ but it's well worth every cent if you sleep in it every day.

Sleeping bag & sleeping pad:
The lightest and smallest version is always down. The higher the number of the filling (e.g. 850) the better the quality of the down and therefore the less you need for the same insulation. As mentioned above I would go with the Western Mountaineering Summerlite sleeping bag which is rated for +6C comfort and a max of 0C. I only had a 3 or 4 cold nights below freezing and used used my rain jacket and my backpack as a sack wrapped around my feet for extra insulation in cold nights - just make use of whatever you have if you need it.
Due to packing size I opted for an inflatable sleeping mattress. I am not a fan of the bulky foam pads which you always have to attach to the outside dangling around. The Therm-a-Rest NeoAir Xlite is the lightest one. I used to have a large one but now I go with the extra small one (119cm) since I put my legs on my backpack and other things. Saves 200g compared to the large/regular one.

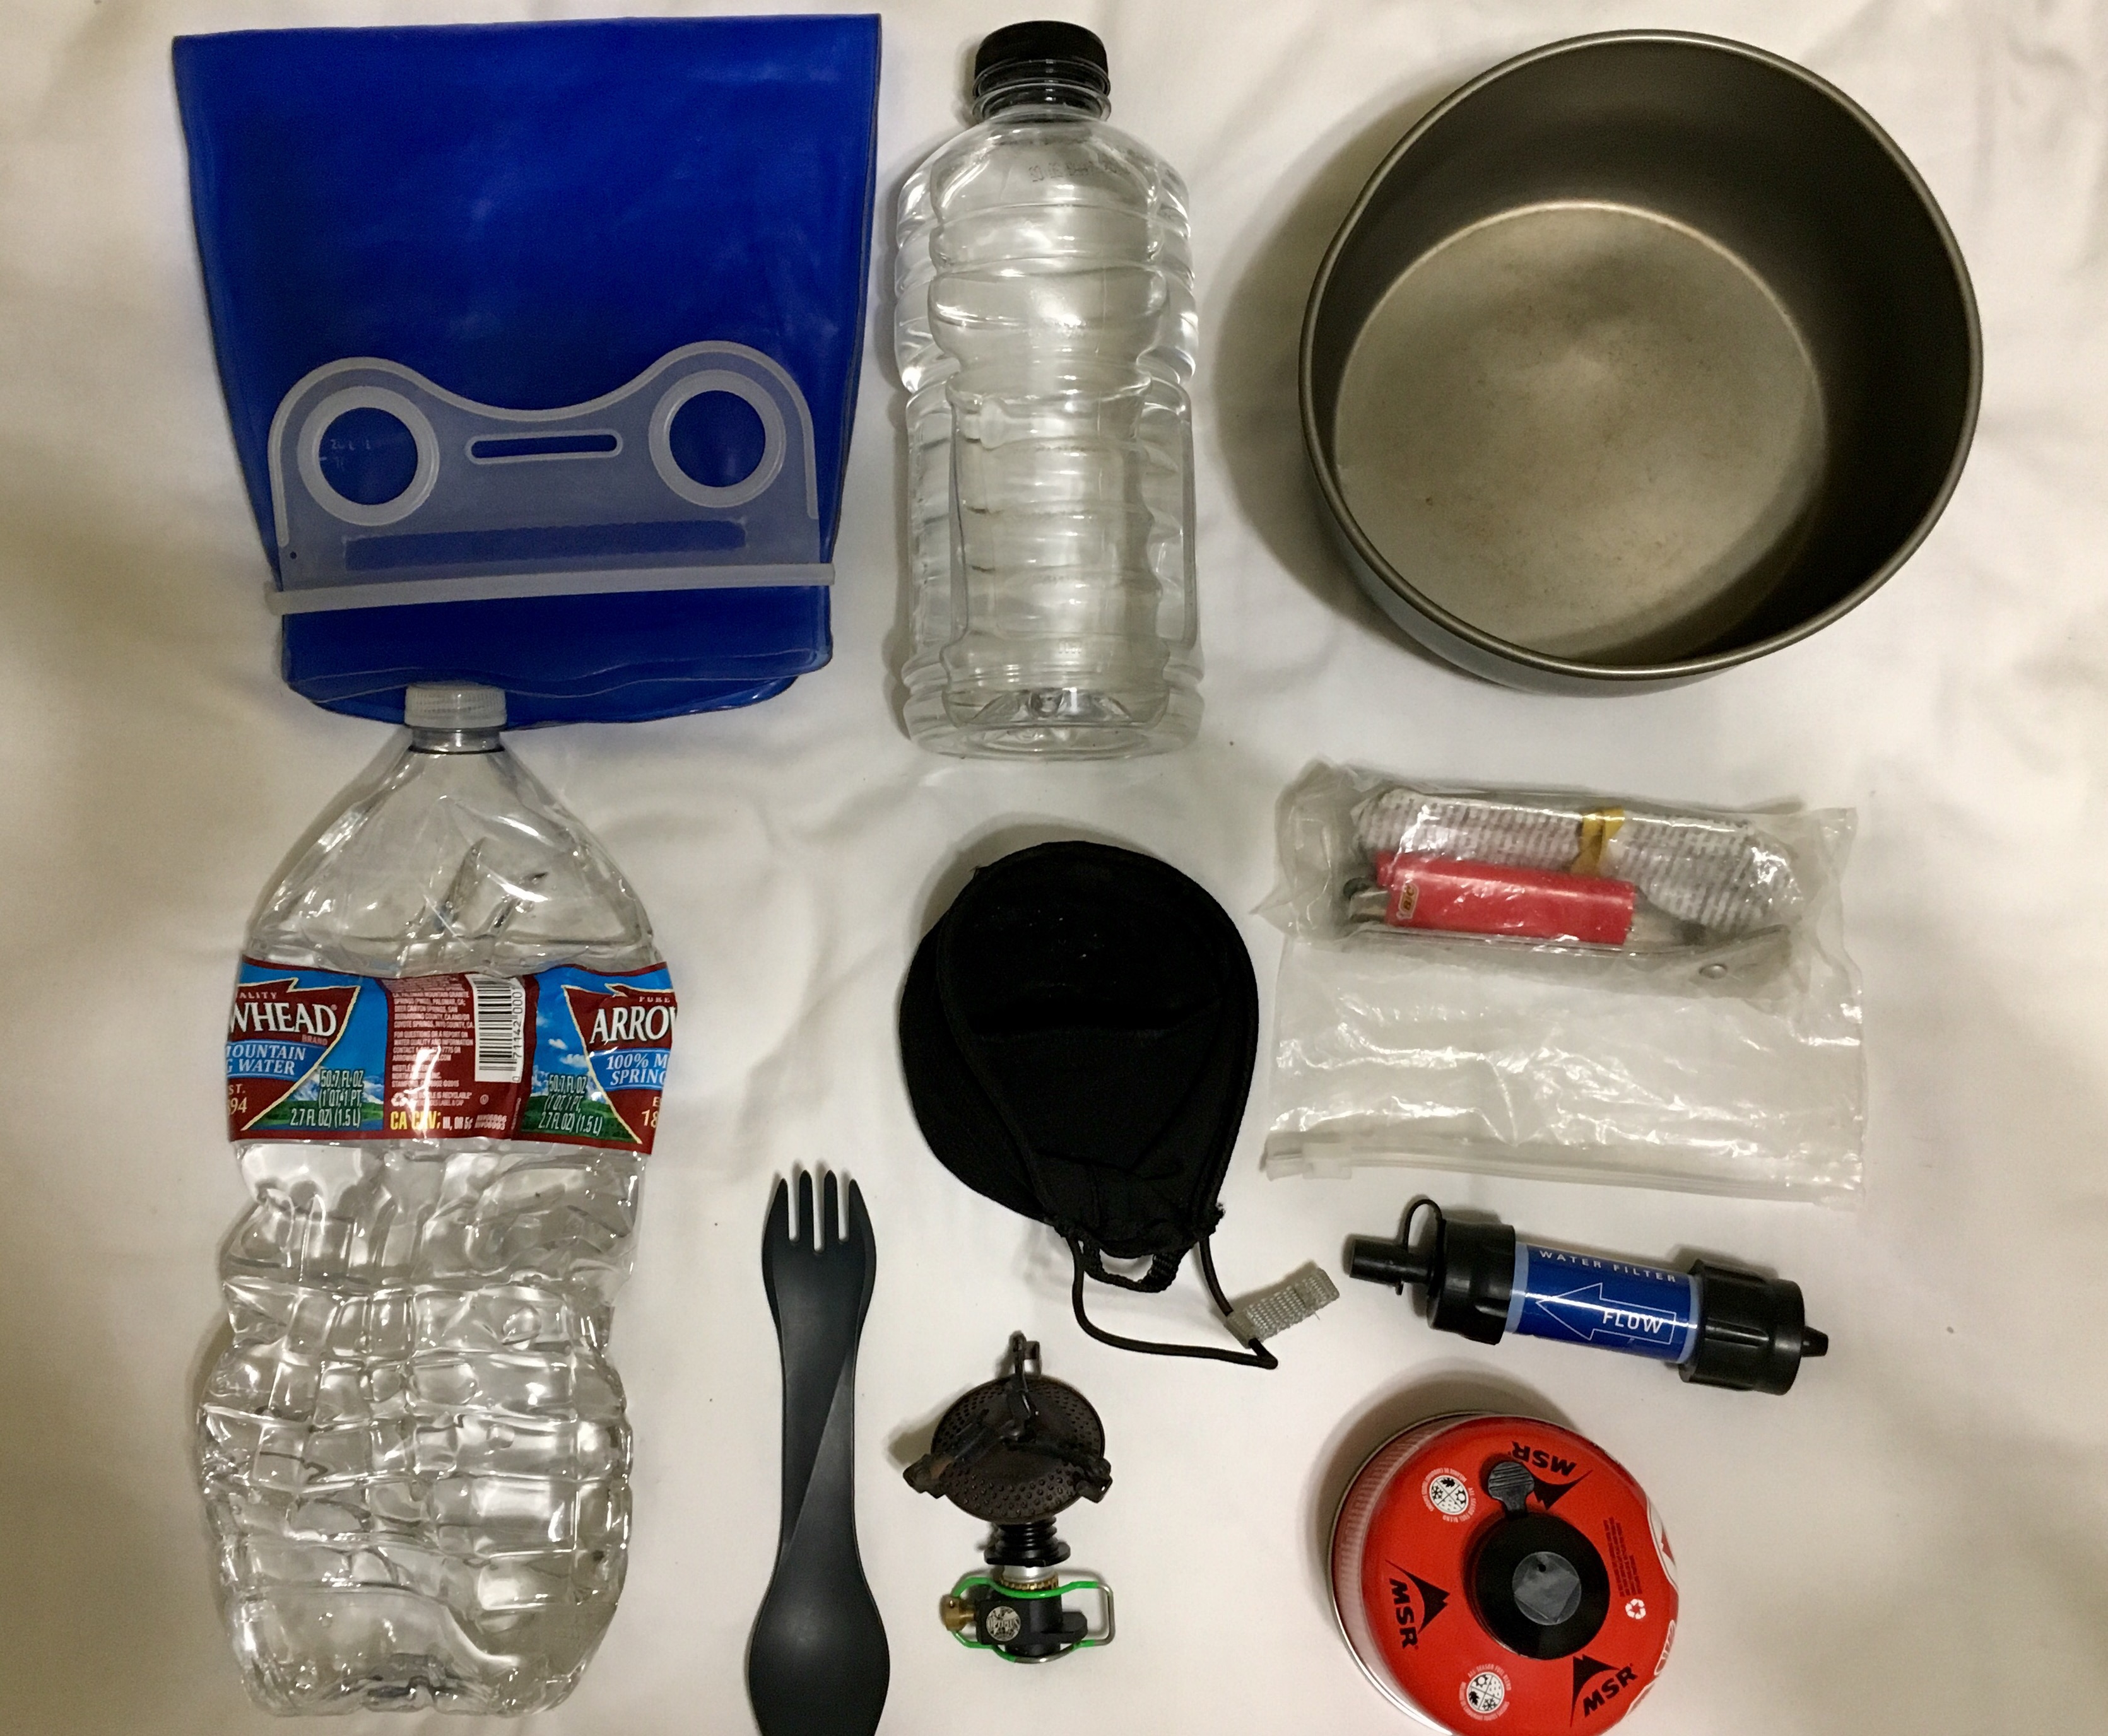
Cooking:
Some people go without a stove and only eat cold or dry stuff. Apparently it works but I wouldn't want to go without one proper meal per day. So I carry a very small and light weight (83g) gas stove from Optimus Crux and a small gas canister. For cooking I have a 1.5l Trangia hardanodized ultralight aluminium cooking pot, the aluminum handle and Sea to Summit plastic spoon.
My main water container is a cheap 1l Powerade plastic bottle - it does the job perfectly, is way lighter than the "proper" ones, the outflow of the Powerade bottle has the perfect size so that you can drink while walking (better than the Powerade one), you can replace it once in a while if it gets to nasty and it costs almost nothing! As a water filtration system you can go with the lighter Sawyer Mini instead of the Sawyer Squeeze. I only filtered my water 4 or 5 times on the entire trail. Since there is water everywhere in New Zealand and you rarely have two hours without a water source you can either carry a 2l Platypus or get an additional thin water bottle for the few occasions where you will need it.
I also have two stuff sacks (10l and 15l) for my food. It helps to easier squish the food into the backpack and I always separate breakfast & dinner from snacks. By doing that I can bury the breakfast & dinner bag in my pack and only have to take to bag with the snacks out during the day
(What I don't carry anymore different to before the trail and on the picture: camel bag, water bottle)
Clothes:
I try to carry as little as I can. Therefore I don't take anything which can't be used on top of each other for the worst case scenario. Don't over pack - yes, you will be smelly and a bit sticky. But everybody is out there. You'll get used to it. Not showering for ten days sounds really bad at the beginning but it's actually not. And once in a while there is also a river to jump in if you are desperate 😉
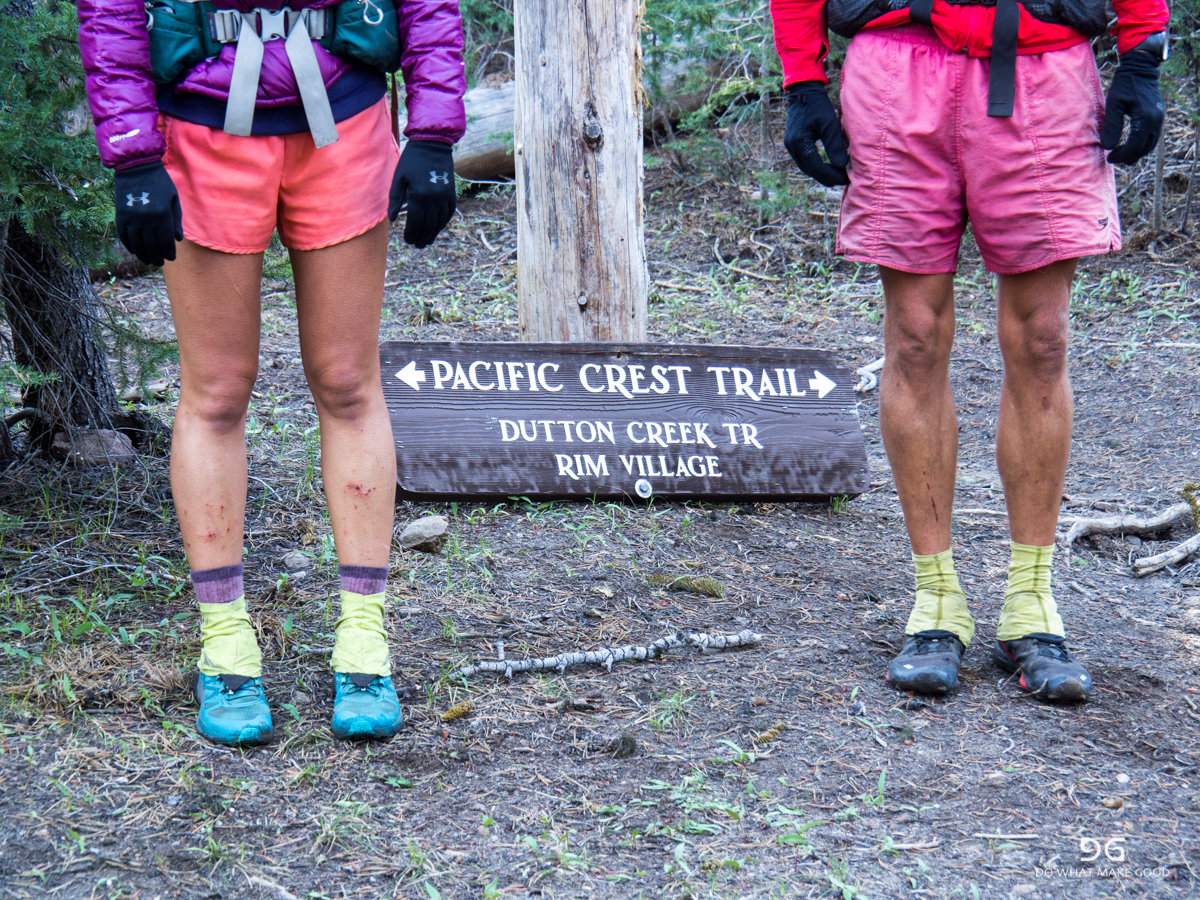
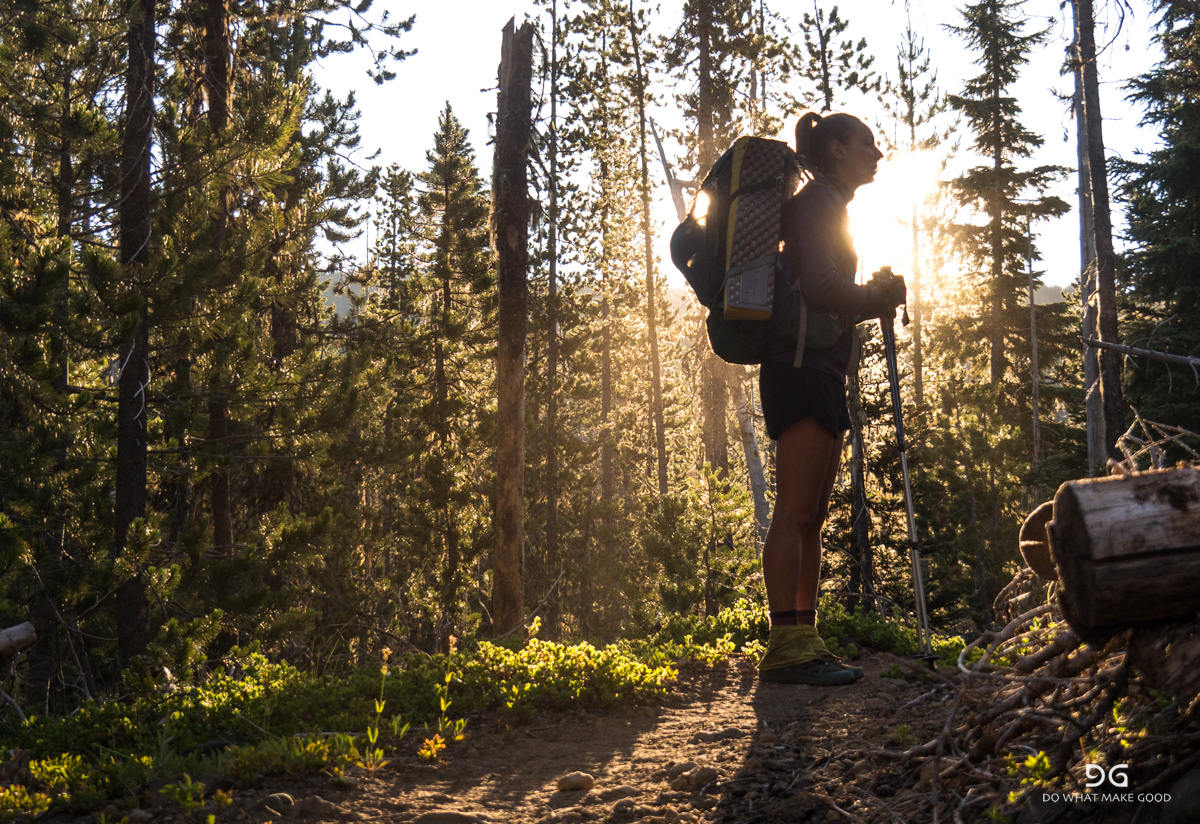
I usually hike in a Icebreaker merino wool t-shirt, my beloved red/pink Speedo swim shorts, short Icebreaker merino socks and my favorite Salomon Speedcross4 trail runners. To protect my socks and shoes from the insight I use very small Outdoor Research Sparkplug gaiters. As sun protection I have my new and cool Prana hipster cap 😎.
Rain gear: Outdoor Research Helium II rain jacket & Vaude Drop Pants II rain pants - for heavy conditions and when temperatures drop below 0C with rain and wind. And the above mentioned rain skirt Zpacks Rain Kilt. I would personally make it shorter and keep it over your knees for better movability.
My Patagonia Nano Puff jacket with Prima Loft Gold is the piece which keeps me warm in camp or breaks - very small and very warm. I find Prima Loft better on long distance hikes since it even warmth you if it's wet, it dries quickly and you can easily wash it - different to down.
One Icebreaker Descender Long Sleeve merino wool jumper - early in the morning or later in the day on cold and windy days I like to wear this one. Primaloft or down is to warm to walk in.
For the really cold days I carry a thin Icebreaker merino beanie, a Buff (neck gaiter) and a pair of Icebreaker Sierra gloves.
Since my swim shorts have a mesh inside I don't wear underwear. It also helps for better ventilation, less sweating and rubbing. So I only carry one pair of merino underwear to sleep in.
The only extras I carried were one Icebreaker merino t-shirt which is not really necessary - but it is nice sometimes e.g. in towns after a shower when waiting for the laundry to be done. But you don't need it. If its wet I either try to keep in on and dry it with body heat or I take it off and wear my jumper. It sucks in the morning to put it on again but after 20 minutes of exercising it's usually dry. In Oregon I changed one Icebreaker t-shirt for a long sleeve shirt because of the mosquitos and kept it to the end. I also have one pair of extra socks in case a sock breaks down. This usually happens quickly. I went through a pair in 3-4 weeks. Your feet are the most important part on this journey - you do want to do anything possible to prevent blisters and/or injuries! Other than that you only need one pair. Why? How many can you wear? Exactly. If they smell you wash them in a break. If they are wet? Then you walk in wet socks. If it rains on consecutive days even dry socks are wet after 20 minutes so there is no sense in putting dry ones on to into your wet shoes...
(What I don't carry anymore different to before the trail and on the picture: hat, rain skirt, thermal pants, towel)
Medics and Hygienics
How to go light: Try to buy the smaller sizes. No need to carry 200ml of something that will last for 2 month. Resupply more often. I have seen people carrying regular bottles of everything ending up with 3-4kg of liquids 🙈
My daily hygienics consisted out of a small and cut off tooth brush + toothpaste, contact lenses and cleansing fluid (extra pair and a few daily lenses in case of an eye infection), nail clipper, comb for my beard - therefore no razor 😂 and an amount of toilet paper suitable for the days - don't carry an entire roll!
In case shit happens. How much can you do in the wilderness? If it's a minor thing you usually don't really have to do anything and if it's a big thing (broken bones, etc.) you can't heal yourself anyways. So the only thing you have to do is get out and get help. So I am not a big fan of carrying a lot of stuff. For the heavy stuff I rely on painkillers (Ibuprofen), the cable ties and ductape.
I also carry Imodium for diaria (how many do you need? Not the entire pack for sure, just enough to get you out in case it hits you), a cream for eye infection which happens quickly with contact lenses, a couple disinfection/alcohol tissues (also work great if you have to clean camera lenses or surfaces before you repair / glue them). And a few Antihistamine pills after my shocking 25 sting-wasp-experience.
For the smaller issues and especially my feet I have a small roll of plaster tape (Mefix) which is a sticky plaster to seal open wounds and a 2m strip of Leuko Surgical Tape wrapped around a solid plastic tube: it's the only tape which really works. The adhesive is incredible and even stays on feet for days when they get wet. Don't try anything else!
Last but not least a 30ml sunscreen tube and a Ziploc bag to store everything.
(What I don't carry anymore different to before the trail and on the picture: Voltaren, Aspirin, hand sanitizer, bio degradable washing lotion, ear plugs)

Repair kit
Minimal as well. Tape and cable ties will fix most problems temporarily or even long term. For the electronics I only carry my iPhone for backup navigation (bad weather, emergency situations) and to write the blog.
Sufficient amount of ductape wrapped around my trekking poles so I don't have to carry it in the backpack fixes everything: equipment and also small injuries.
An Opinel Knife No. 6, a stripe of special waterproof repair tape for tents, rain jackets and repair kit for my air mattress, 6 cable ties, super glue, a spare lighter, a 10m MSR Ultralight Utility Cord (cloth line, rope to hang food and possible repair kit) and 2 small carabiners to hang food. On top I carried 4 one gallon Ziploc bags as emergency and rain gloves and socks and a small stuff sack to store everything.
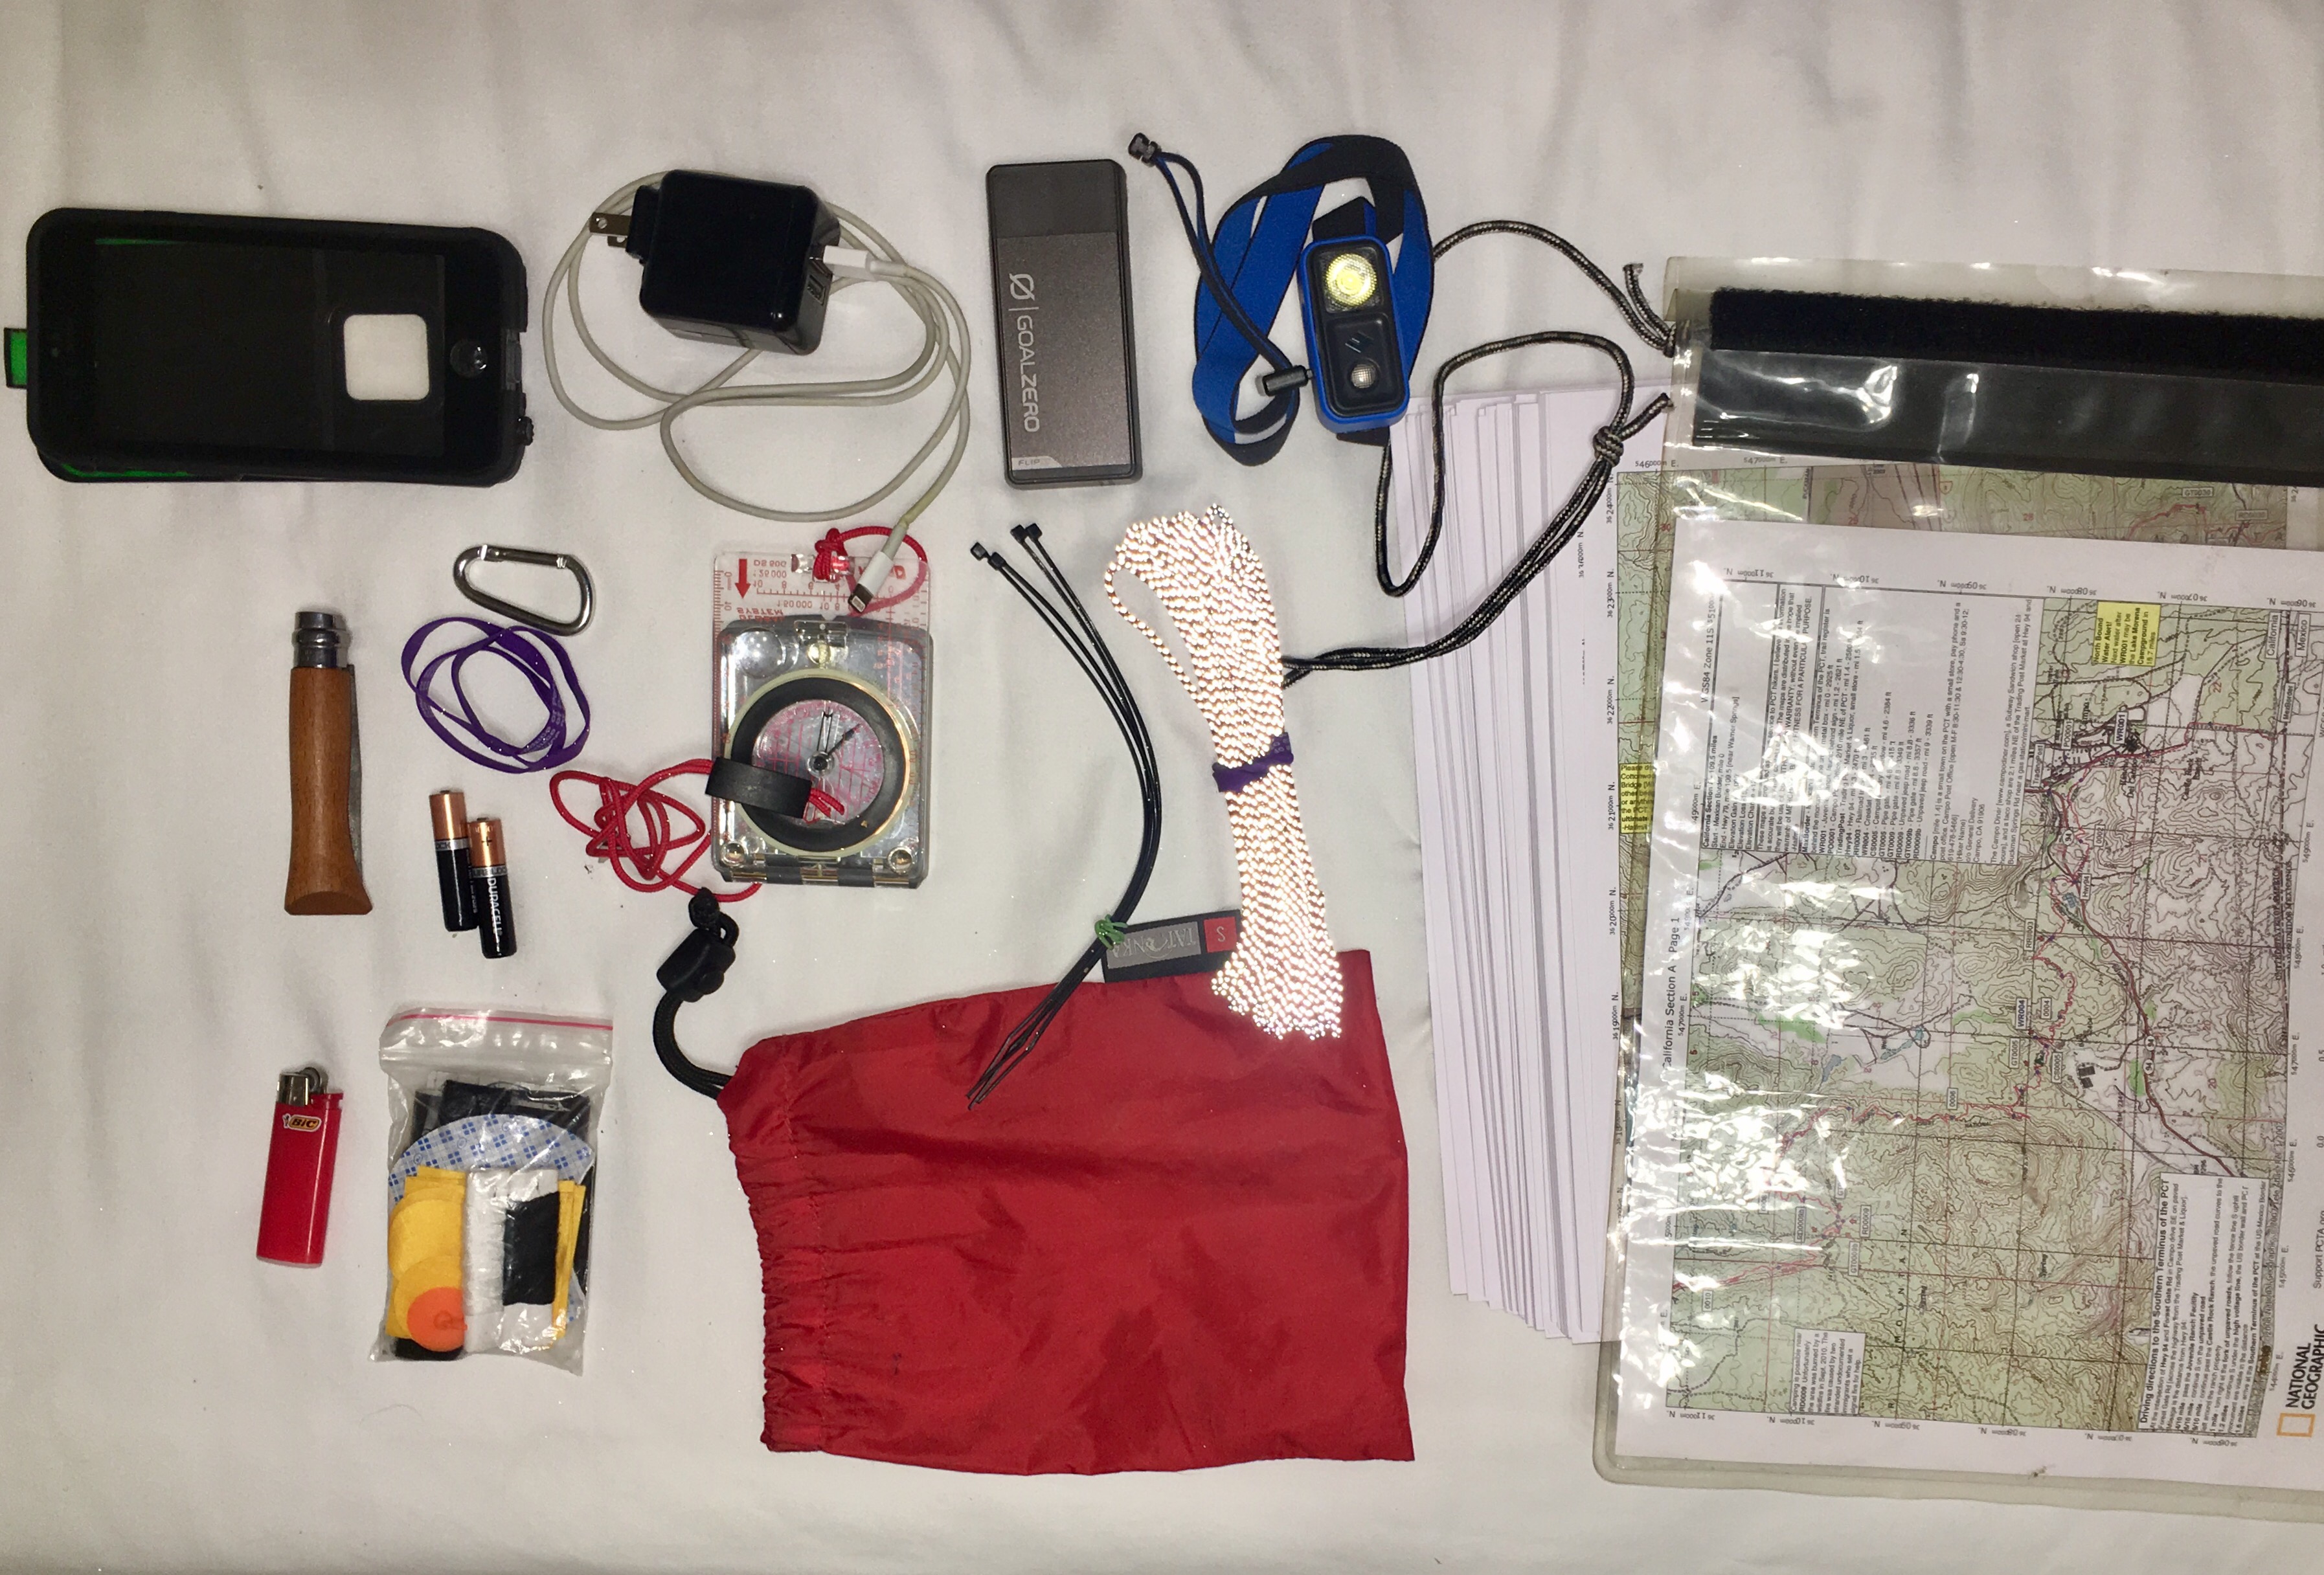
Electronics
USB charger with double port, my iPhone in a waterproof Lifeproof Case - also my fall back navigation and emergency (if I have reception) device, a Goal Zero Flip 20 Powerbank for two charges. A Black Diamond Ion headlamp for hikes during night time and everything else when it's dark. And I have a small Zpacks Wallet Zip Pouch for credit cards &, ID and all of it goes into a 3l Osprey Ultralight Dry Sack.
(What I don't carry anymore different to before the trail and on the picture: compass & maps which you won't need for the PCT)
The only luxury equipment - my camera
Photography is one of my passions. So I can't go without a proper camera. I tried to find a compromise between a full DSLR camera which is to bulky and heavy and a smaller one which will still give me a very high quality. For the last 2 years I have used my Olympus OMD EM10II with a micro four thirds sensor and the M.ZUIKO DIGITAL ED 14–150mm 1:4.0–5.6 II lense. It only weighs 1018g including the lense, battery and memory card which is significantly less than a comparable SLR.
On top I have 2 spare battery, 2 SD memory cards, cleaning wipes, a grey filter and the camera battery charger.
And I also finally found a way to attach my camera to my backpack so that I can always use it without taking my backpack off or it dangling around and being annoying. The Peak Design clip straps the camera to your shoulder belt. It's fixed, secured and you still have easy access to it. And after two years of heavy usage I can only highly recommend this thing including the shell to protect your camera from dust and rain. If you take the extra weight of a good camera with you this clip is a must item - if you have your camera in your pack you'll never use it and just carry dead weight around! Peak Design Capture Clip v3 for the backpack & Peak Design Shell for protection. Use the link to get a free gift 😉

PS: Unfortunately my camera went swimming 3 weeks before the end. So I had to replace it on the go. I have to admit that I used this excuse to directly upgrade to the OMD EM1 II with a 12-100 Pro Lense. It is significantly heavier (+460g) but I will also use it for non hiking purposes now. On long hikes I might try to use the old lense if I can repair it. For the packing list I include my old camera since it was the one I used.
Additional gear
Leki Khumbu hiking poles which I always use. It's said that they save you up to 30% of energy in your legs since you use your upper body which normally is not used when hiking.
Suunto Core Watch. Simple watch, altimeter and compass. I am not a fan of GPS watches since they use a lot of battery which you don't have out there.
Additional 32oz Gatorade (big opening) pee-bottle for the night. I hate getting out of the tent at night. Probably one of my most favorite items 😊
[jetpack_subscription_form title="" subscribe_text="Sweet as, brew! Let me know when there's new stuff online!" subscribe_button="Sign Me Up!"]
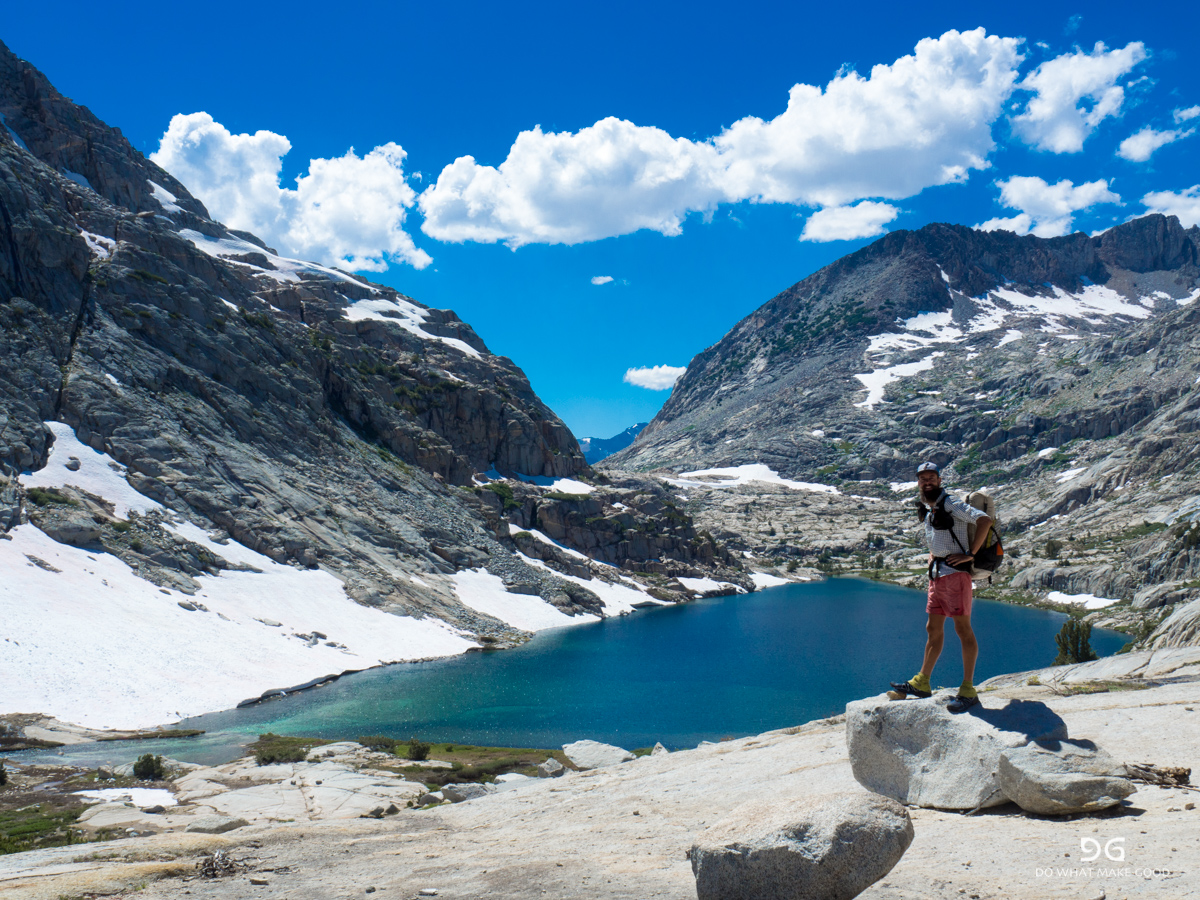
PCT #44 & 45: Kennedy Meadows - sorting out the gear for the Sierras and more...
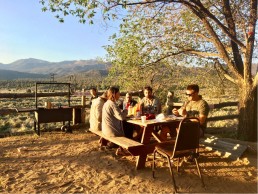
Two days in Kennedy Meadows. The cool owners of the "Grumpy Bear" restaurant let us camp in their ground for the entire time which was a blessing. The place is a lot more chilled and friendlier than the General Store.


We basically alternated between the restaurant eating food & drinking food...


...and the store picking up packages, buying last minute items, showering, washing and eating more food.

The rides back though were the best part. This is called "dry-cleaning" 😂😂😂

We also visited the famous Yogi who has published books and guides about the PCT, provides maps and has now opened up a gear store right across the street from Grumpy Bear. So here is my new stuff:
A requirement for the next stretch is a bear canister for your food which bears can't get into. It is made out of very durable plastic and a lock system they can't open. It therefore also weighs a lot... I wasn't even able to fit my food for the next 7 days in it 😳

And my good old Salomon Speedcross3 broke down on me early but they still made it to mile 700 which is a fair retirement age for them. But there was no grip left anymore and the holes were getting to big. So I was a bit more adventures and bought the S-LAB version of the Speedcross4 now. Apparently with better grip on snow. Let's see?!

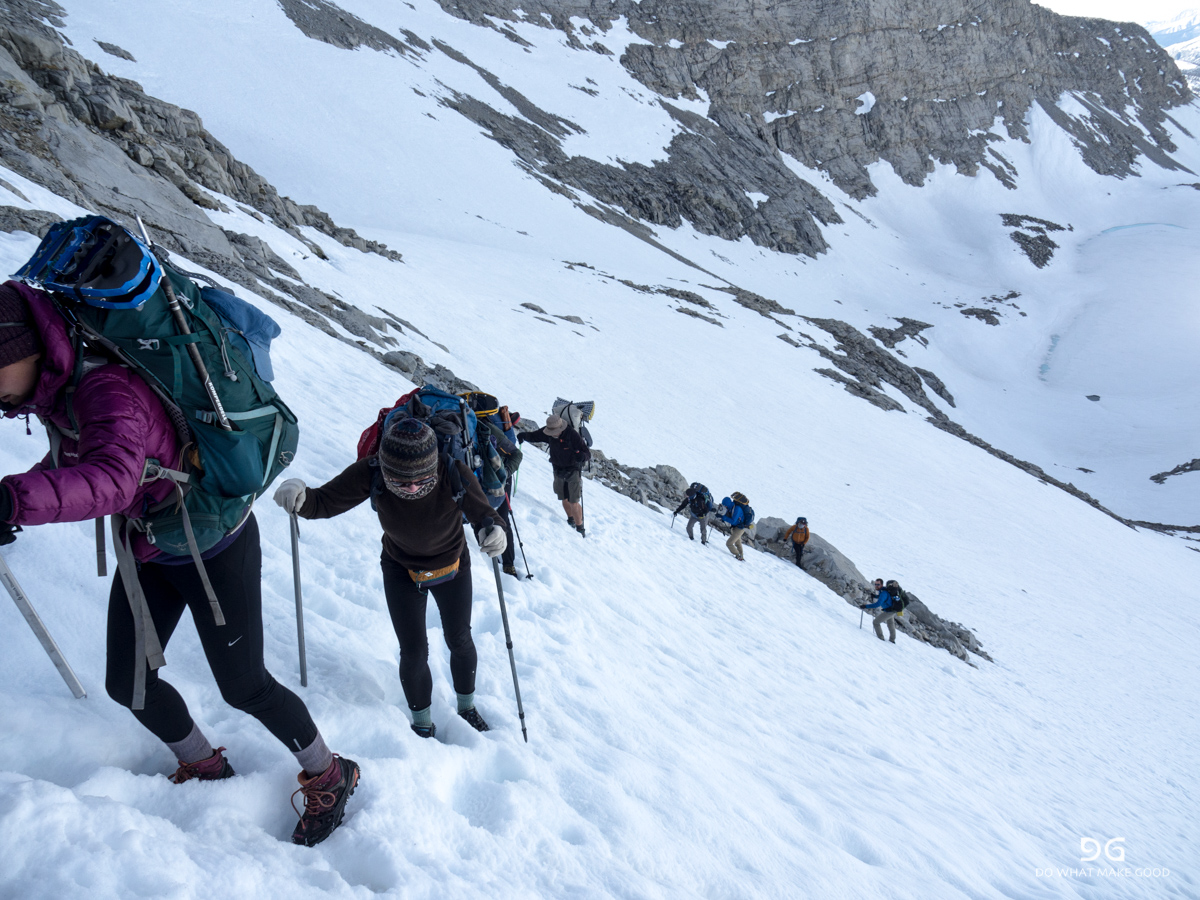
An ice axe, micro spikes and some rope for the sketchy and steep parts.

I also have not introduced my super lightweight tent yet. It is small due to the flater sides and setting up a not free standing tent is always more difficult but it is very compact and light - 437gr!

And then I did get a few more items: a thicker liner for my sleeping bag to give me a few extra degrees in the snow, a seating pad which weighs about 30gr to not get a cold butt and some more plastic bags as emergency gloves if it gets to cold, wet and windy.

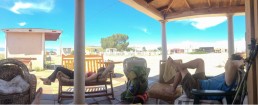
And so the two days passed by quickly. But it was probably the most relaxing town days so far. We had enough time to just sit around and relax after the chores...

Tomorrow morning we will have a good breakfast and then we'll be off in the mountains! We are not worried but there is a noticable tension because of all of the unknown factors with the massive amount of snow this year. We will try to go through but we are also ready to bail out if we have to. Pirate will also join the group tomorrow. Now I only hope that the Little One will somehow manage to catch up and eventually the rest of the family... Signing out now and most probably without internet for the next 7 days. Fingers crossed...🤘🏼
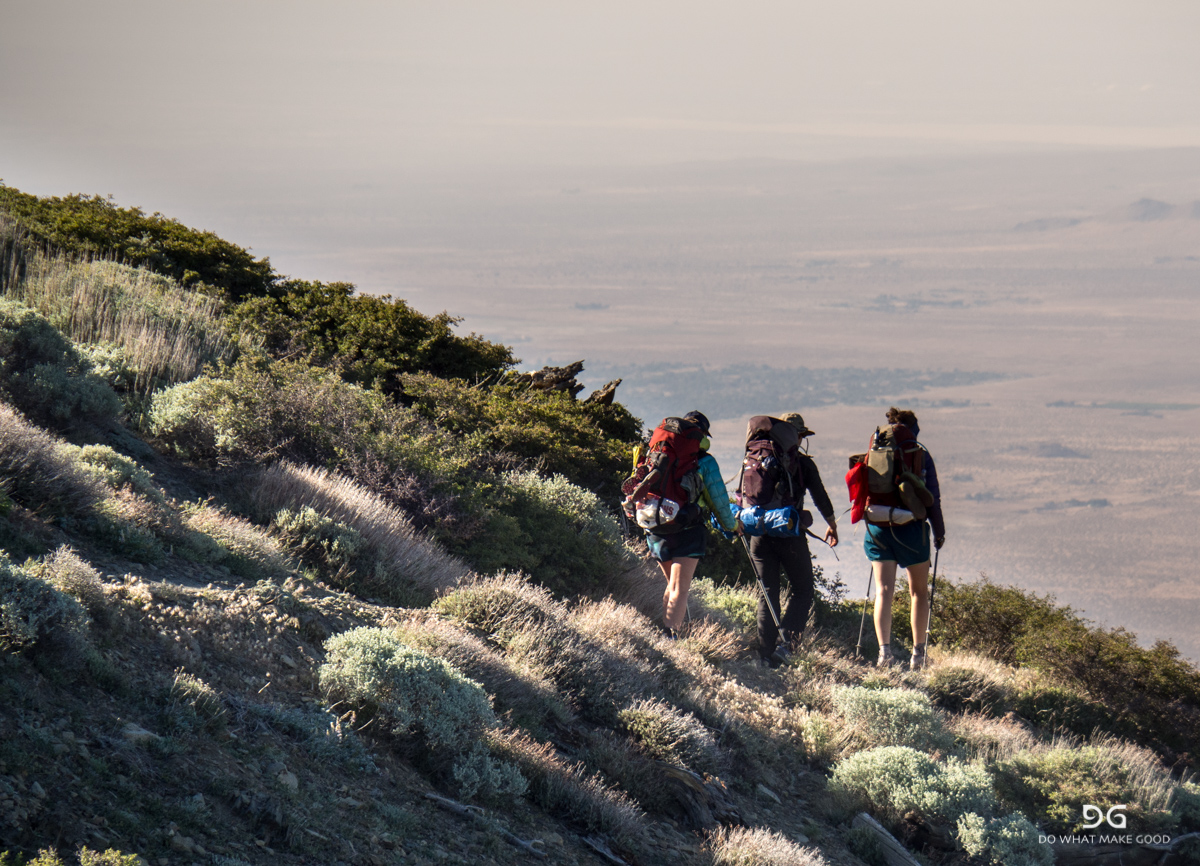
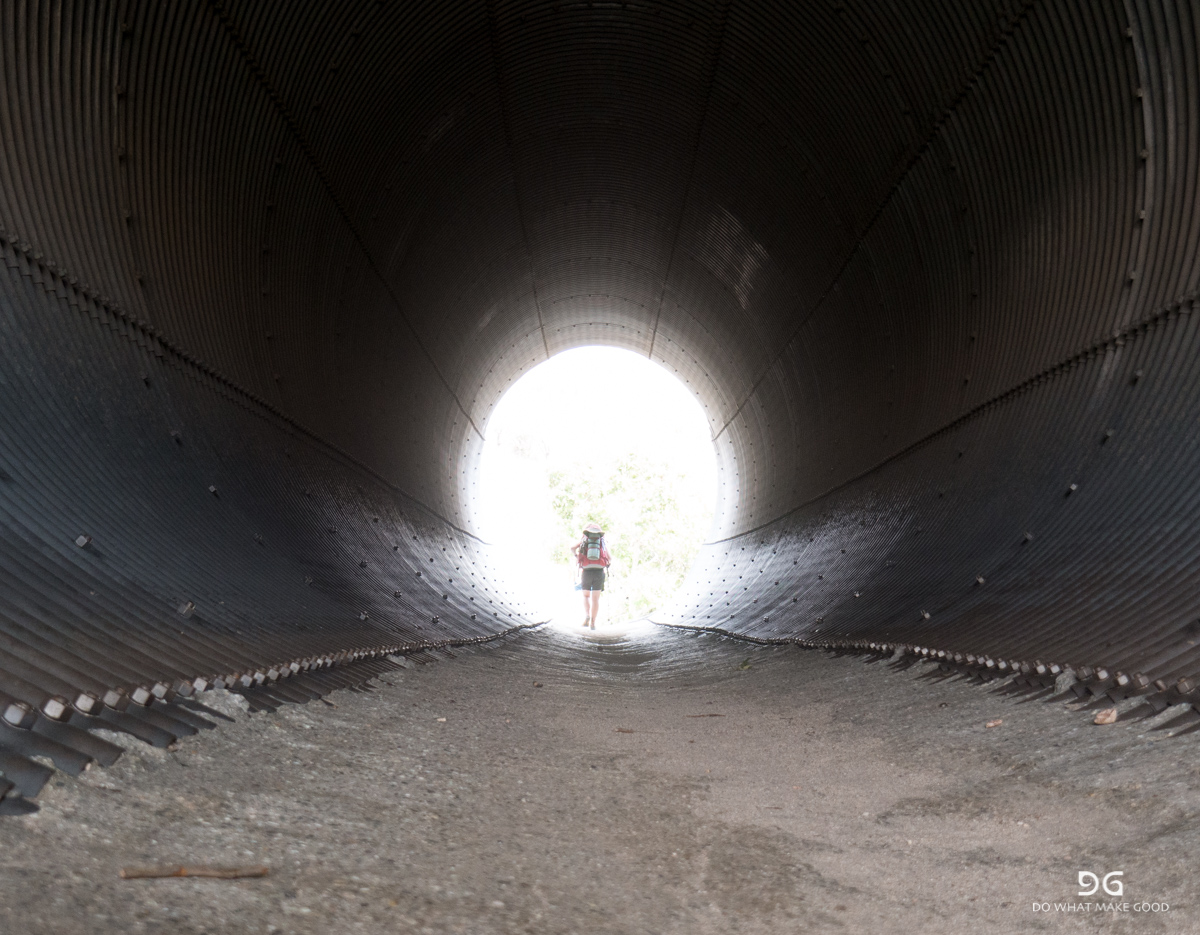
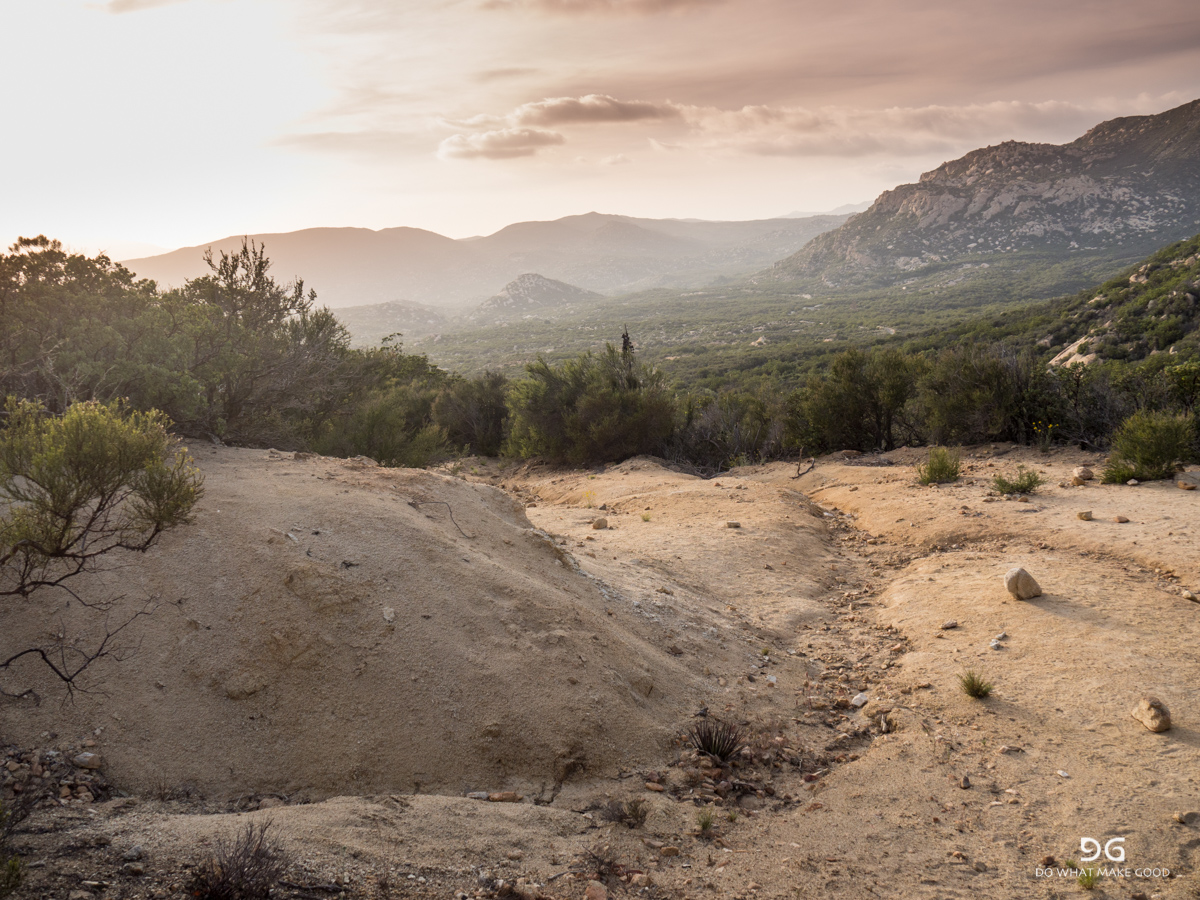
PCT #34, 518mi: Early start, a lot of nap time and a 25 mile cruise into Hiker Town...
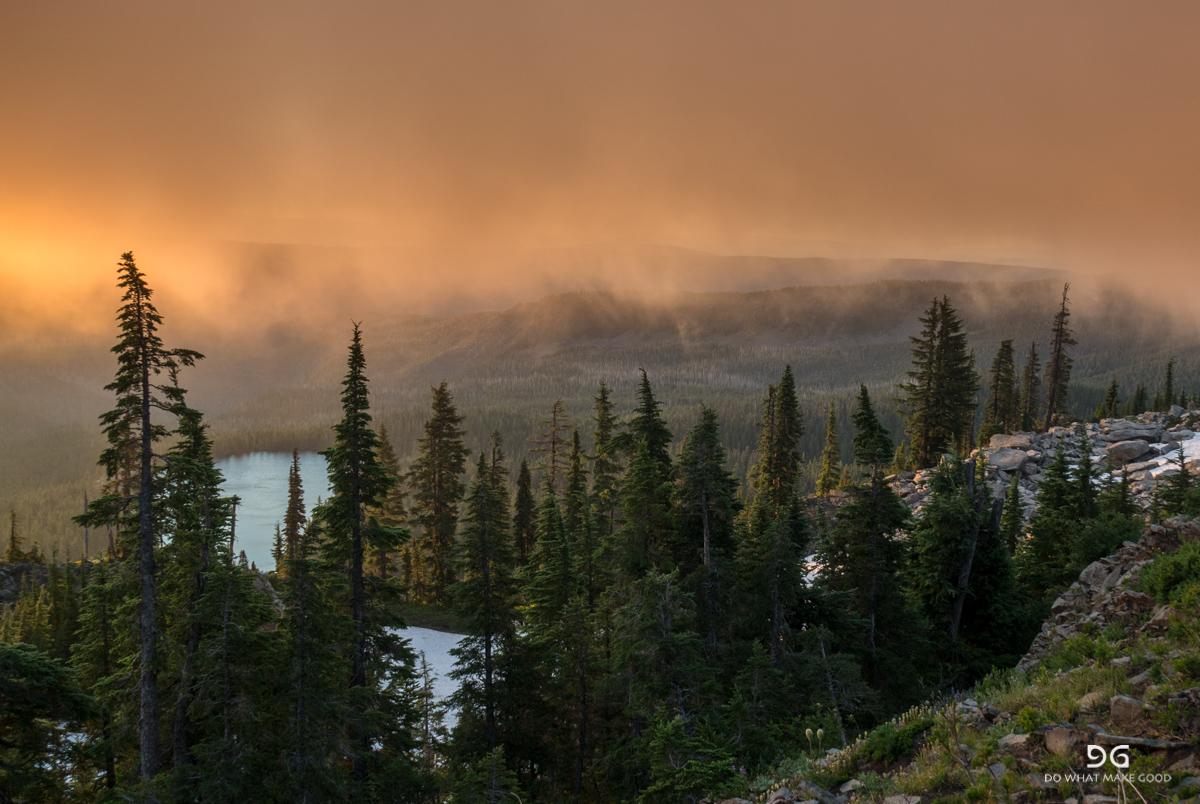
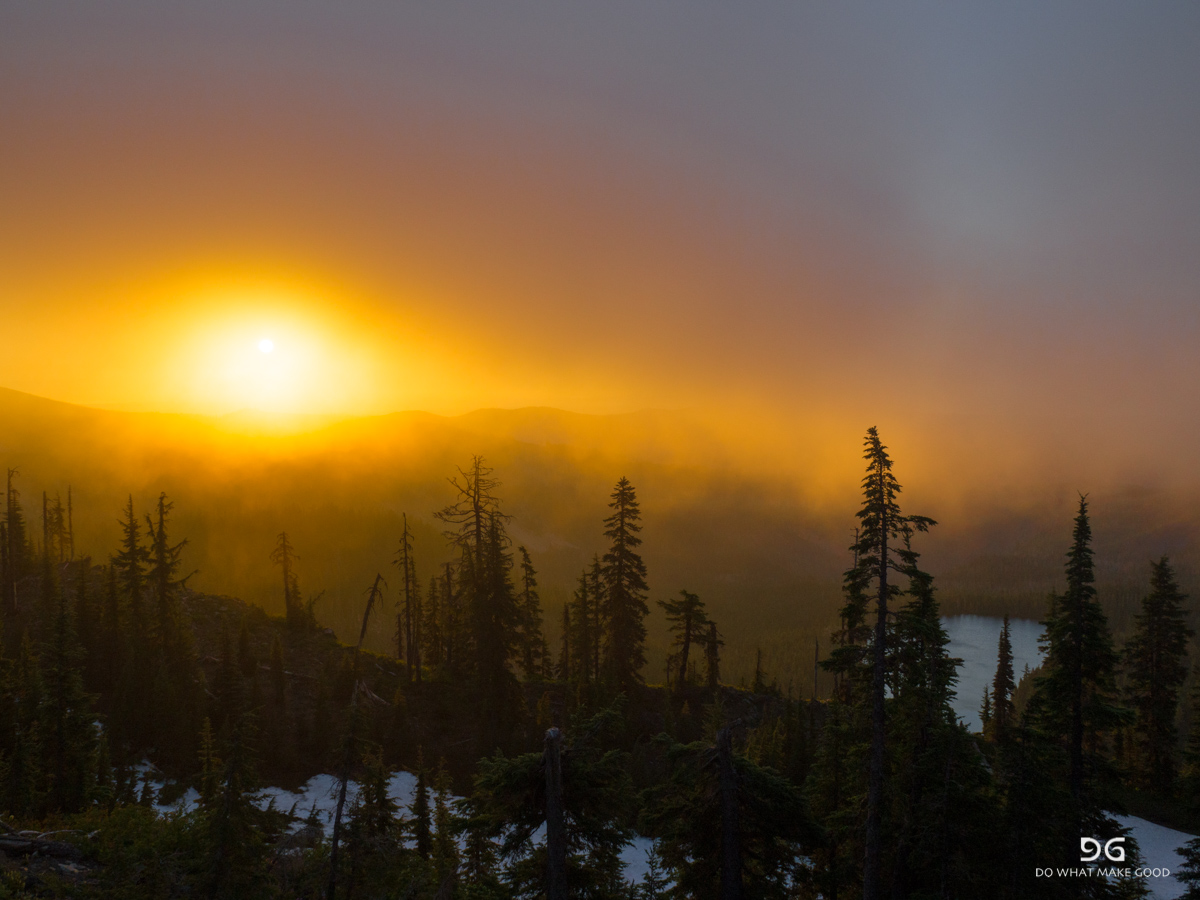
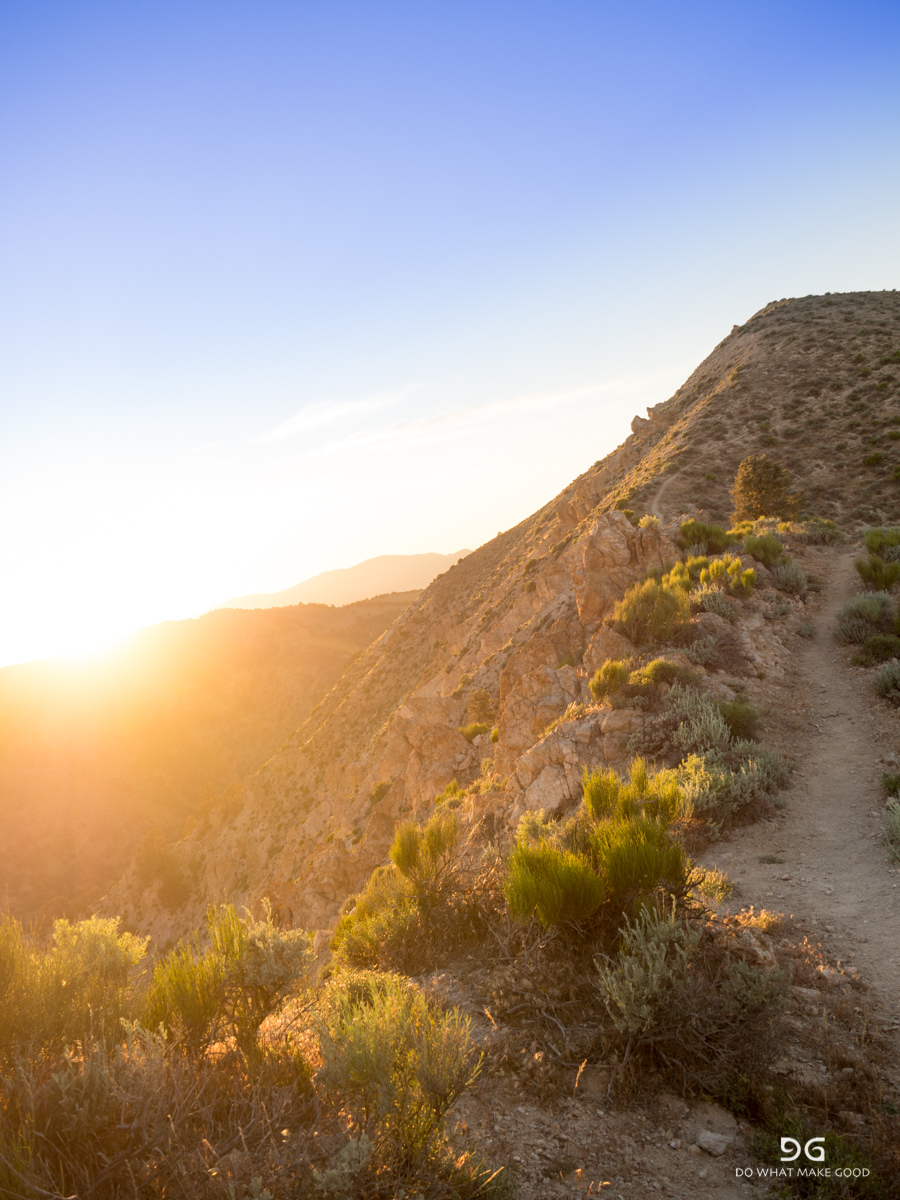
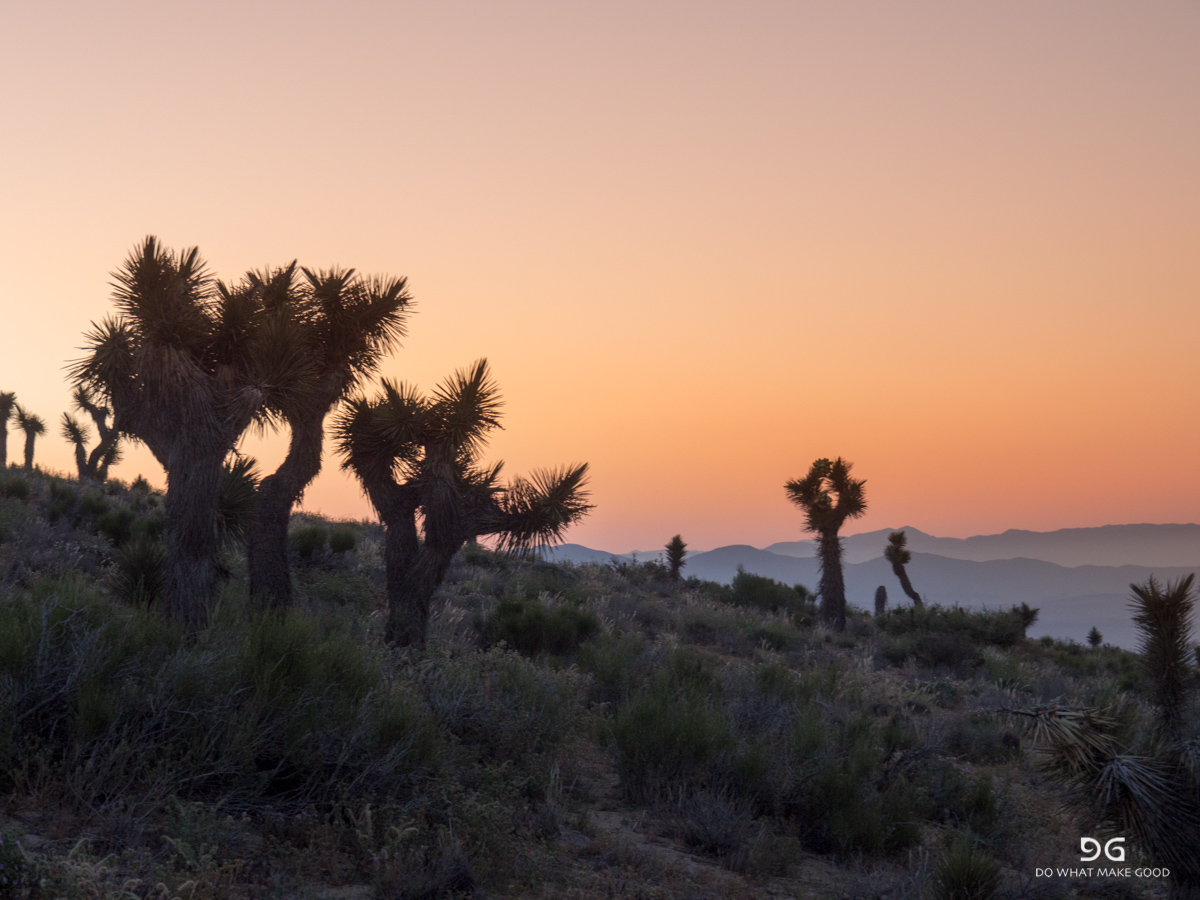
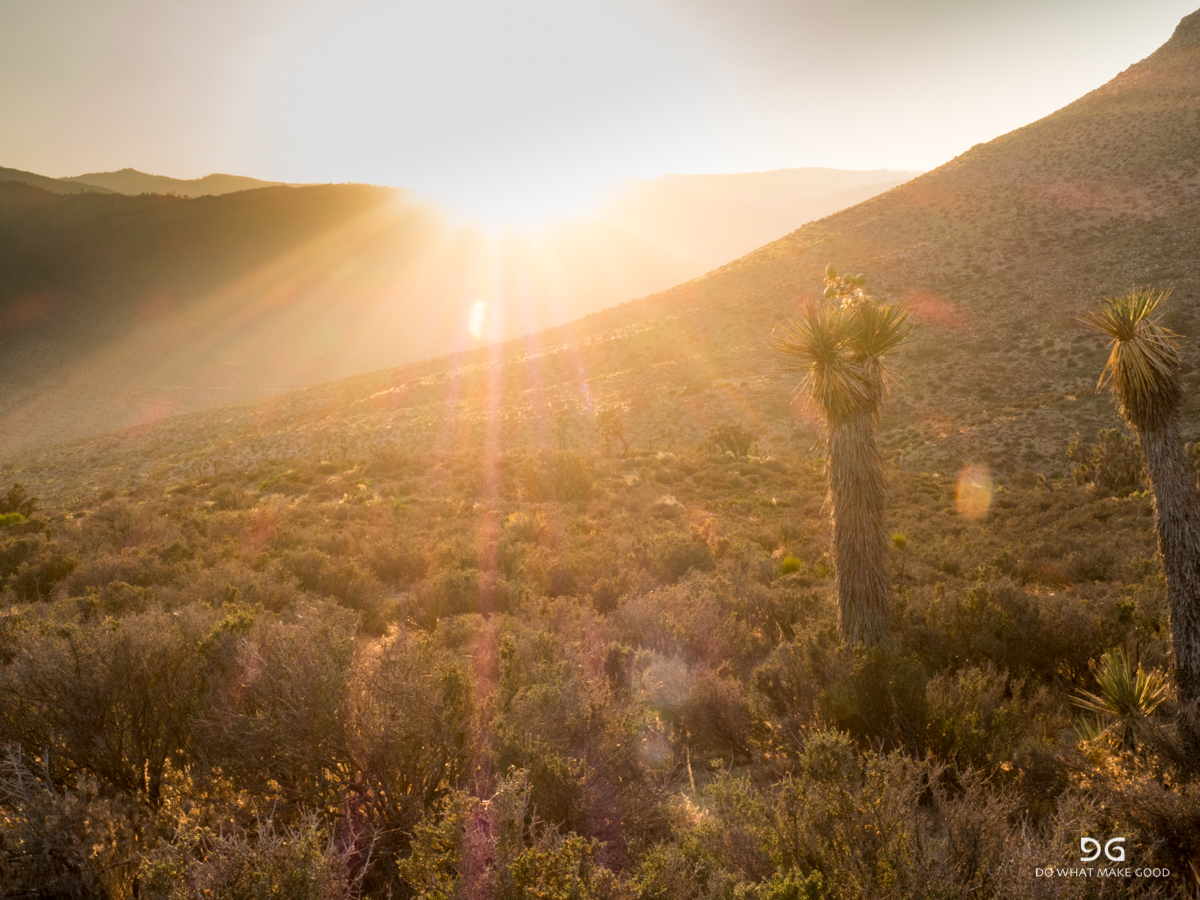
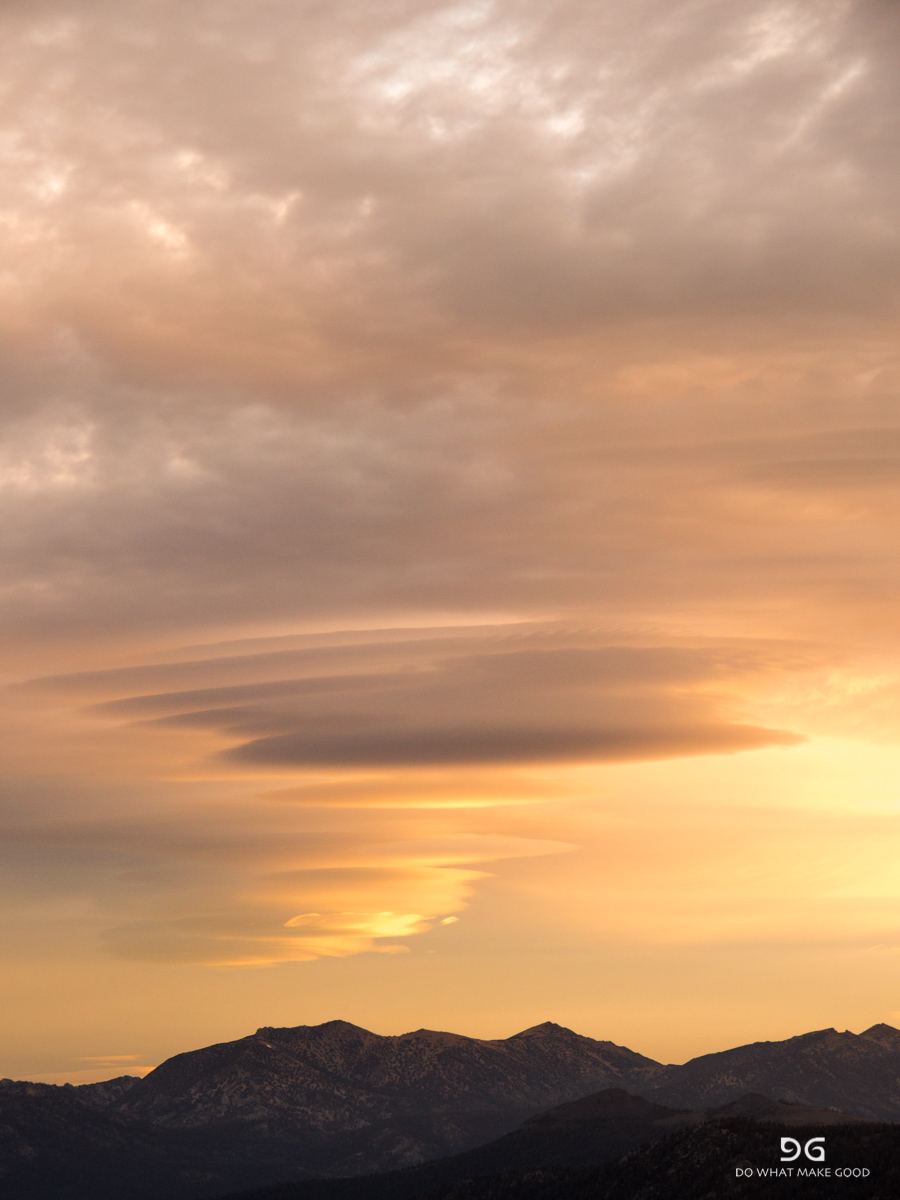
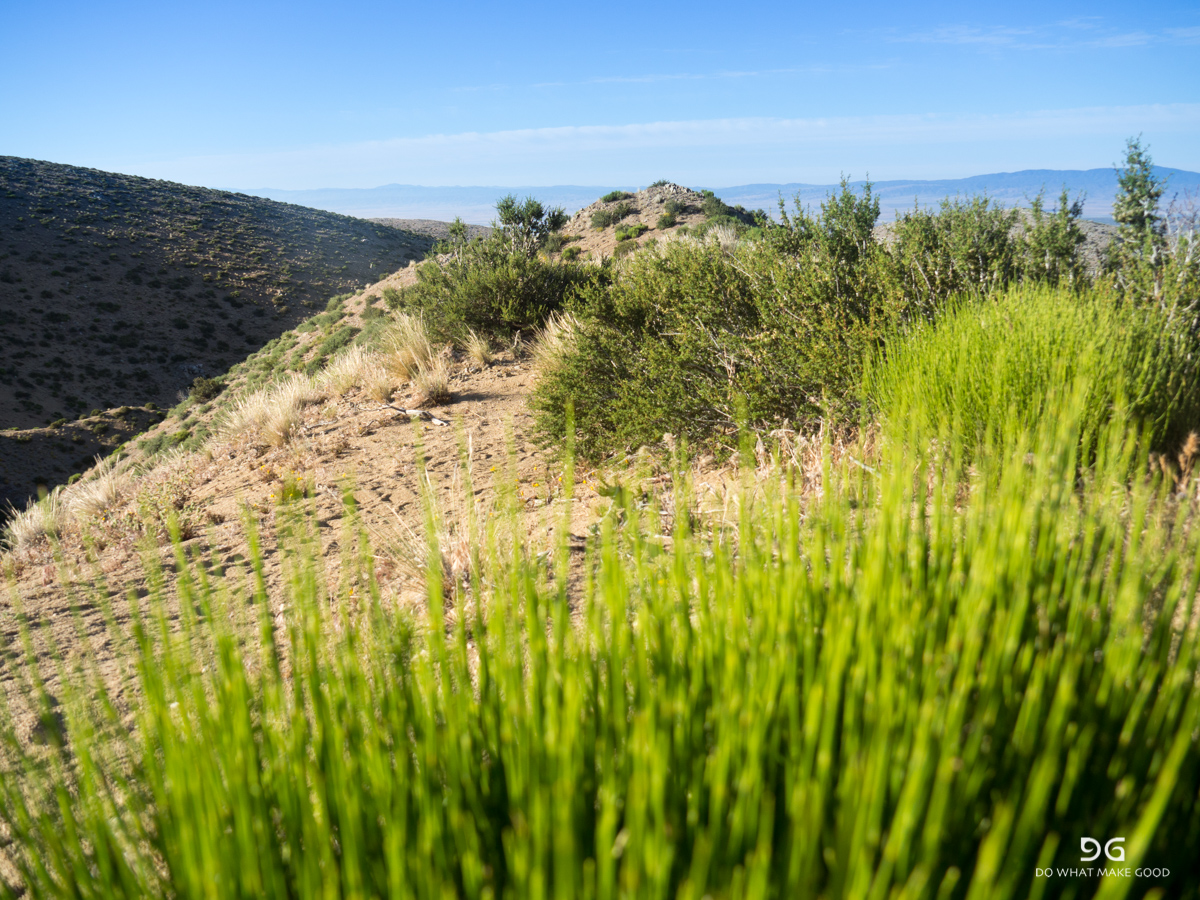
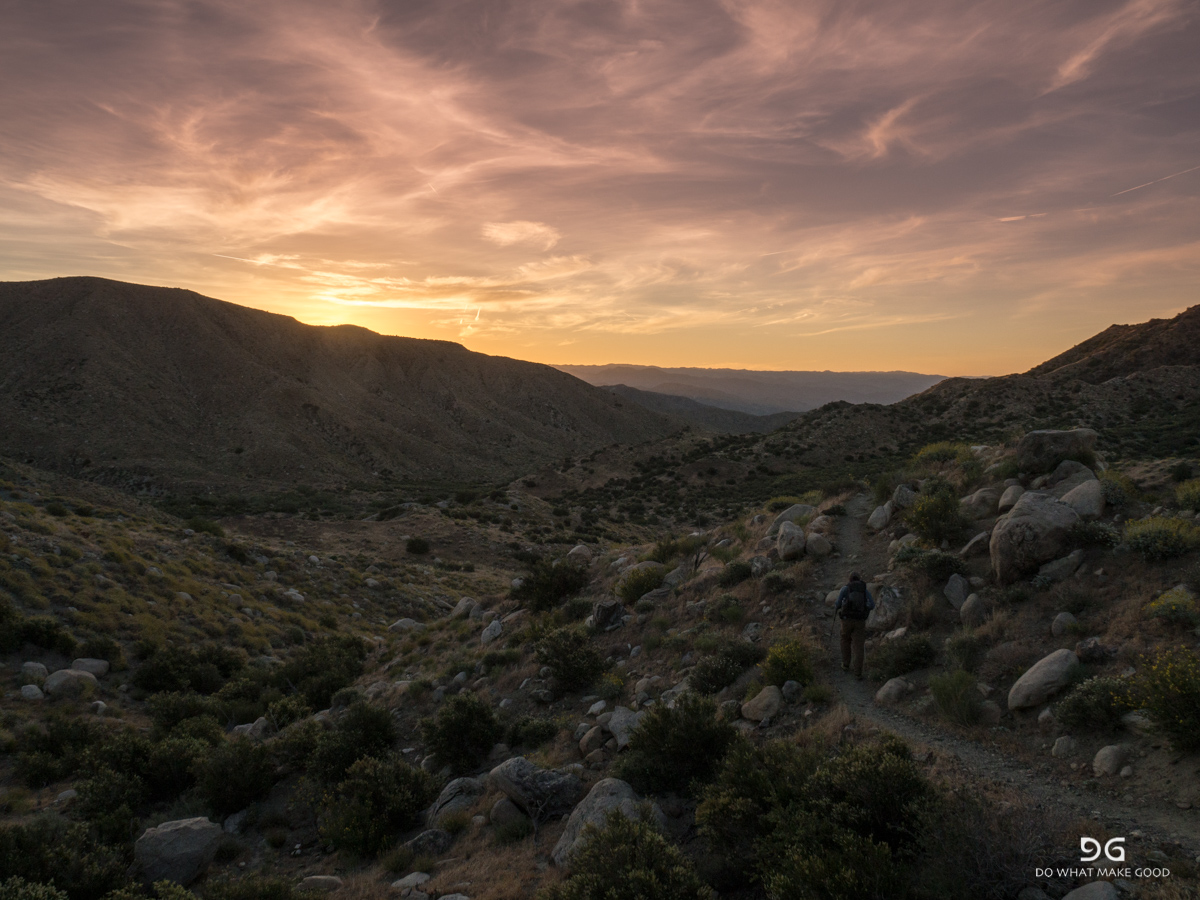
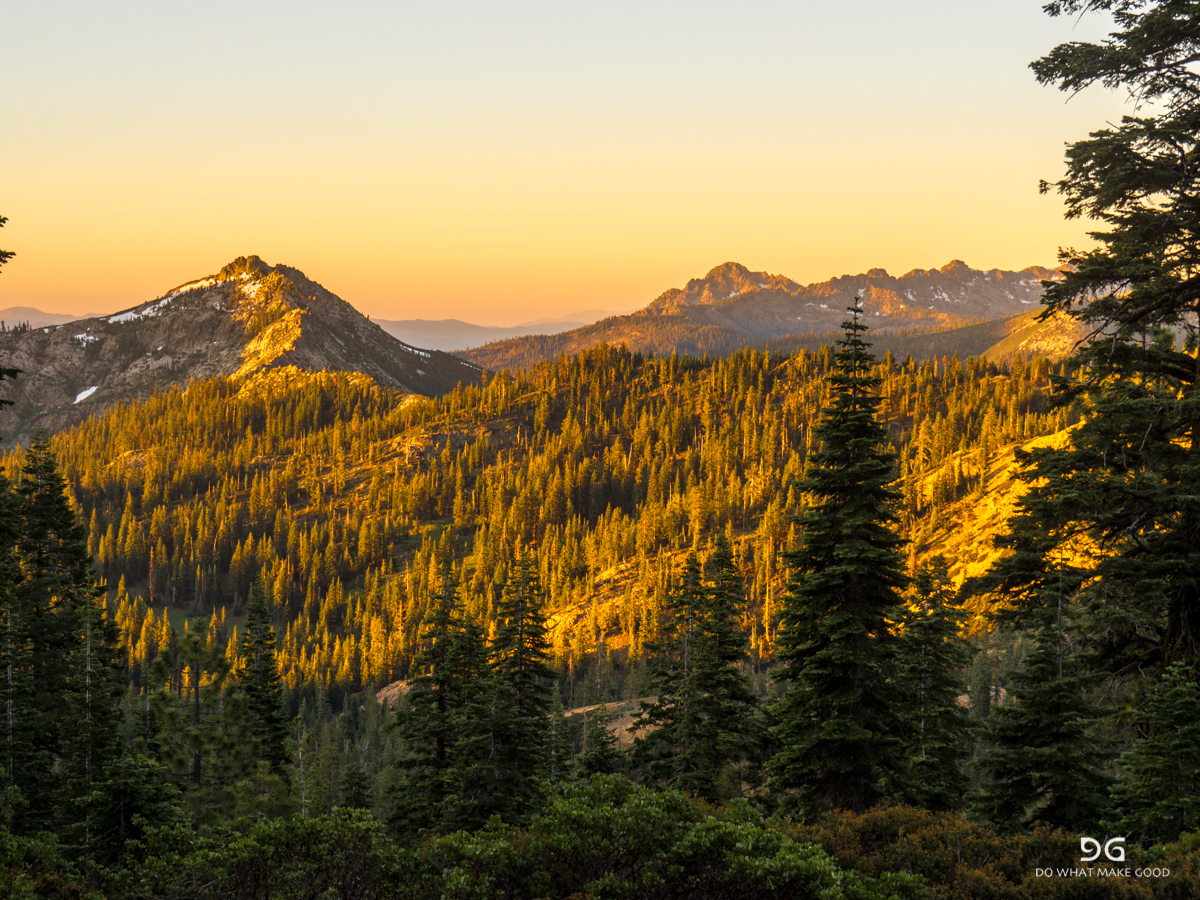
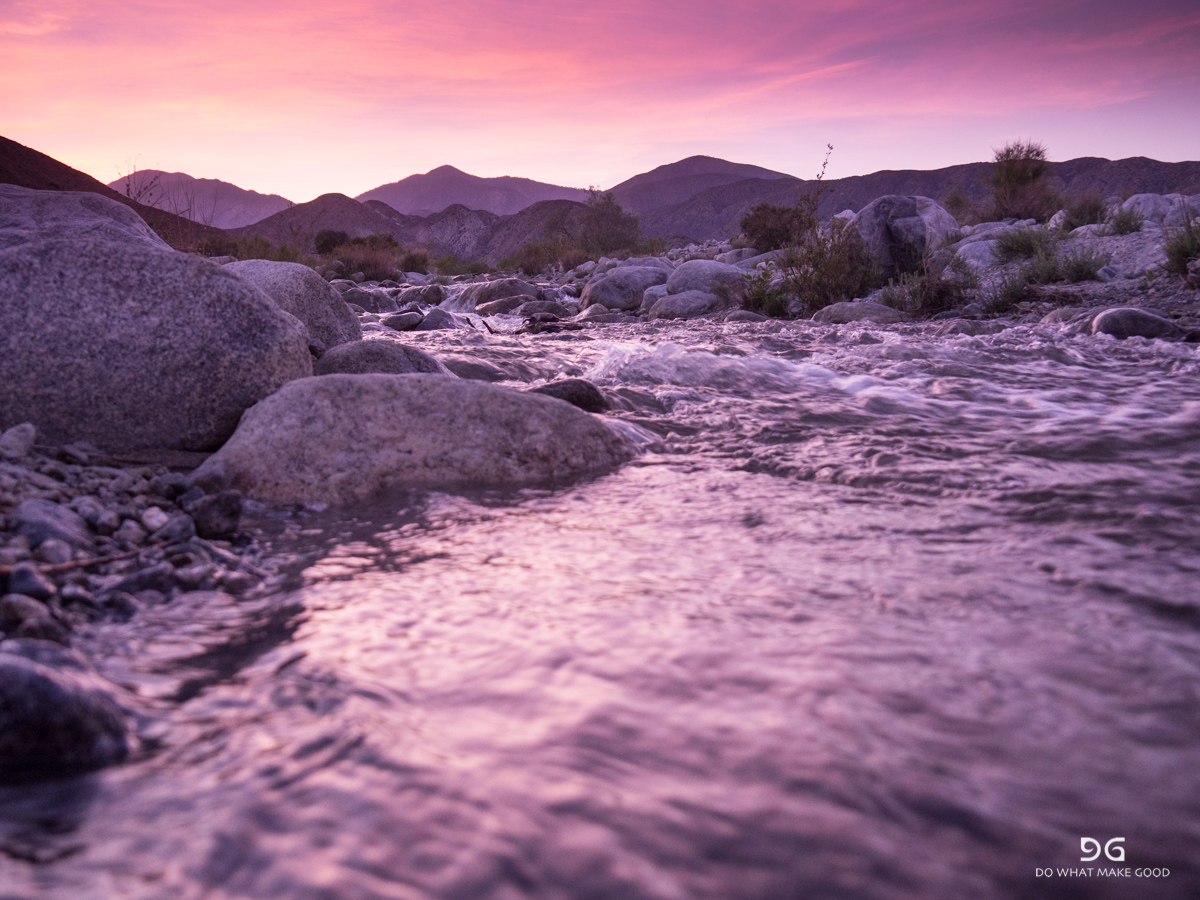
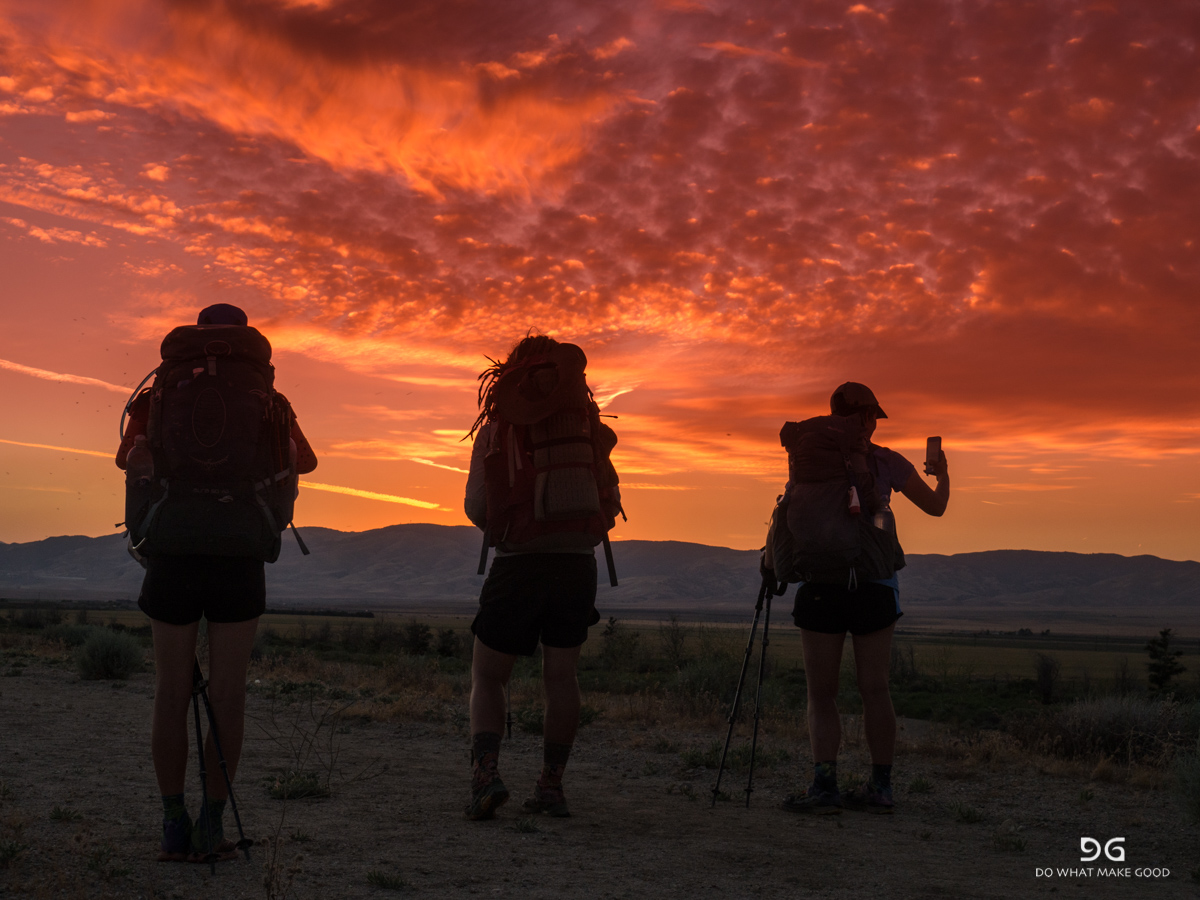
After getting in camp late yesterday we still decided tonget up at 4am and leave camp at 5am to hike in the cool time of the day. And we did. Woke up quite dehydrated so we pushed the first five miles quietly to the first water. After finishing in an amazing sunset yesterday we got to walk through an amazing sunrise...


The water source though was a tough one. A one mile detour off the trail and all uphill to get to a cistern covered with a lid so you had to fish your water out with a bottle. Took us 20 minutes tonget there and another 30 to get the water out... We were so exhausted that we rested for two hoirs before we continued - missing the only cool hours of the day 😂😂😂
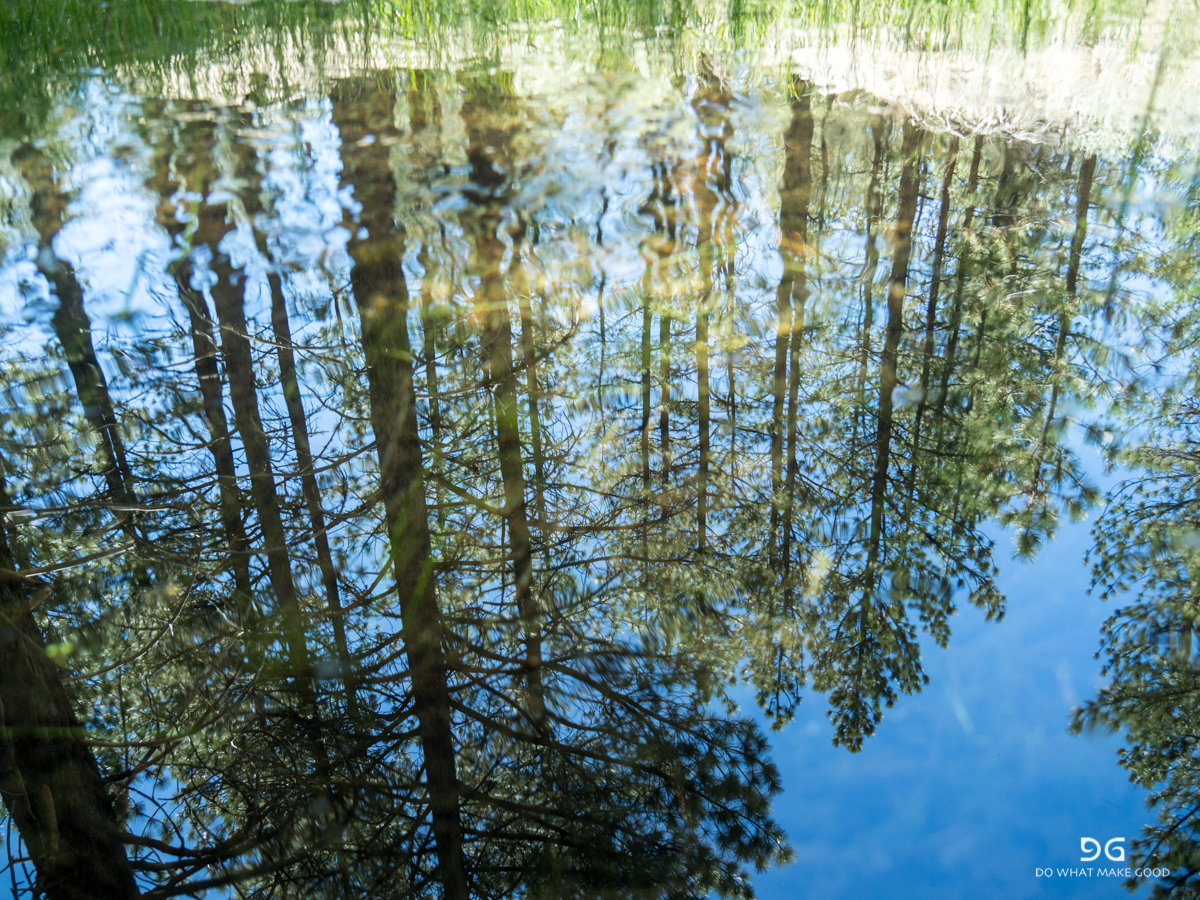
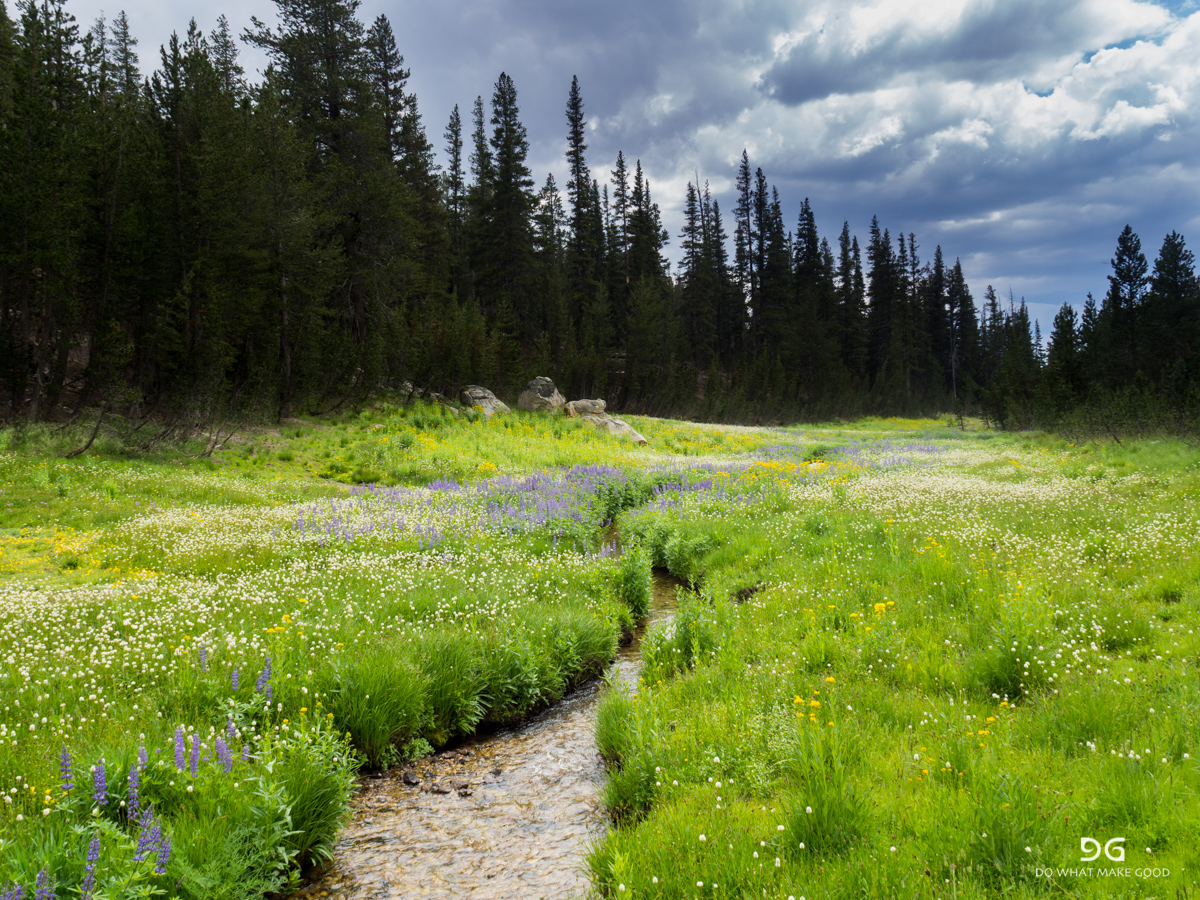
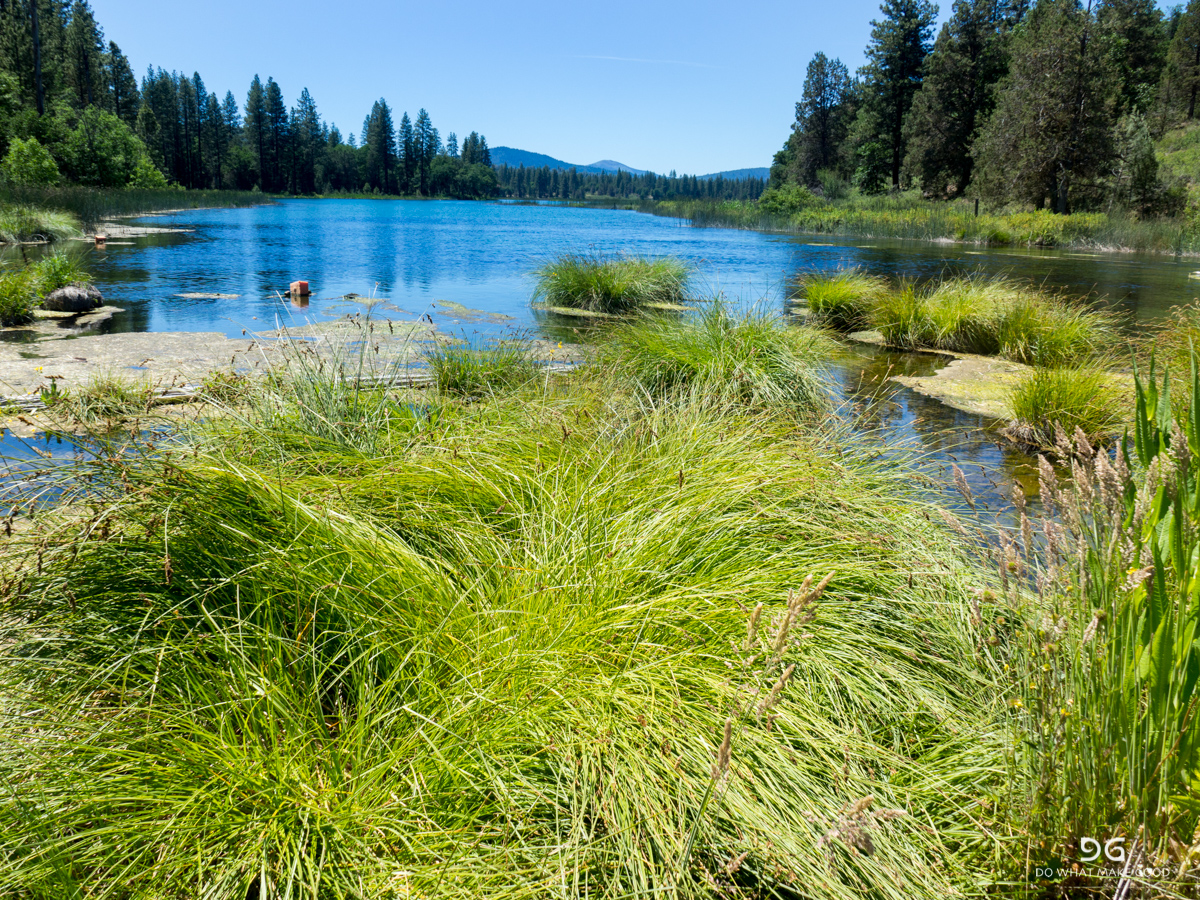
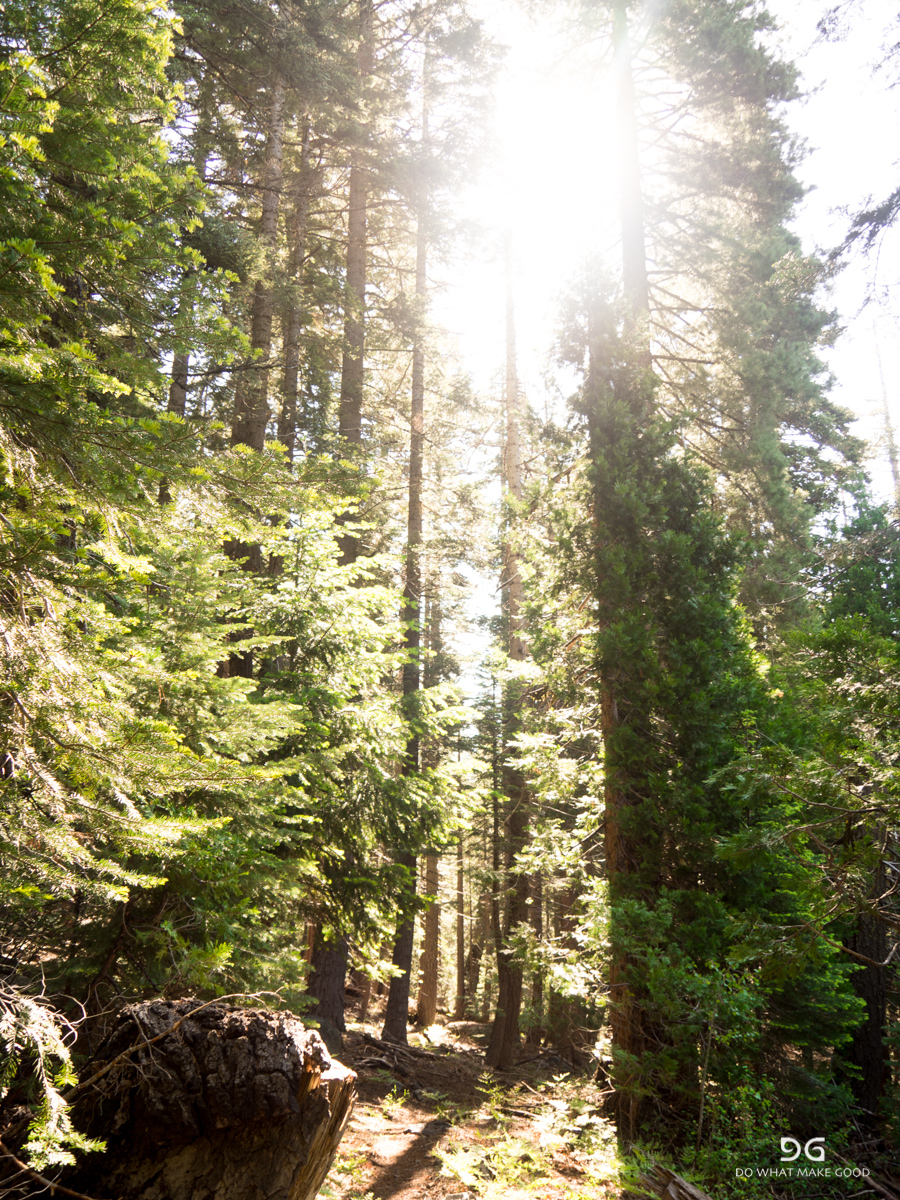
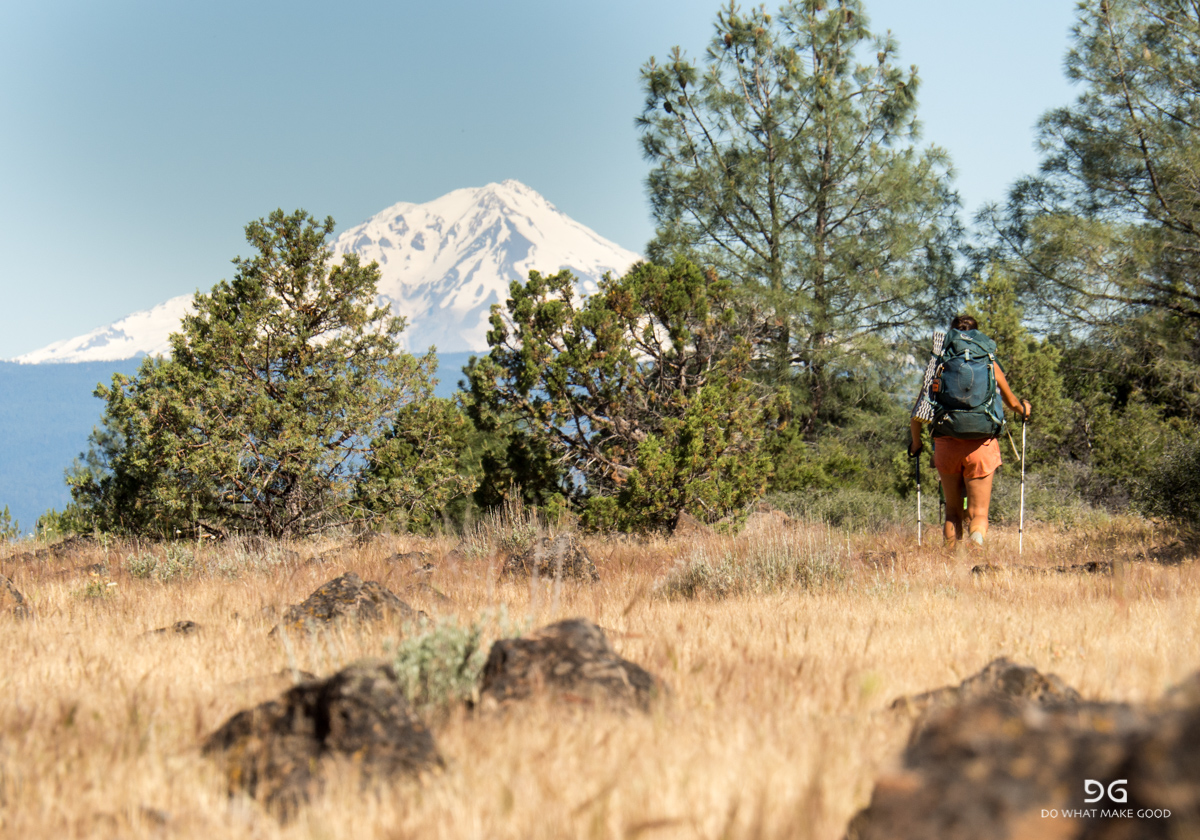
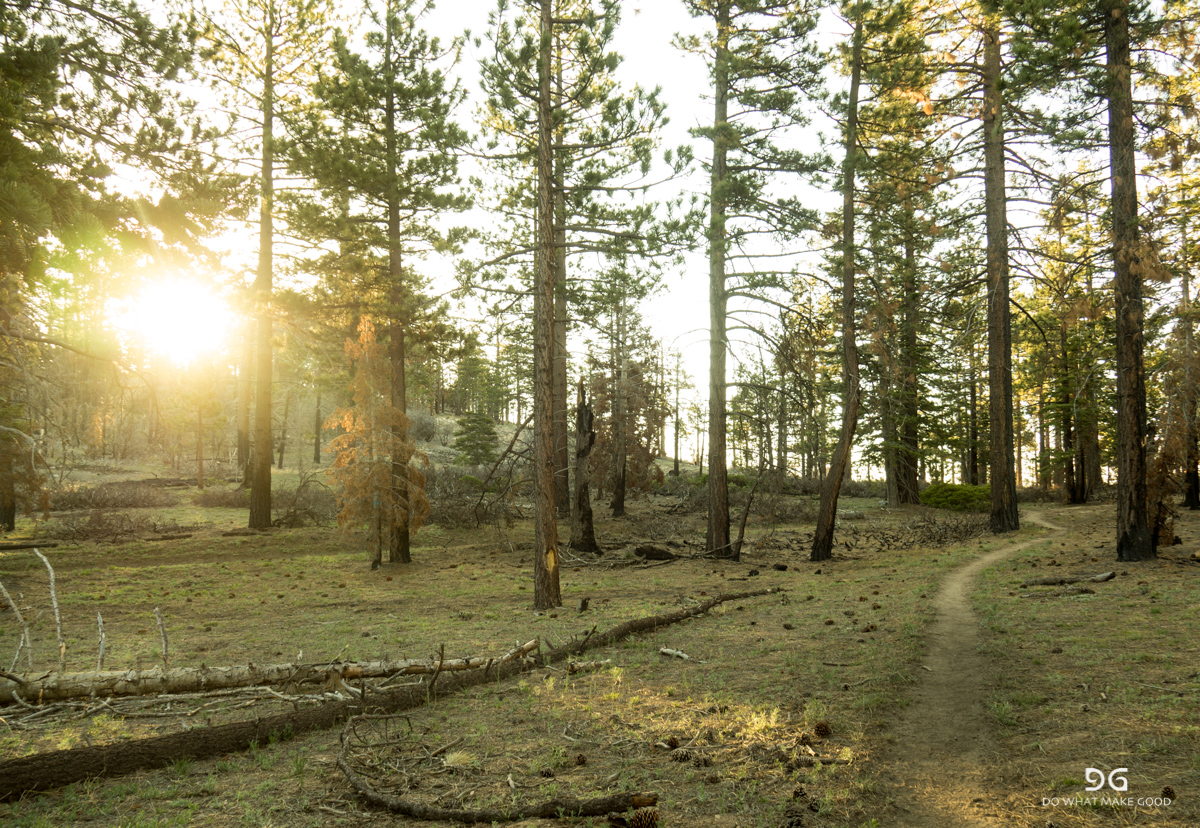
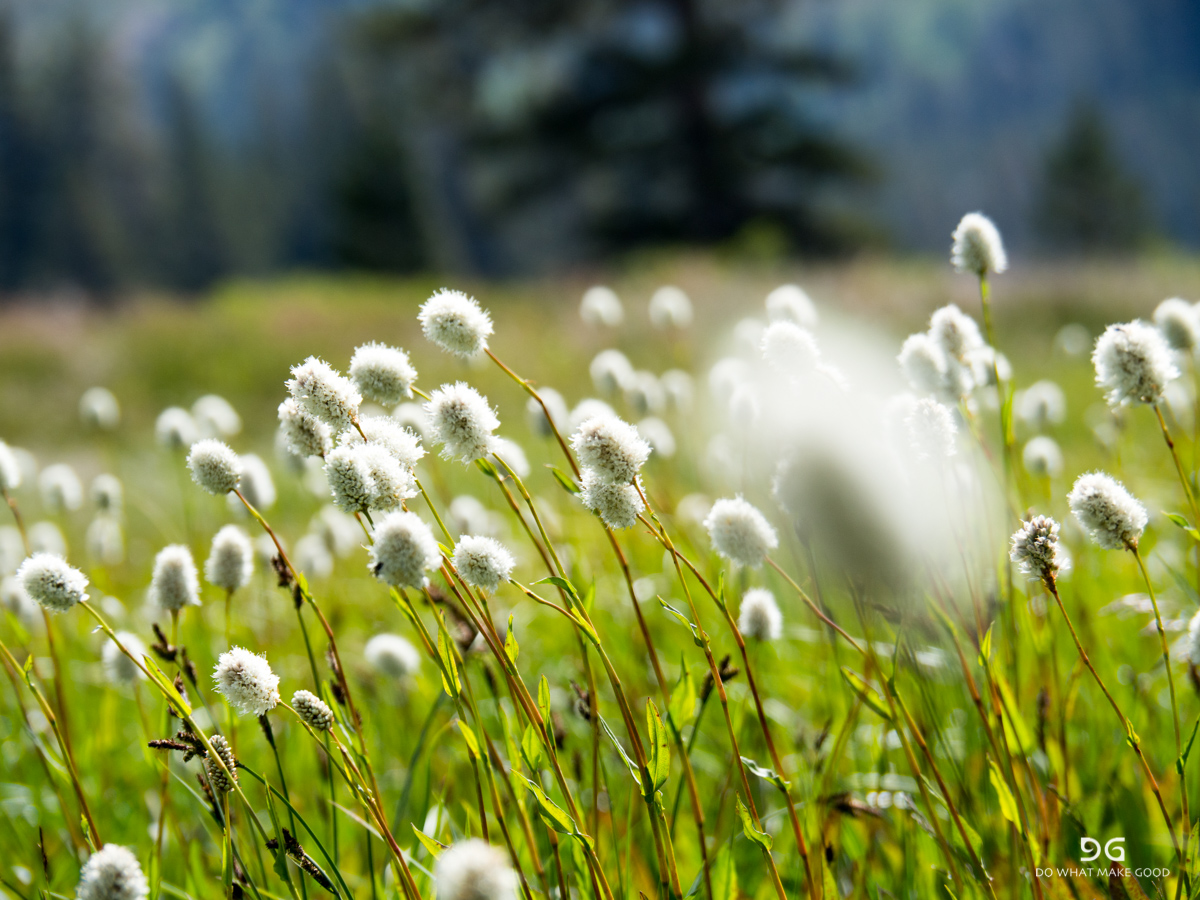
The next stretch was a nice stroll through a pine forest with cool grassy patches in between - something we haven't seen so far!

And a big thing today - passed the 500 mile / 800km market! 🤘🏼


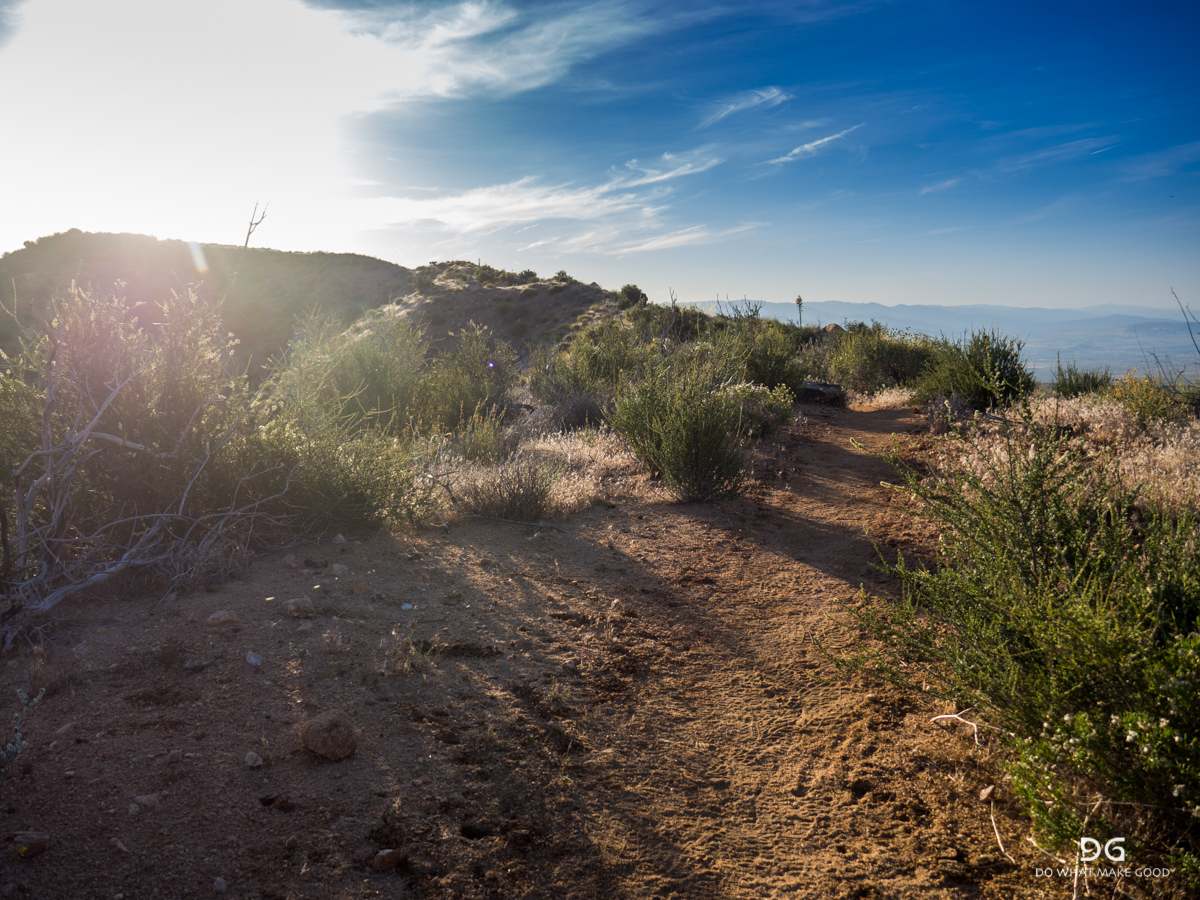
Another stop during the brutal heat of the day and then we rolled down the hill towards the flats. Unnecessary to say that the "National Scenic Trail" took us on every possible little hill - most of the time twice - and made sure a 1 mile stretch ended up being 4.5 miles. Scenic is fine but I am sooooo close to writing to the PCTA organisation... 😂😂😂


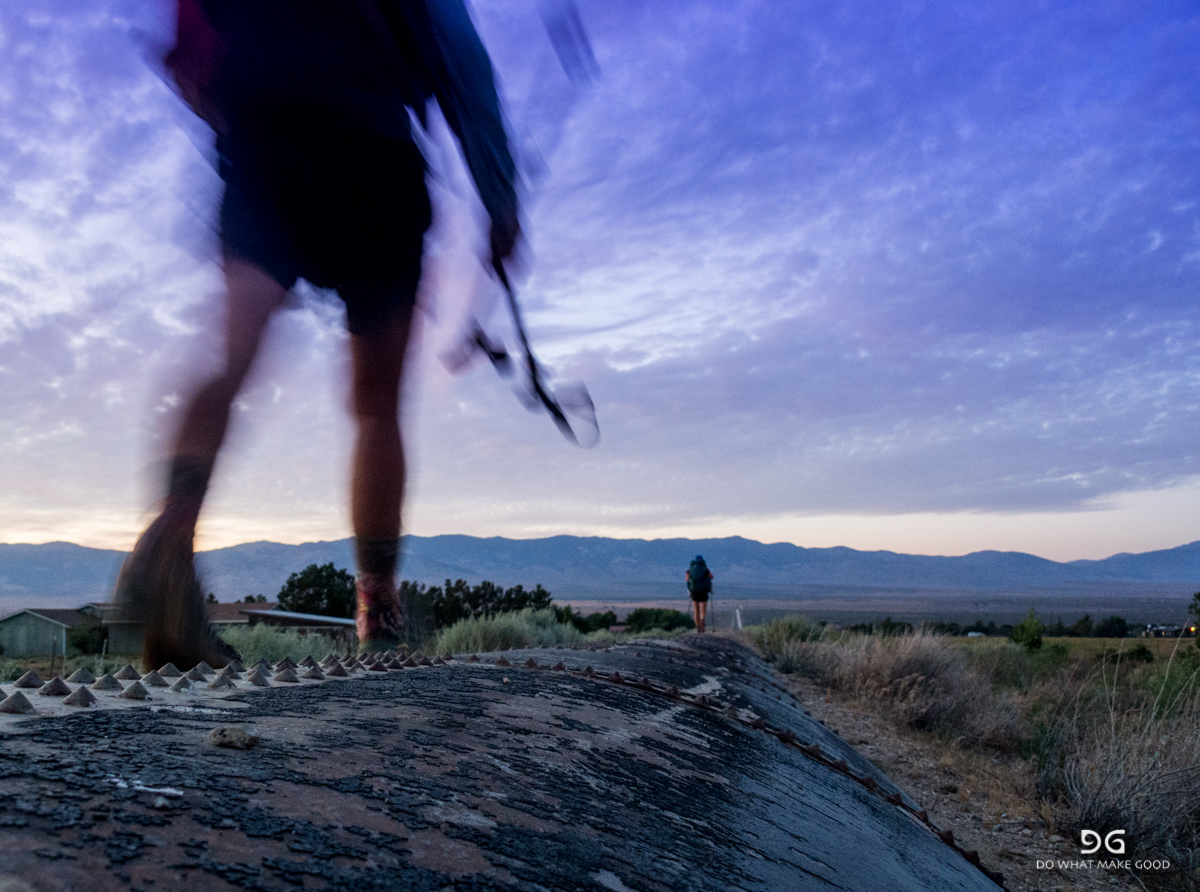
Last mile into hiker town was flat and easy.


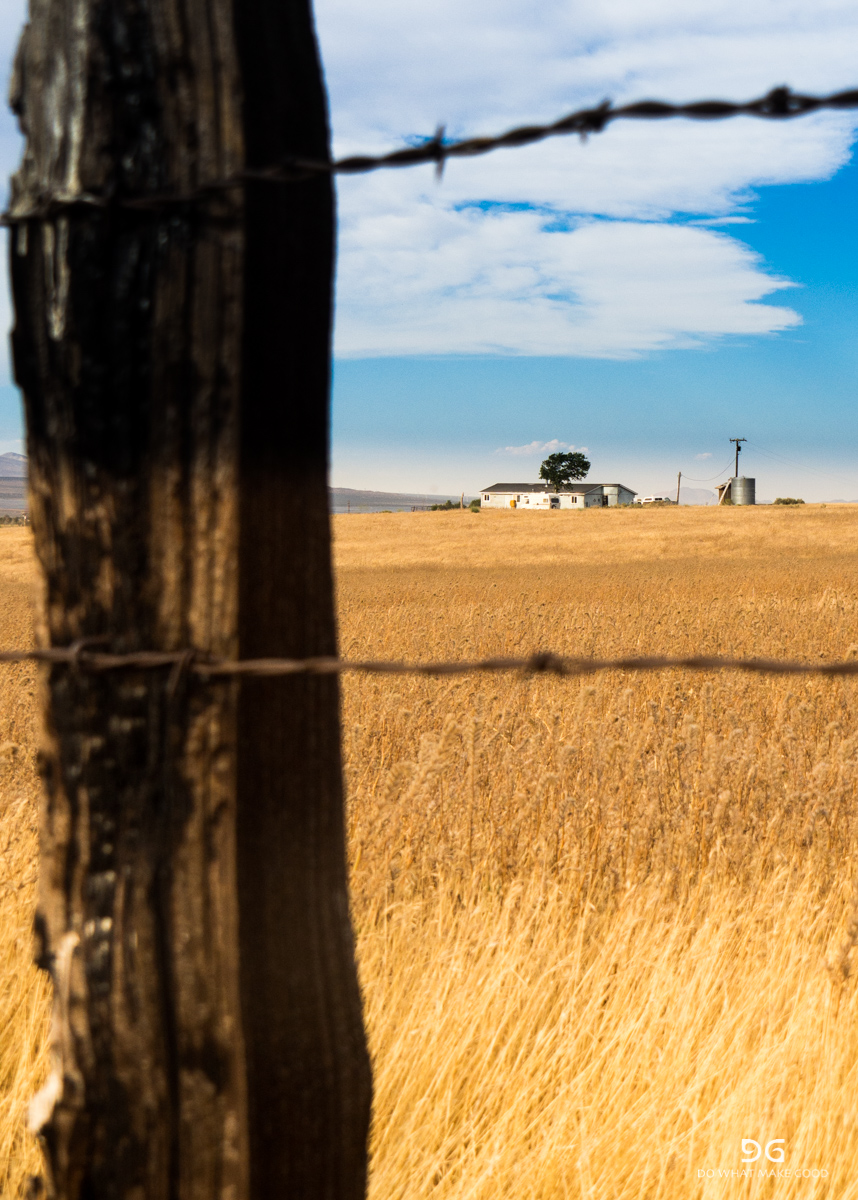
And then we arrived in Hiker Town. A little artificial Western village right next to the trail only for us PCTler. Very awkward! A post office (which is actually a real one!), store, town hall, etc in miniature format all equiped with beds.

We decided to stay for the nigt and next day and then hike the next section during the night. It's supposed to get up
to 100F/38C and we are walking trough the desert without a single tree for 24 miles. So food and rest for tonight and tomorrow and then the first proper night hike of the trail! 😎
From Cachora via the Choquequirau ruins to Machu Picchu - great ruins, solitude, massive valleys and an amazing and doable solo trek.
This will be a bit more detailed in case anyone wants to do the same trek. I had quite some trouble finding sufficient information about the trek and the options so I put together what I experienced and what will be helpful for other hikers that want to go solo on the trek. And it’s also for you, NGT! Too bad you couldn’t be part of it...
Well, this has definitely been one of the top items on my South America bucket list - Machu Picchu. One of the first thoughts to go on the classical Inka-Trail were put aside quickly when I realised you had to go in a group and it would take 4 days to do a bit more than 40km. I know that would have been painful for me. So I looked for alternatives to combine hiking, peace and solitude with Machu Picchu.
And then there was Choquequirao. It’s an (still) quite unknown Inka site which is located about 100km south-west of Machu Picchu. Not much is known so far. The name supposingly means “gold vein” and it was used as a military and administrative complex. Since it is a decent two day hike for most people including descending and climbing serval thousand meters it luckily keeps the crowds away. Apparently there are discussions to build a gondola for easier access - I hope this will not happen… Anyways, there is an option to not go in and out to Choquequirau but to continue over few more passes and through more valleys to end up in Machu Picchu - options of 120 to 180km.
When I started researching there was only little information available. A couple of blogs with good descriptions but no maps or other information. So I talked to some of the travel agencies in Cusco to get more information - and they were all shocked that I wanted to do this trek solo and during the rainy season. They actually asked me not to do it. Well, what can I say. I was confident enough to survive a few days in the wilderness and too keen to see it myself now. So I left my schedule with a friend and told her what to do if I didn’t contact her after 6 days and off I went. Since I was not sure if there would be opportunities to buy/get food I carried food for six days with me.
First highlight: When I went shopping in a supermarket in Cusco I of course also staged cheese for lunch. I didn’t believe my eyes. All Kiwis and TA-hikers will know what I mean when they see the pictures.

The only cheese they had was “Vintage” Mainland cheese. Cheese from New Zealand from which I don’t know how many kilos I ate on the Te Araroa Trail in New Zealand. What a great laugh, excitement and feeling of home 😂
The cheapest way to get to Cachora is to take a few “collectivos” - a system of shared taxi rides which are very common in South America. They drive a specific route and everybody can get in and out along the route. The price depends on the distance. The collectivos leave on the Avenida Arcopata corner Fierro from 4am onwards. Try to find one that goes to Ramal de Cachora. If not take one which goes into the direction. As soon as you get off at the last stop there will be collectivos (and of course little shops which sell food and drinks) which will take you further. I made it in two one stop to Ramal (15S and 12S). I left at 6am and arrived in Cachora at 10am. From Ramal you have to be lucky to share a ride or the individual taxi (which will also be waiting there) is 30S to Cachora. You can also hire a taxi individually from Cusco to Cachora for 160S. Once in Cachora you have the option to start on the market place or to continue with the taxi to the Mirador Capuliyoc. I opted to walk the additional 12km. It’s an easy and gentle uphill walk which joins the dirt road after half way and took me 1:40h.

For the ones who read this to do with themselves maybe a rough guidance when it comes to times and my judgments of trails. On a scale from 0-10 where 0 is extremely unfit, 5 is the average fit hiker and 10 the speed hiker I do rate myself a 7-8. So if you are a 5 you will probably have to add around 50% of time and “pain” to my descriptions ;-)
Once at the mirador you can buy drinks and also lunch/breakfast. But be aware of a massive sandfly attack. First you don’t feel them but they eat you alive. Cover up, repellent doesn’t help!
The road ends and the trail becomes beautiful. The trail is well marked, clearly visible the entire time and in very good condition. The valleys are steep and impressive.


The viewpoint is at almost 3.000masl. From there it is about a 9km path which descends 1.500m down to the Apurimac River. The trail partly gives you a little taste of what will come the next days.

No water along the way. It took me another 1:50h to get down to the valley. Here you also have the first campsite and access to drinking water.

I also bumped into the first group of five which were on their way to Choquequirau with a guide, cook and mules. So I guess it was not such a stupid idea at all to go...
I decided to continue to the next camp site, Santa Rosa. Only another 3km and 600m ascend. That’s what I thought. Looking back I think I just didn’t drink and eat enough for breakfast and lunch but it was a real fight up the hill. It took me almost to hours to get up the hill. It was shockingly exhausting and steep and I just hit the wall. I arrived in the campsite at 6pm, pitched my tent for 5S, forced myself to eat and went to back - dead. We were a handful of people at the campsite. A family runs the campground and you can buy snacks and drinks. I didn’t ask for meals. The organised tour brought their food and also cooked it themselves. A long and tough day. But I think if you either start earlier by spending the night in Cachora or taking the taxi to the Mirador you can even make it to the next campsite which is another 2h uphill - Marampata.
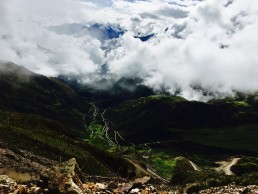
I left at 6.30am and fought myself up the 4km and 900m of altitude. It was cloudy this morning and a fantastic play of clouds, mountains and valleys - classical #cloudporn.


After 1.40h I was in the little town of Marampata. My legs apparently seemed to remember what they were designed for and also did for most of the time last year. Good feeling and supported my theory that I just ran out of “fuel" yesterday evening… The locals offer campsites at their houses, little shops and also warm meals. A safe spot for resupply. Another fifteen minutes the control gate of Choquequirau where you have to pay the 60S entrance fee and also get the first view of the terraces and city.

I don’t know if you can see this in the picture but this is almost a straight wall in which these terraces were built. Even standing there is scary as … But building them?? And on top of the hill you can see the ruins of Choquequirau.
Another 45 minutes and you are in the city. My original plan was to camp in the campsite of Choquiquerau which is right before you go up the last bit to the city and to continue the next day. But the guy from the park office told me that you could also find water and camp at the ruins 5km after Choquequirau. This meant continuing a bit into the right direction in stead of going back tonight and up a gain tomorrow.
But for now it was time to explore the city. I just left my backpack on the “main plaza” and started to walk around. We were maybe 12 people in total in the ruins during my entire time there. The city has three areas:
The top sector or hanan which was probably used for rites and cults to the ancestors.
The bottom sector or hurin which was for residential use, warehouses, workshops and the royal buildings.
The ceremonial platform or usnu is the flattened top of the hill which is surrounded by a perimetrical stone wall.


But one of the highlights for me were the sun terraces on the other side. Probably a 30 minute hike down on extremely steep stairs. Into the terraces the builders have included pictograms of llamas mad of white rocks.


The way up is even harder. It’s as steep as on the way down of course but now you have to push your body weight up again. Plan an hour to 1:30h for the visit of the terraces all the way to the mirador - but really worth it!
Four hours were sufficient time for me to visit all sites and I decided to continue at around 2pm. The park ranger gave me the hint that I could continue from the upper city by following the water canal upwards. This hits the trail again after probably 150-200m and saves you and hour going down from the city and connecting with the trail again! A last view back from the upper city.


The trail circles around the high peak behind the city and then drops down in switchbacks. Again it goes all the way down in the valley now to the Rio Blanco - 1.200m. On the other side you can again see what you have to walk up again.

A bit less than two hours and I arrived at the Pinchaunuyoc ruins. They are mainly terraces with a couple of buildings. But a good place for a rest and a drink.

Since it was only 4pm I decided to continue down to the river. Probably another 45 minutes and I had a nice camp spot for myself at the river. But again - mosquitos and sandflies! Thousands! So be aware.

It was great to be able to walk my own speed again. I met a few workers from Yanama who maintained the trail. But besides this it was absolutely quiet. Back in my comfort zone...
The next morning I started at around 7am. Today there were 2.200m climb ahead of me. The day started out with more #cloudporn and a constant and steep climb in switchbacks.


The first part are about 2 hours for 4km and 1.200m uphill to the next campsite Maizal. After about 2km follow the main trail and the sign to Maizal / Saint Valentin Camping. There you can buy food again. Since I still had enough I took the out trail (to the right / straight) and arrived directly at Maizal. Only a simple campsite. When I arrived there was only on guy in the kitchen house cooking. He was the cook of the works on the trail and about to bring them lunch. Since it rained he offered me to take a seat to rest. He handed me a warm coffee and one of his fried breakfast breads. We talked a bit about the differences between Peru and Germany and then he got ready to go. Before he left he handed me a hot potato. It’s probably hard to explain what a hot potato means after a two hour tough climb in the rain. #happiness. I gave him a bar of my chocolate as a thank you and he went to deliver his food. A classical trail angle!

From here on the trail gets a bit flatter and easier. But it’s still another 1.000m to the highest point of the pass. On the way you pass a lot of mines and water is not a problem on the stretch. After another 2 hours I arrived at the top. I took a good hour break on top to escape the rain and chat with two other groups who had arrived on the top as well. The clouds played their game and changed between view and no view. I guess the views are even more spectacular when there are no clouds and you can see the high snow and ice covered peaks around - but it was still very pretty.


The other side of the pass is 6km and 800m downhill to the town of Yanama. Probably one of the most scenic and spectacular parts of the trail.


I arrived in Yanama at 3pm. But since the others had decided to stay for the night and the campsite sold hot dinner and cold beer I decided to call it a day and stay as well.
From Yanama you have two options. Either you can continue north to Huancacalle and then 85km on the Road to Hidraelectrica or you can continue east for 27km through the valley and over the pass to Totora and Collipapapampa. Here you meet the Salkantay trek at the end of day two and it’s another 40km to Hidroelectrica. I can only speak for the valley but this was spectacular! Even though we all took the collective (which always leaves at 7am from Yanama) since we wanted to go to the hot springs together in Santa Theresa. I do regret a bit not walking that day because the climb to the pass and down is really spectacular. Steep but amazing. But what can I say, the hot springs were great as well. 😎


The stretch from Collipapapampa to Santa Teresa is mellow and just follows the valley. No climbs anymore and therefore a long day but surely doable in one. I don’t regret not walking it. The first four days were definitely more “super-espectacular”.
We arrived in Santa Teresa and Laura, Romain and I went to the hot springs which are really nice and open until 12 at night.
Summary for hikers:
Take a collectivo from Cusco to Cachora.
Cachora to Yanama is easily doable in 4 days. If you push yourself and maybe drive to the mirador even in three. One more day to get to Collipapapampa.
Food is partly provided so if you plan smartly you don’t have to carry too much.
Trail conditions are relatively good, but it’s a lot of steep up and down! Bring walking poles - they help.
Repellent and/or long pants / shirts against sandflies and mosquitos are a must - or you get eaten alive.
Great trail and doable also in the rainy season as solo hiker.
Choquequirau a definite and very relaxed highlight on the trail.
Queenstown - first gear review on the Te Araroa
It was still raining in the morning when we left the campsite. So we had to pack a wet tent again ? Well, we hitchhiked into town and I first of all got myself an - as I thought - well deserved breakfast with omelettes, bagels and cappuccino! After that we had a quick stroll through town and I did an intensive research on the gear and possible replacements which took most of the afternoon. We still didn't have a room to stay since Queenstown was fully booked! But again luck and Kiwis turned it around for us: Hayden, Wayne and Dan who we met in the hut a couple of days ago offered us their couch for the night. So we stacked a few beers and had a nice evening chatting, watching "Cool Runnings" (can't believe that it was done in 1993 already!) and eventually a good sleep on the couch. The guys have a fantastic view over the bay...


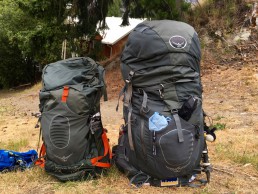
Next morning we hit the town and I finalised my gear shopping. I dropped my base weight without food and water below 10kg! I exchanged the tent saving 1.3kg, spirit burner and Trangia cooker for a small gas burner saving around 0.7kg, the new backpack saves around 0.8kg. The backpack was a tough one. I had to choose between a 44l which did not have a good harness/belt (1.1kg) and a 50l with a very good harness being 0.7kg heavier.
 That's what's going to stay...
Considering the fact that I usually carry 1.5/2l water and around 750gr of food per day I usually do end up over 15kg at the beginning of a section. The longer sections even require food for up to 10 days resulting in almost 8kg food. The space in the 44l would have been enough probably but I ended up being a chicken going for the safe version ?

I also traded my sandals for runners which are more useful for the easy stretches and they also work for the river crossings since they dry quickly.

One pair of thick socks, long underwear, 2. compass, book, one water bottle and the harmonica (sorry Tasche - I started practising already but my skills are way to bad that I could use it in public. Some parts of Pipi Langstrumpf already work and I will take it up again after the hike!) will go to Auckland for now. Probably summing up to another 0.9kg.

That brings me almost to my desired 4kg.

After the shopping part I went to my hostel, pitched my tent to dry it and sorted out the gear that I will send to Auckland now.
And finally I took the bus to Millbrook Golf Club to play my first round of ? in NZ!!!!


Didn't expect it to happen that early but jiehaaa! Millbrook also hosts the finals of the New Zealand Open - great course! Wayne and I took a cart and nice Taylormade (steel shaft / stiff - fully equipped!) rental clubs and off we went.
Balls went everywhere - left, right, long, short but better than expected including the entire range from birdies to multiple bogeys ? Anyways, great fun to beat the sh... out of the little white balls! I like!


Guess it will not be the last round in NZ. Thanks Hayden for providing me the shirt! Of course I did not carry a shirt with collar the entire time just for this...
Quick dinner and a couple of beers with Ben afterwards before I went to bed.
This morning was laundry time. Having to wash everything and not having any spare cloth gives you quite a logistic challenge in a hostel if you want to do laundry... So I sneaked out at 6 in the morning with my blanket starting the washing and then waiting in my bed until I could go out again - naked and wrapped in my blanket - to put everything in the dryer. Story continues with the shower... Well, I will keep the details to myself ?
Sent off the package to Auckland and went to the doctor to get a prescription for contact lenses - first weird thing in NZ! Why do you need a prescription to buy contact lenses? Well, to cut a long story short - shop online and you don't need one. So I send it the pack to one of the cities I will pass through. Topic closed. ?
After that I took a ride on the gondola up to the local hill which was sponsored by Babs & Joern.

Also the way down - at least partly on the luge - was part of the farewell present: Saftey first!

Thank you so much!!! Really enjoyed it - especially the fact that I didn't have to walk up here.
After being in the town again Ben and I did the food shopping for the next stretch and my two foodboxes. Not so simple. At the end I was lucky to follow Ben's advise to go with the 50l backpack. I spent 472$ on food for about 25 days:

It was so much stuff and so heavy that I decided to take a cab back to the hostel. We sorted out the different packs which will go in the mail tomorrow.

Just went out for a few beers with Hayden and Wayne. Great way to end Queenstown?
Cheers again mates for making Queenstown such an amazing memory!
Pacific Crest Trail
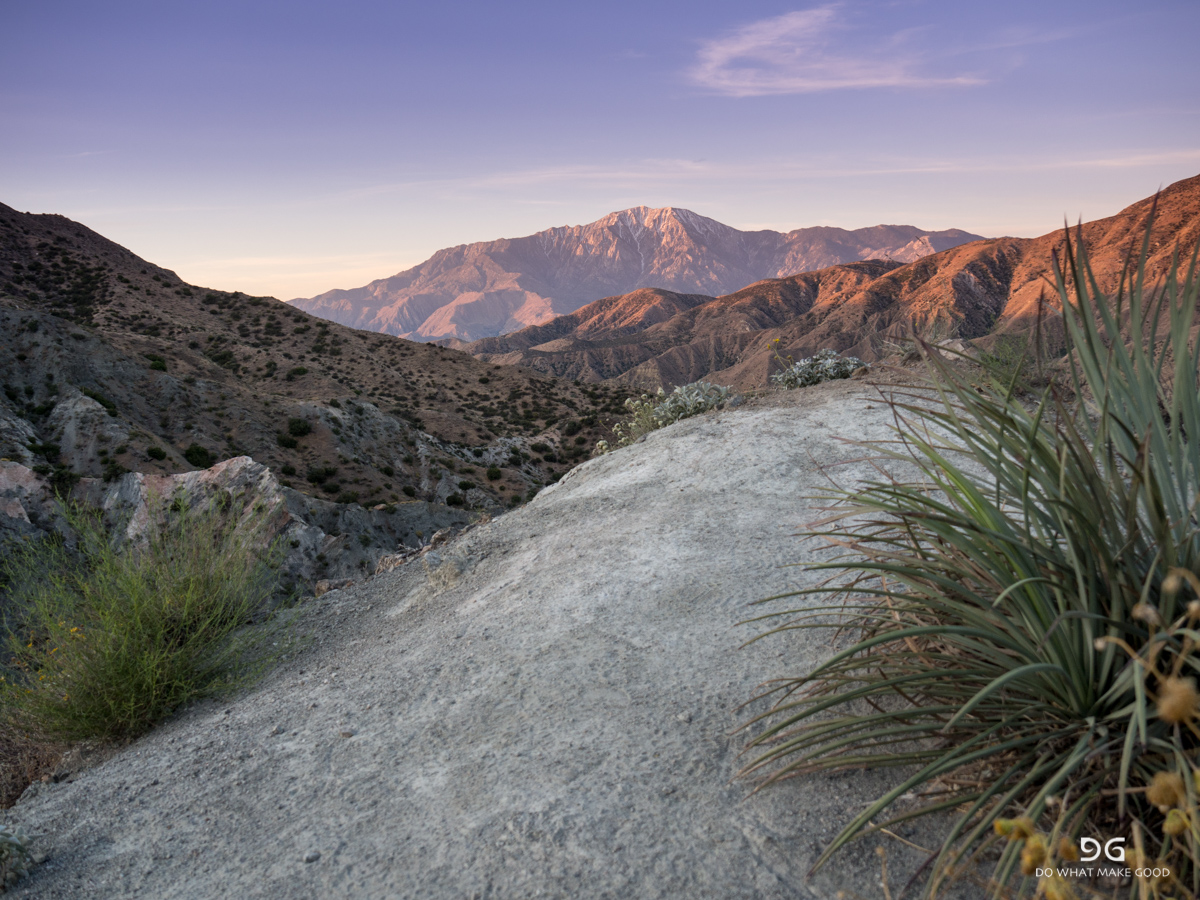
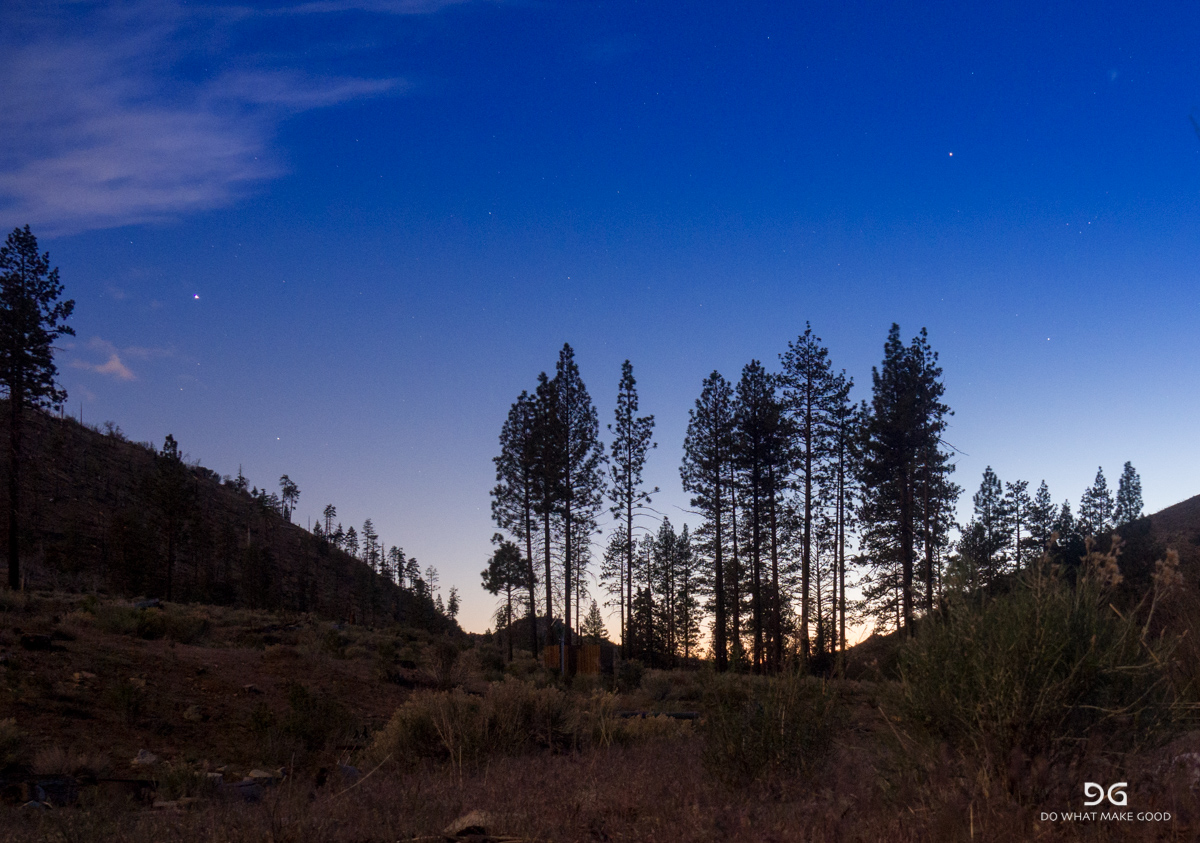
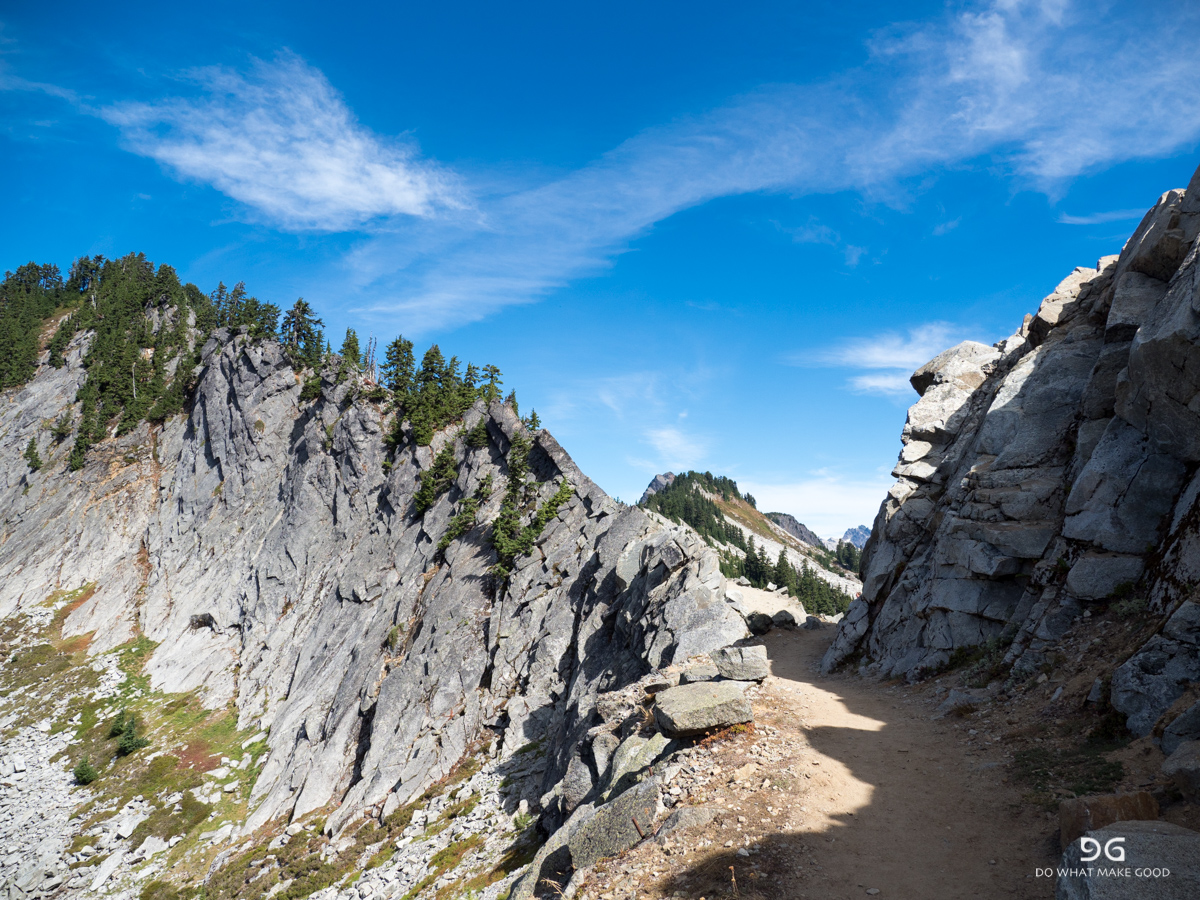
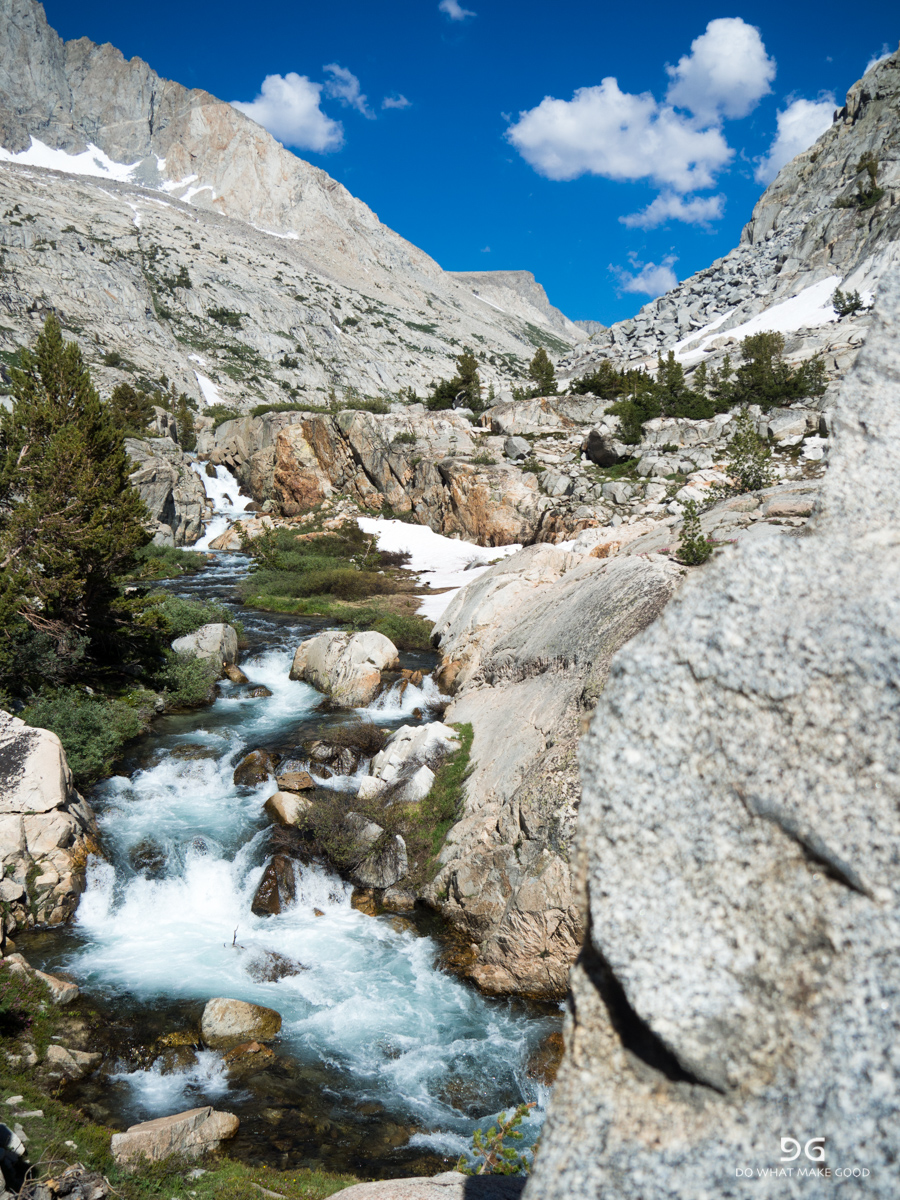
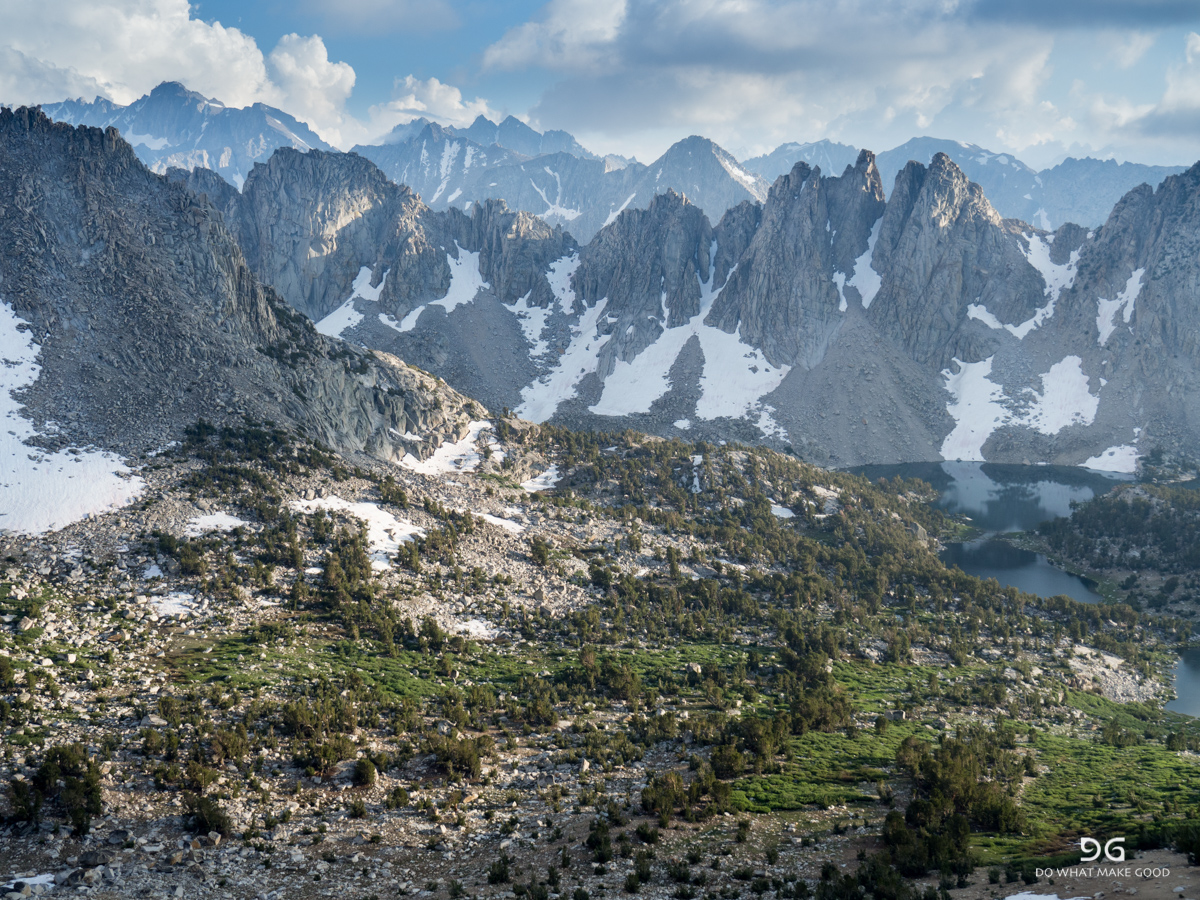
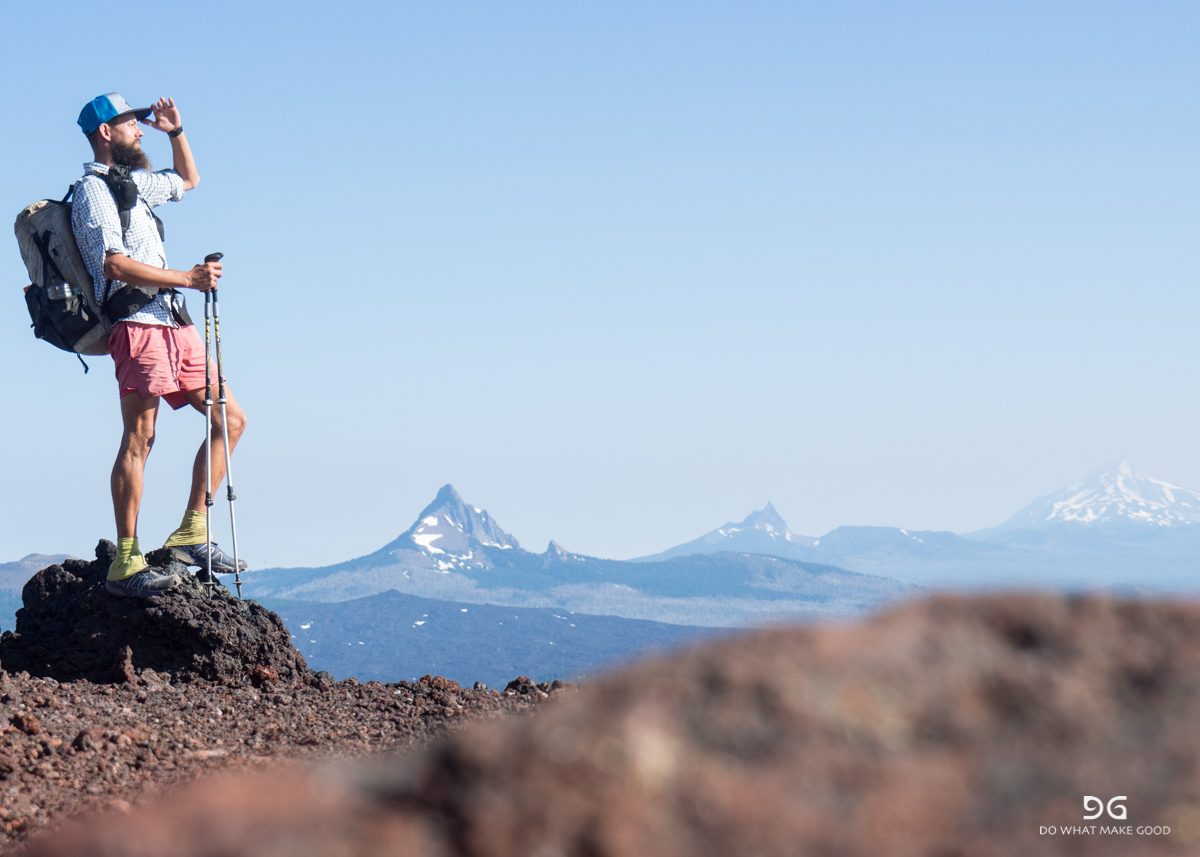
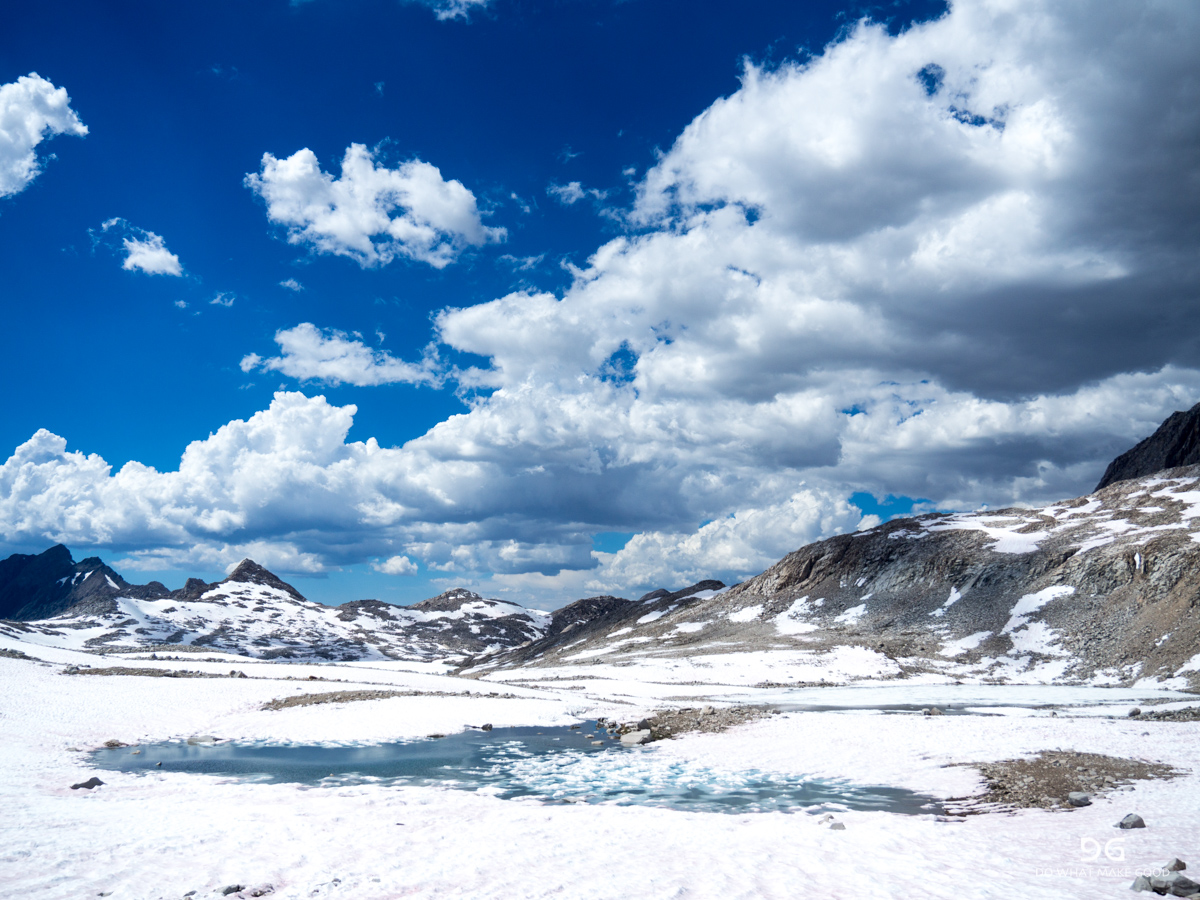
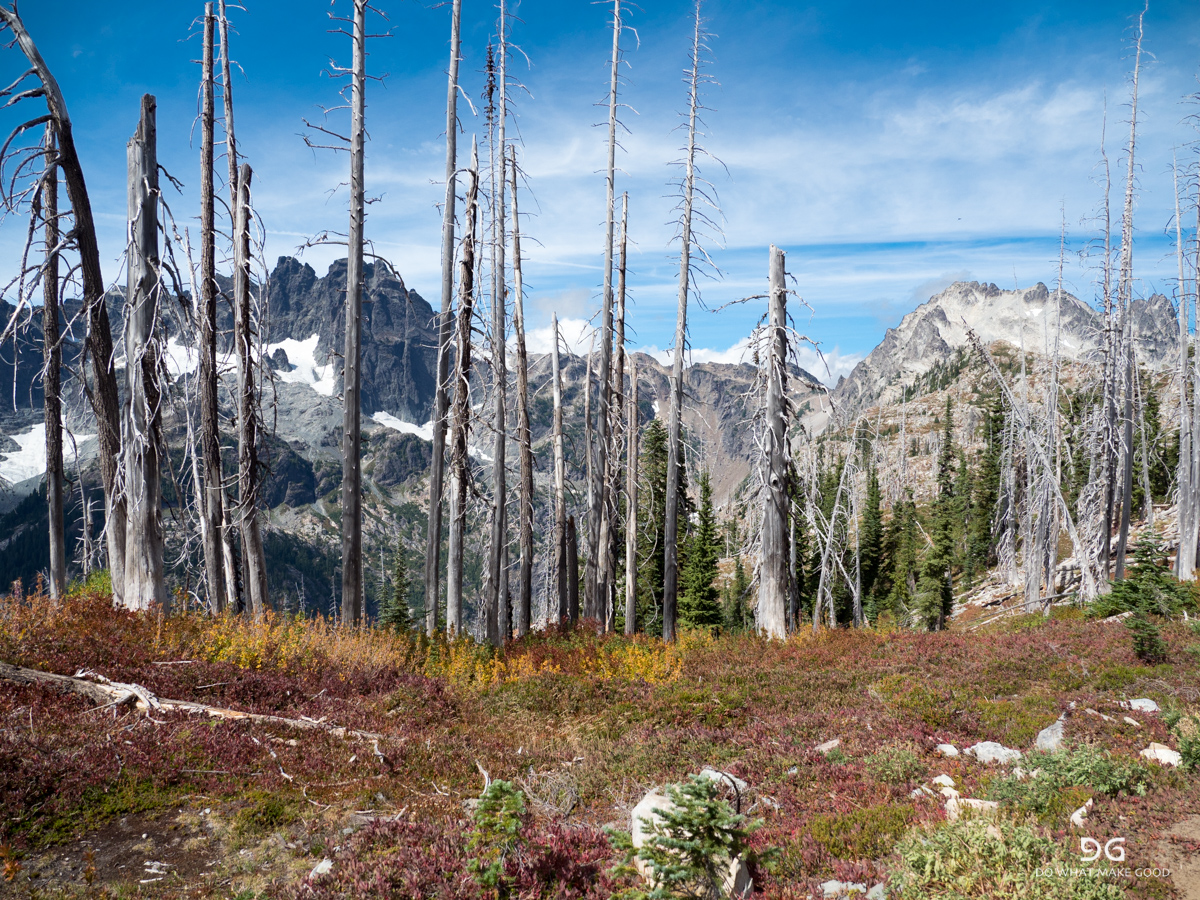
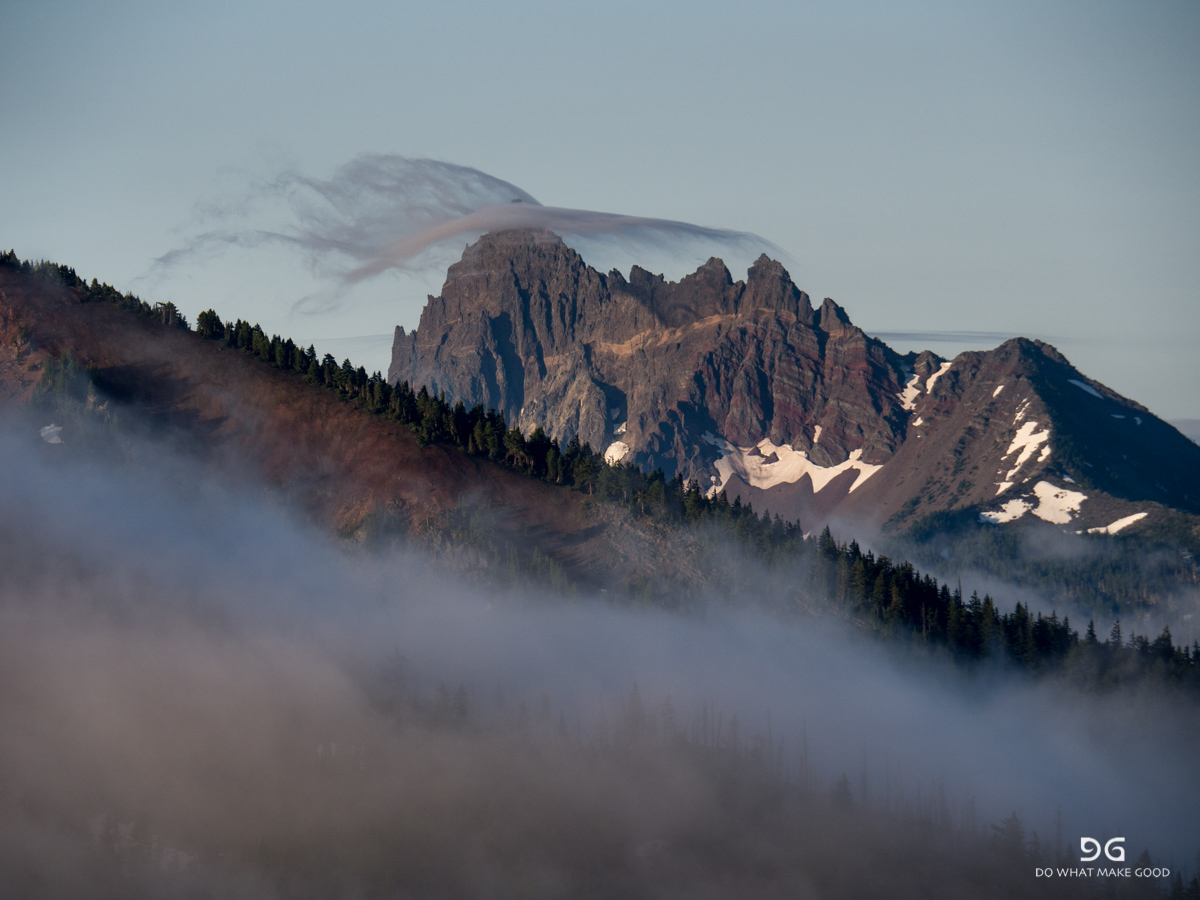
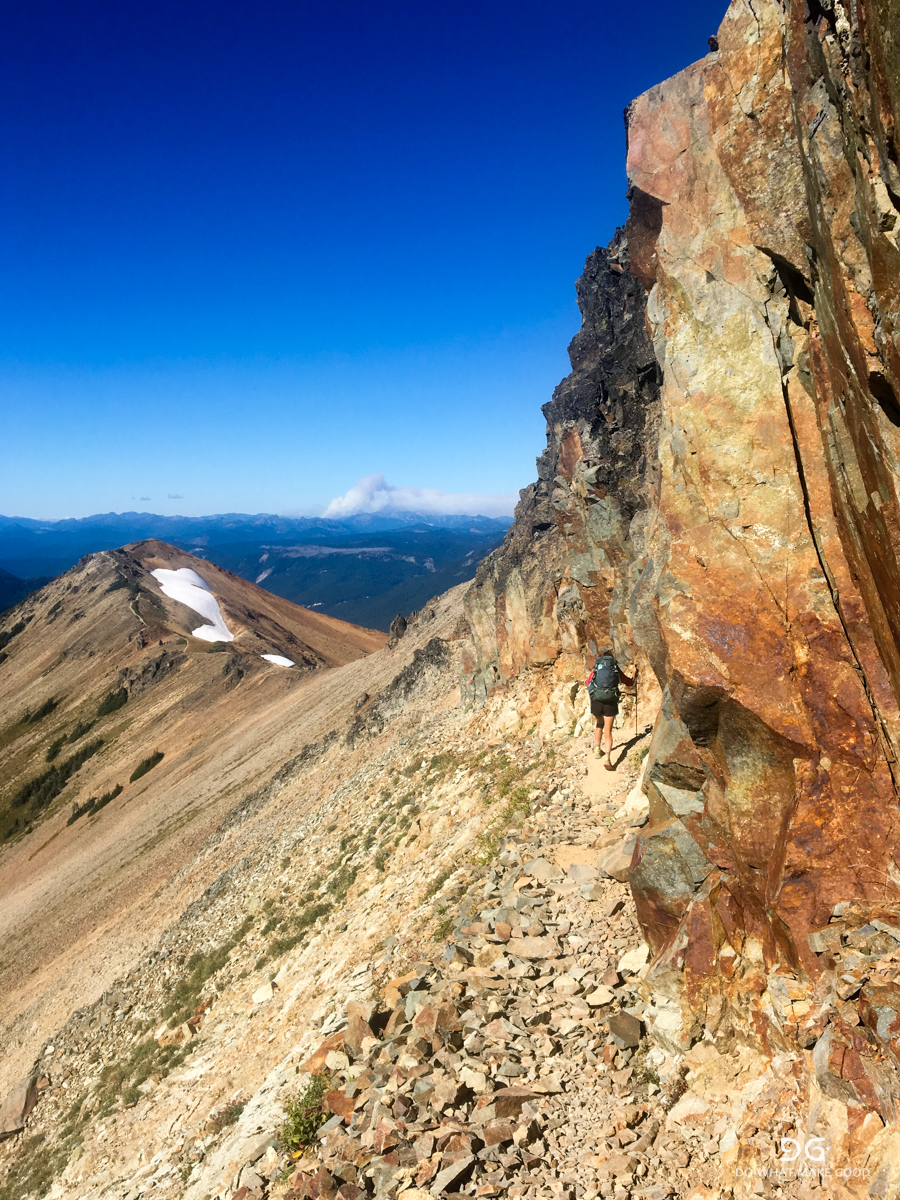
2017: Pacific Crest Trail, USA
The best shots from my thru-hike of the Pacific Crest Trail in 2017. Five month and 4,300km of stunning wilderness, wildlife and especially mountains.