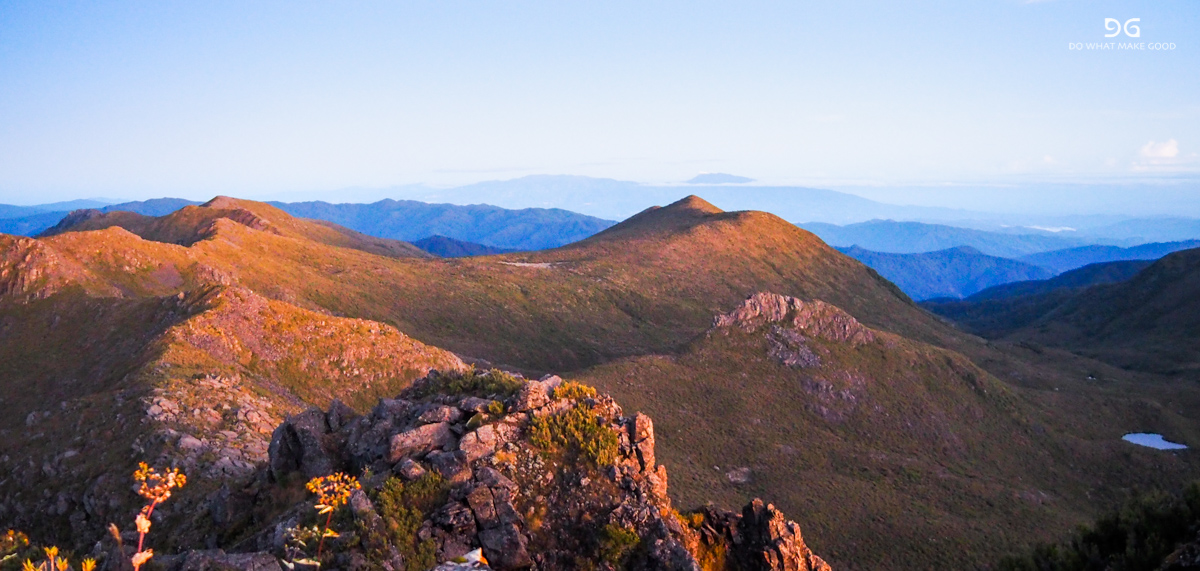
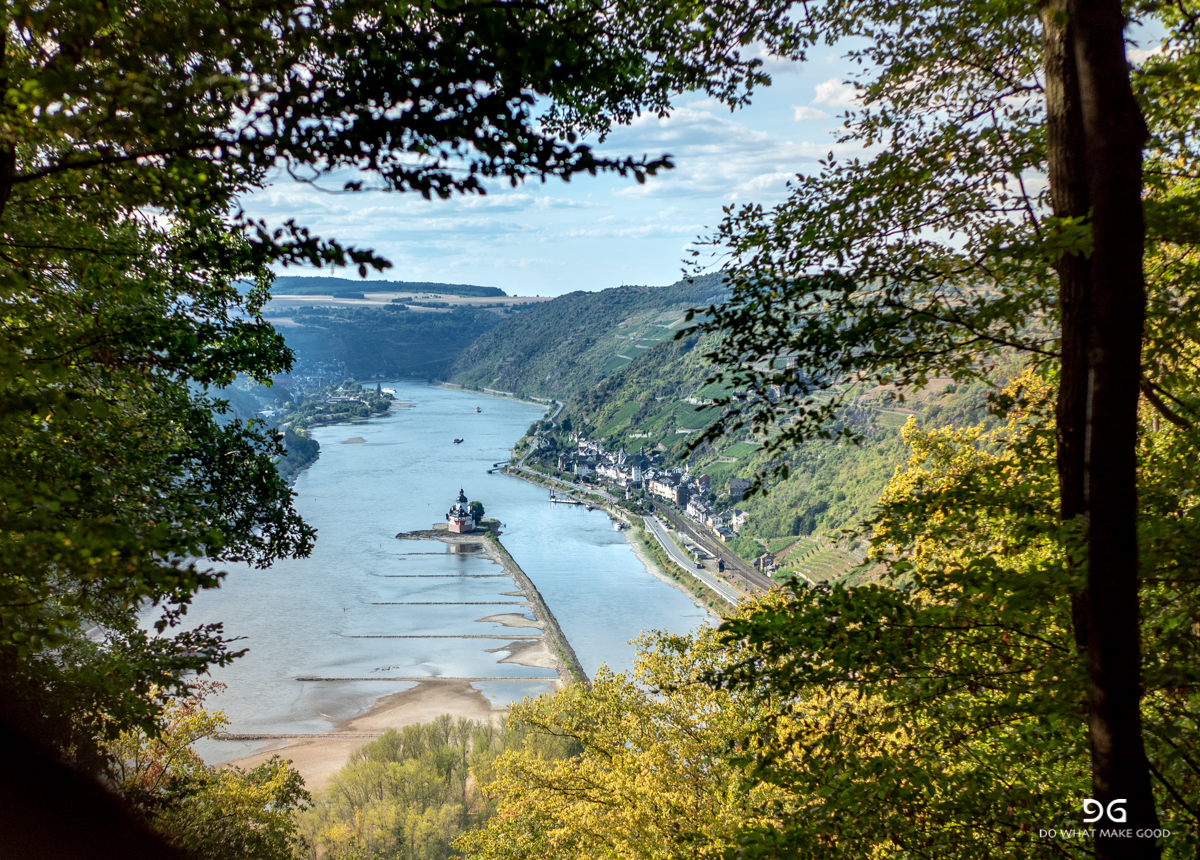
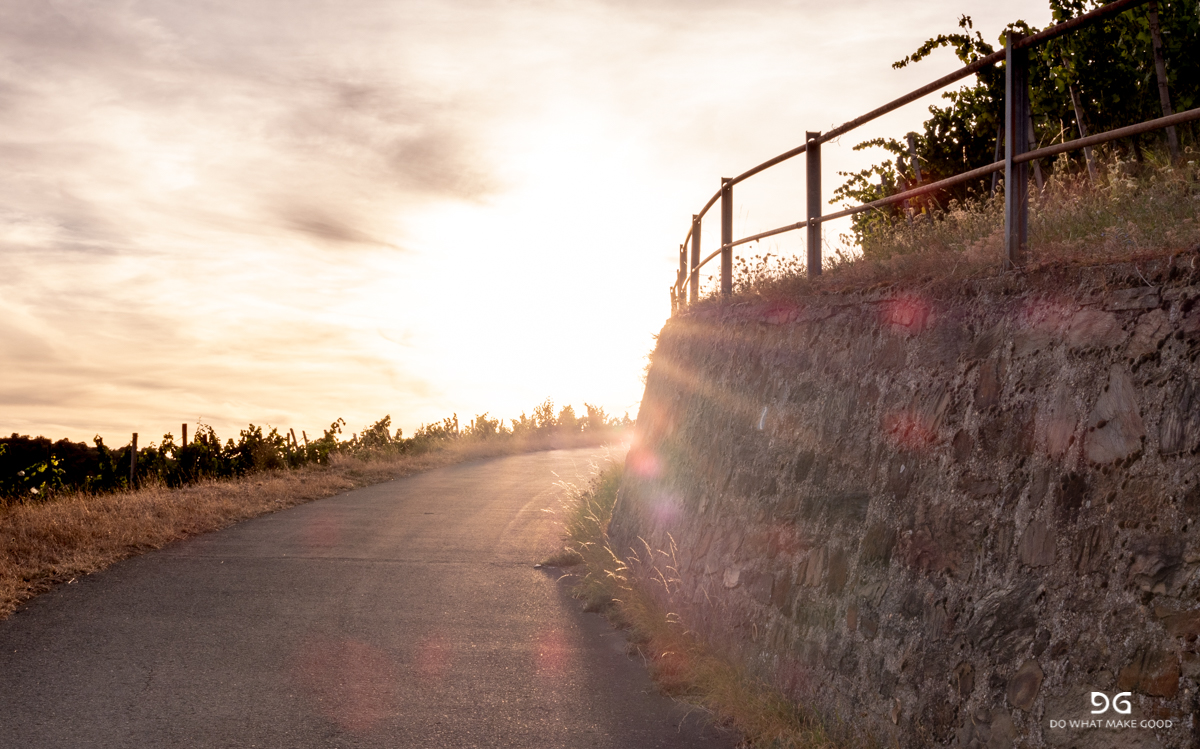
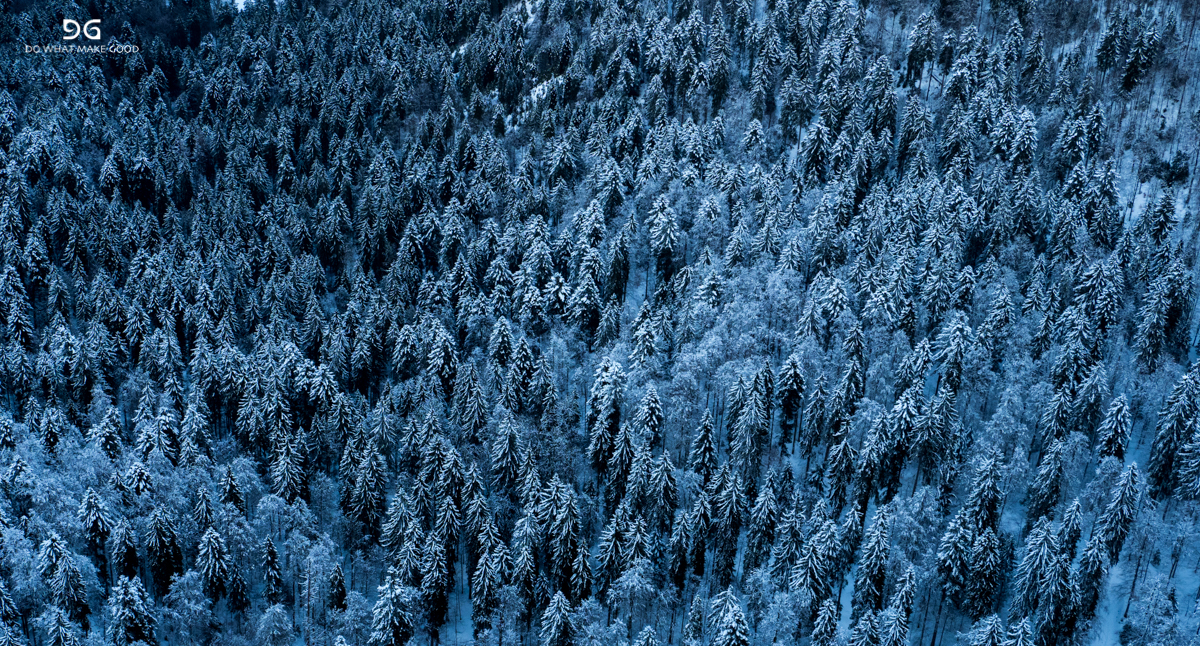
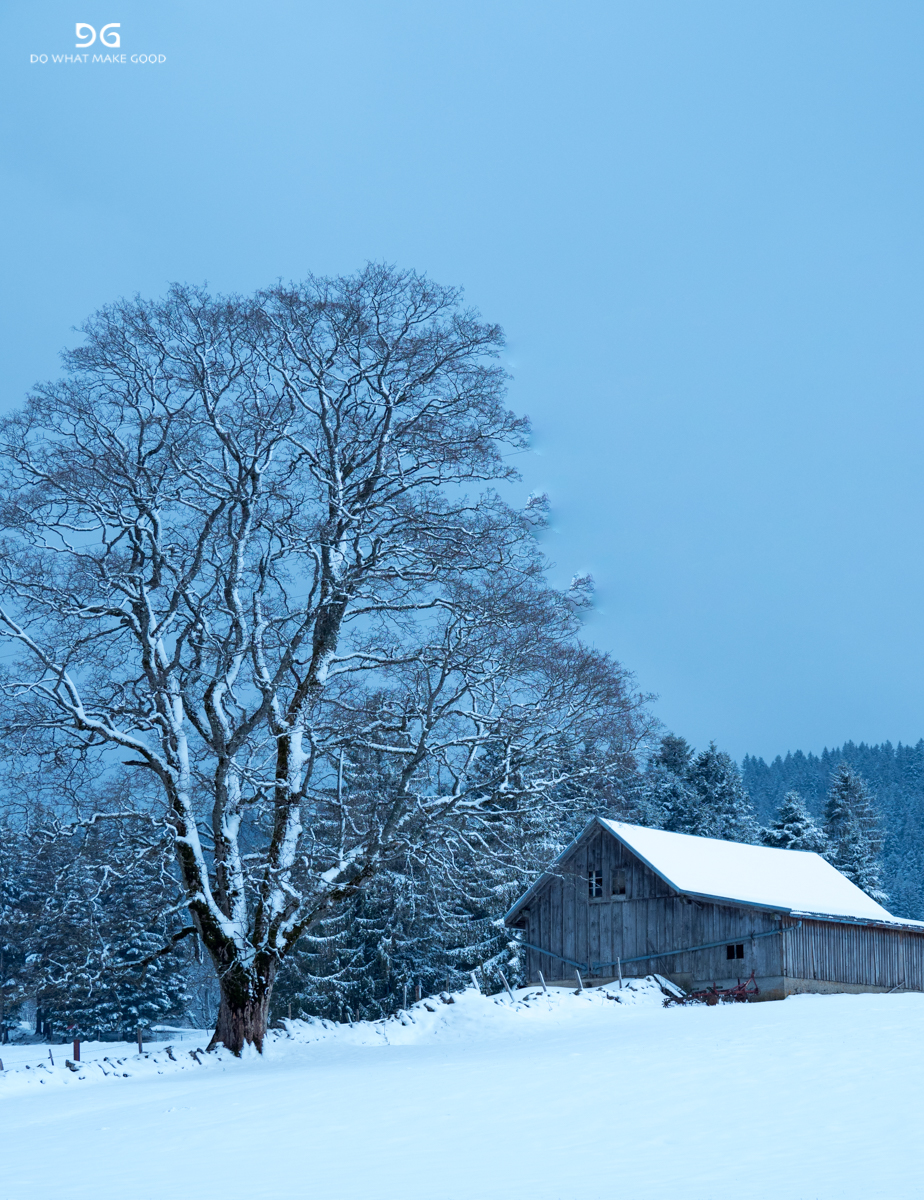
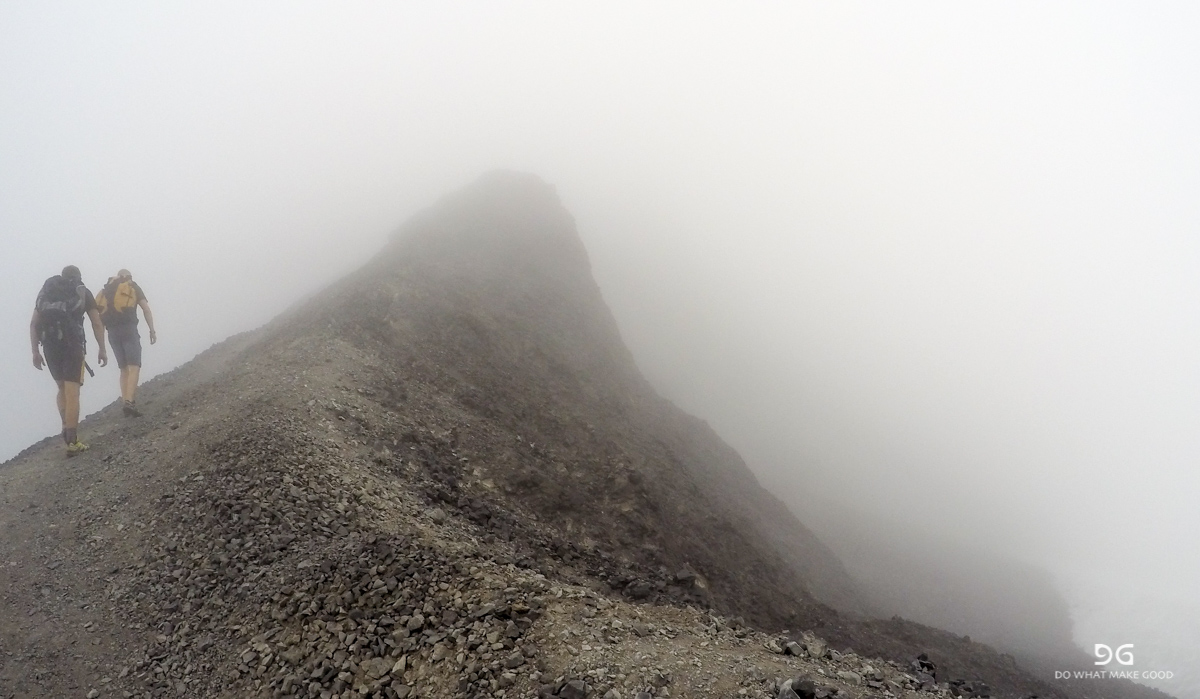
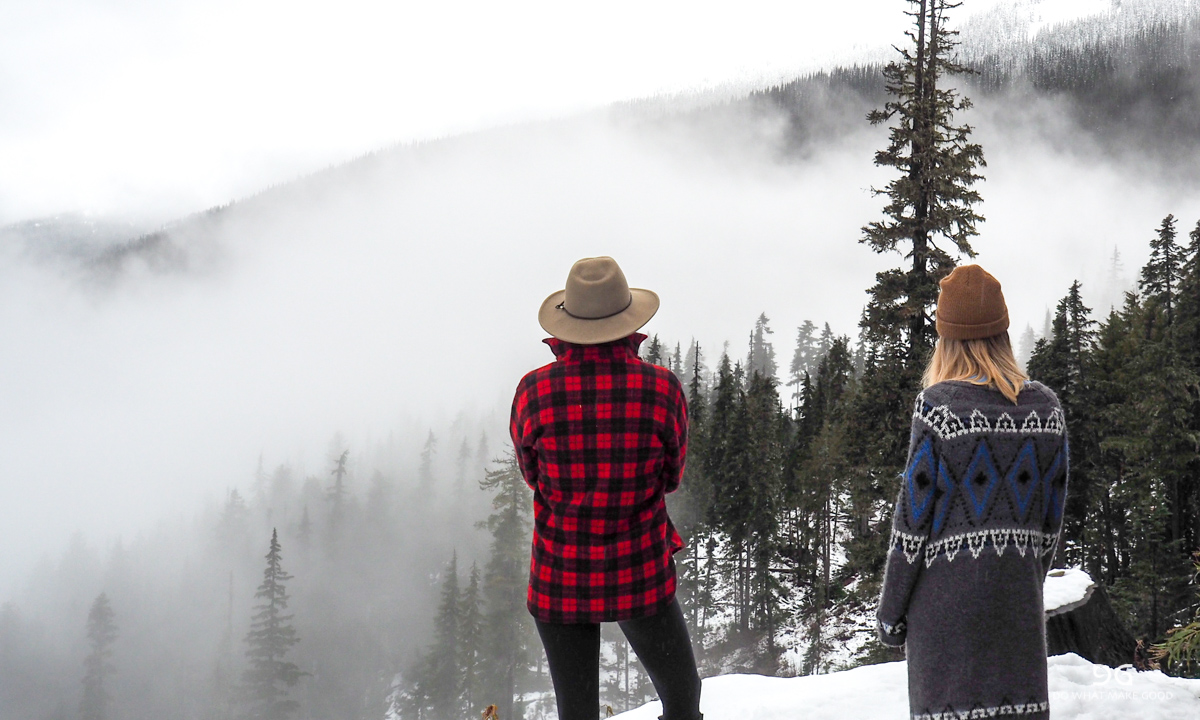
Rheinsteig
2018: Rheinsteig
A weekend escape in the backyard. The famous Rheinsteig starts in front of my door in Wiesbaden and stretches all the way to Koblenz. We made it in to St. Goarshausen shortly after the Loreley in two days. Beautiful views and a lot of up and down. Highlight of the trip - getting scared like sh*t by roaring deer in the middle of the night right next to our tent.


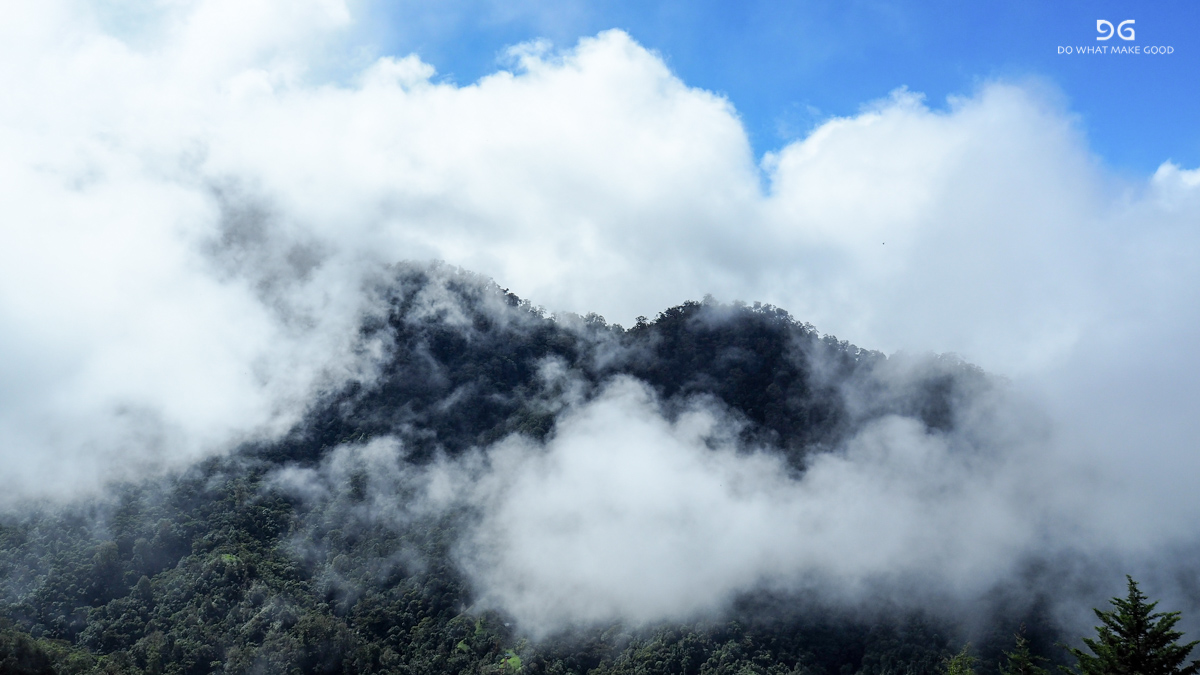
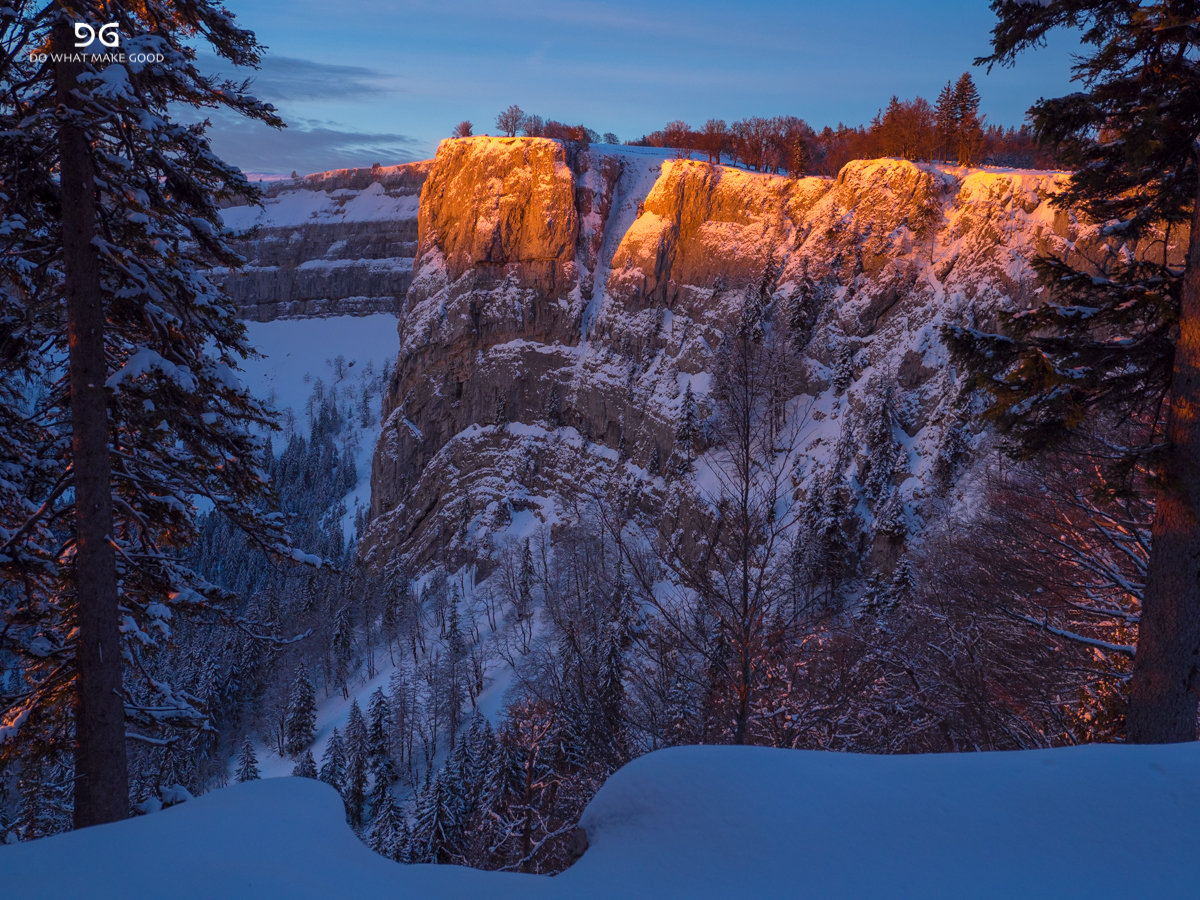
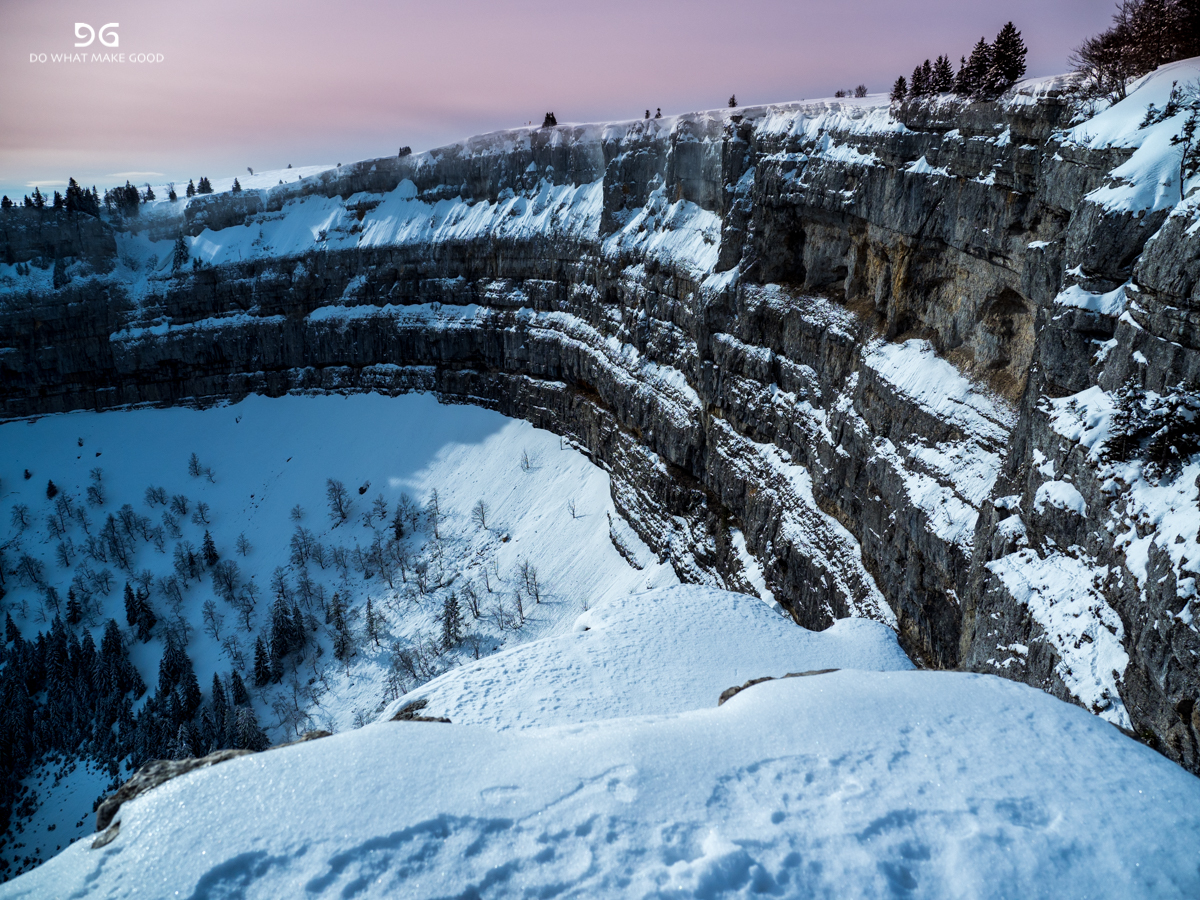
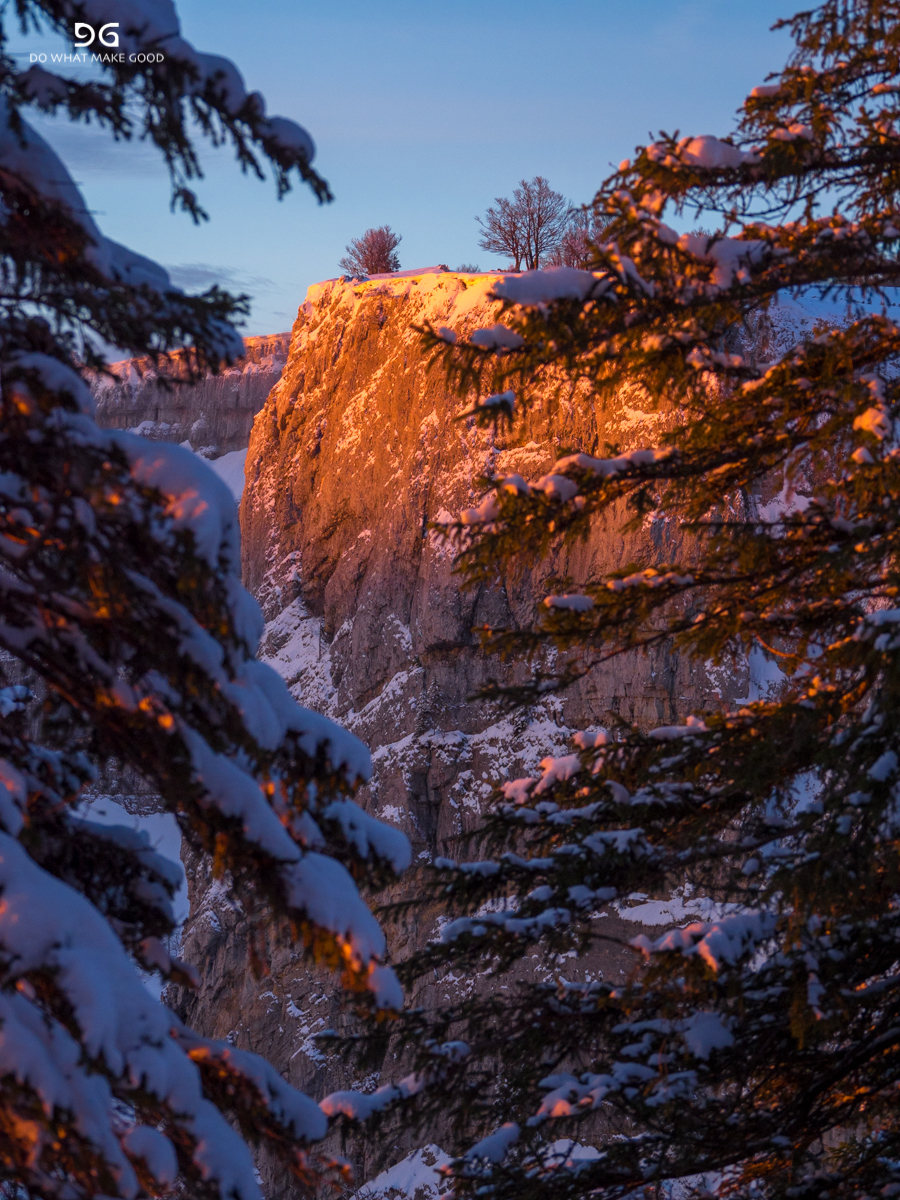
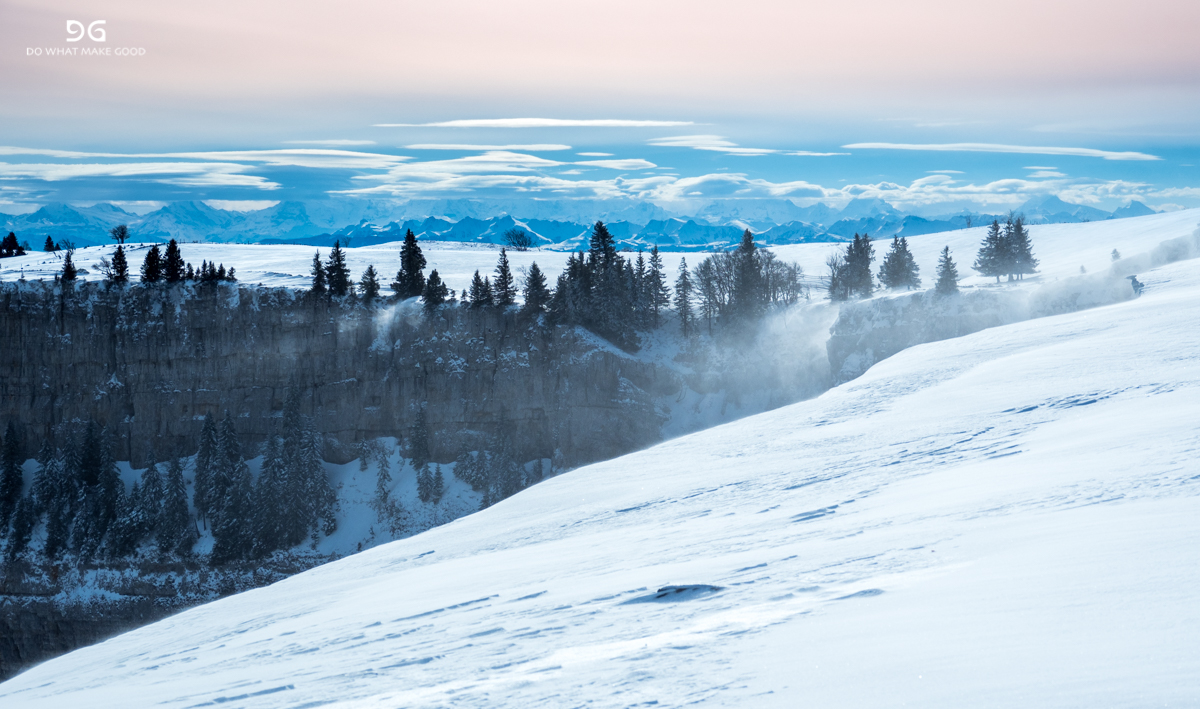
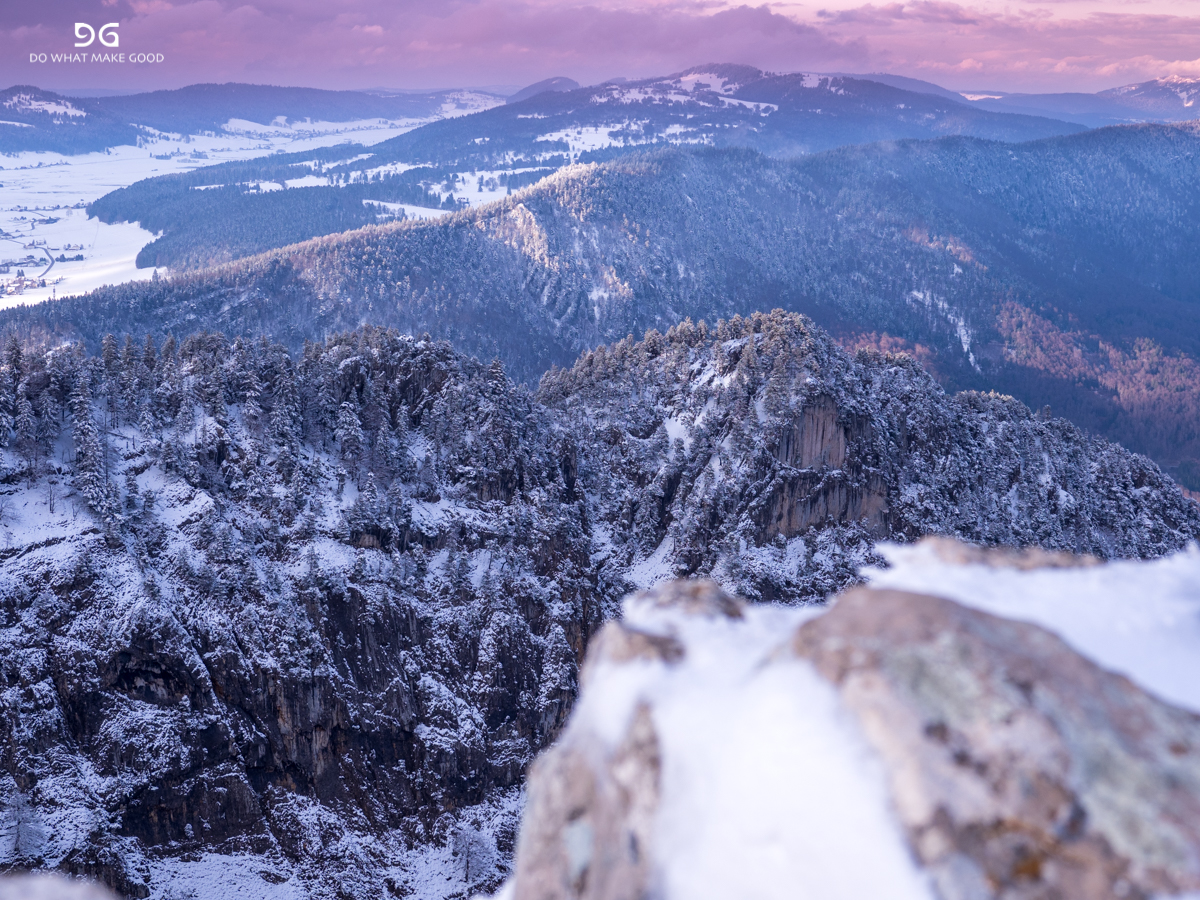
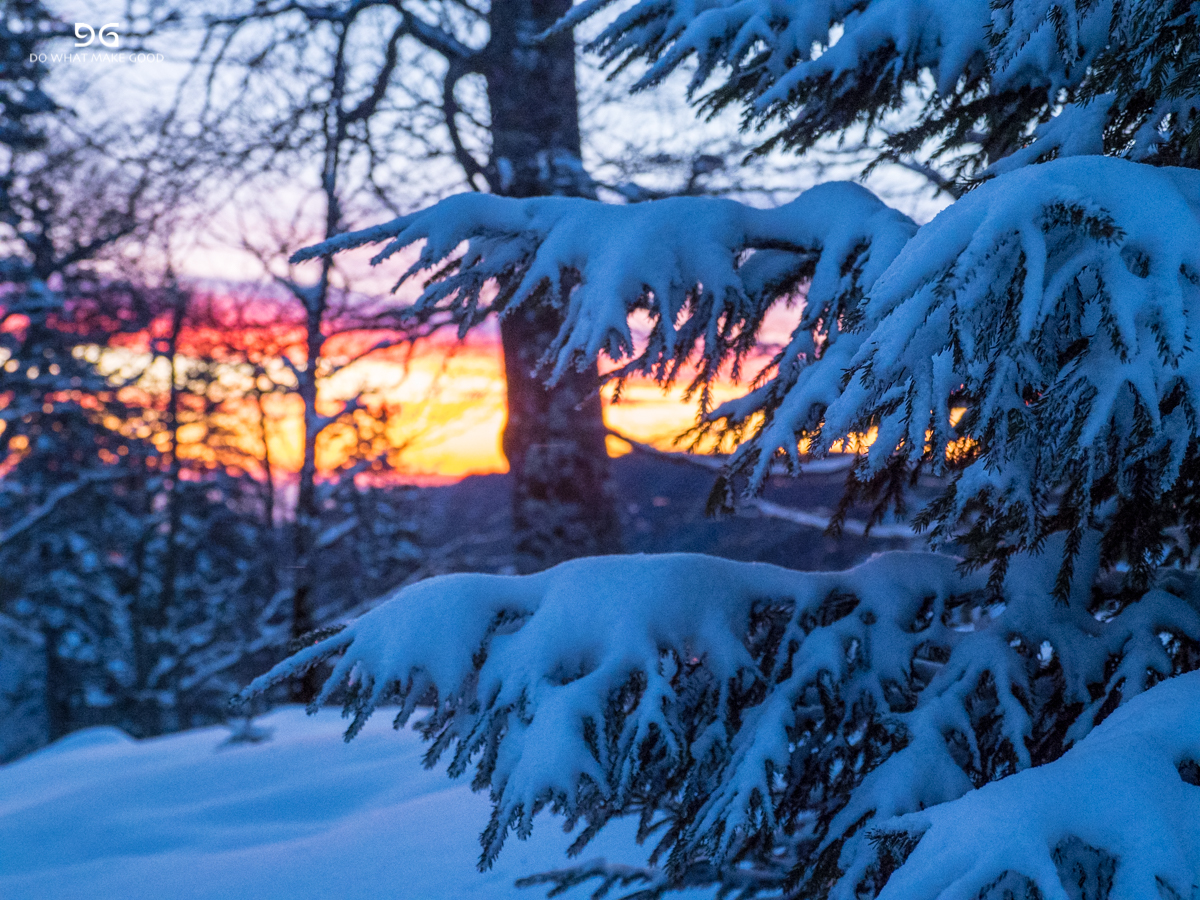
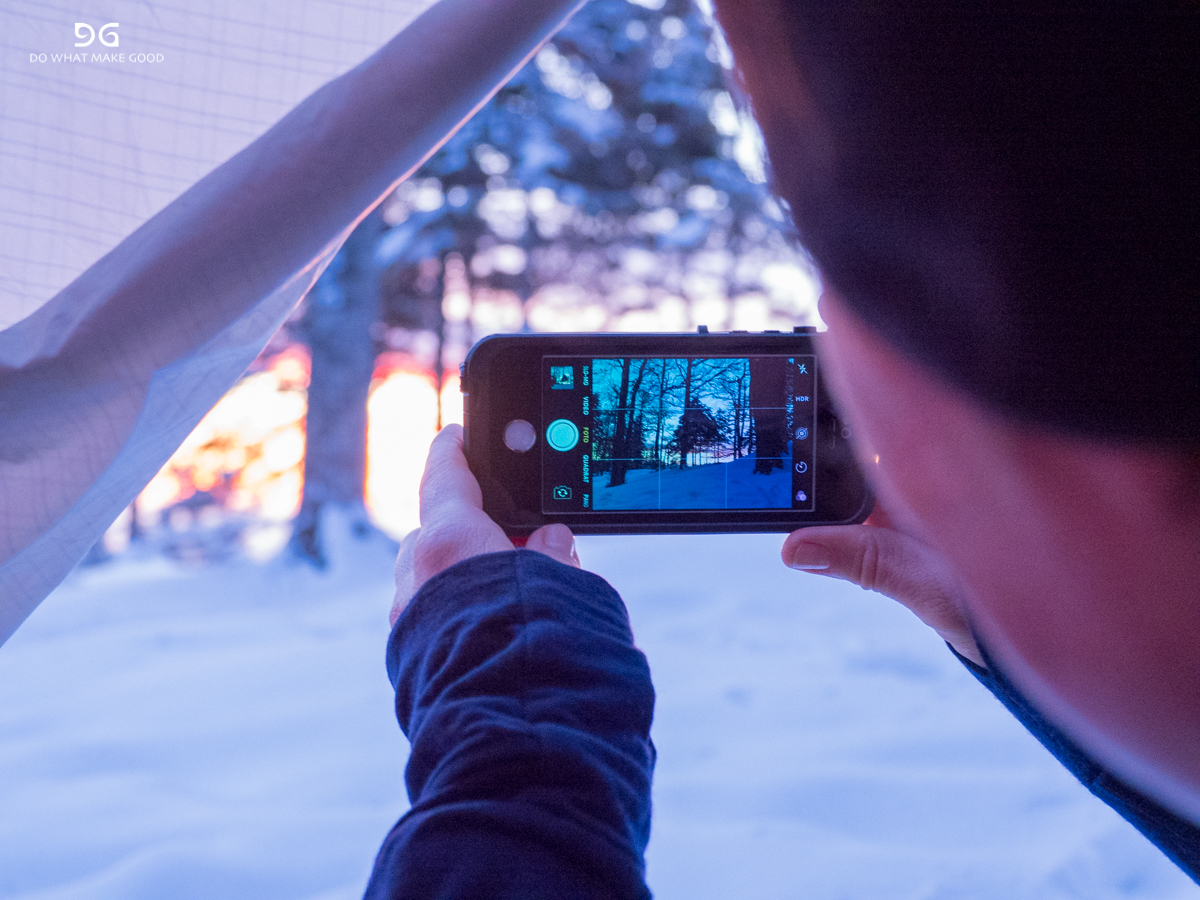
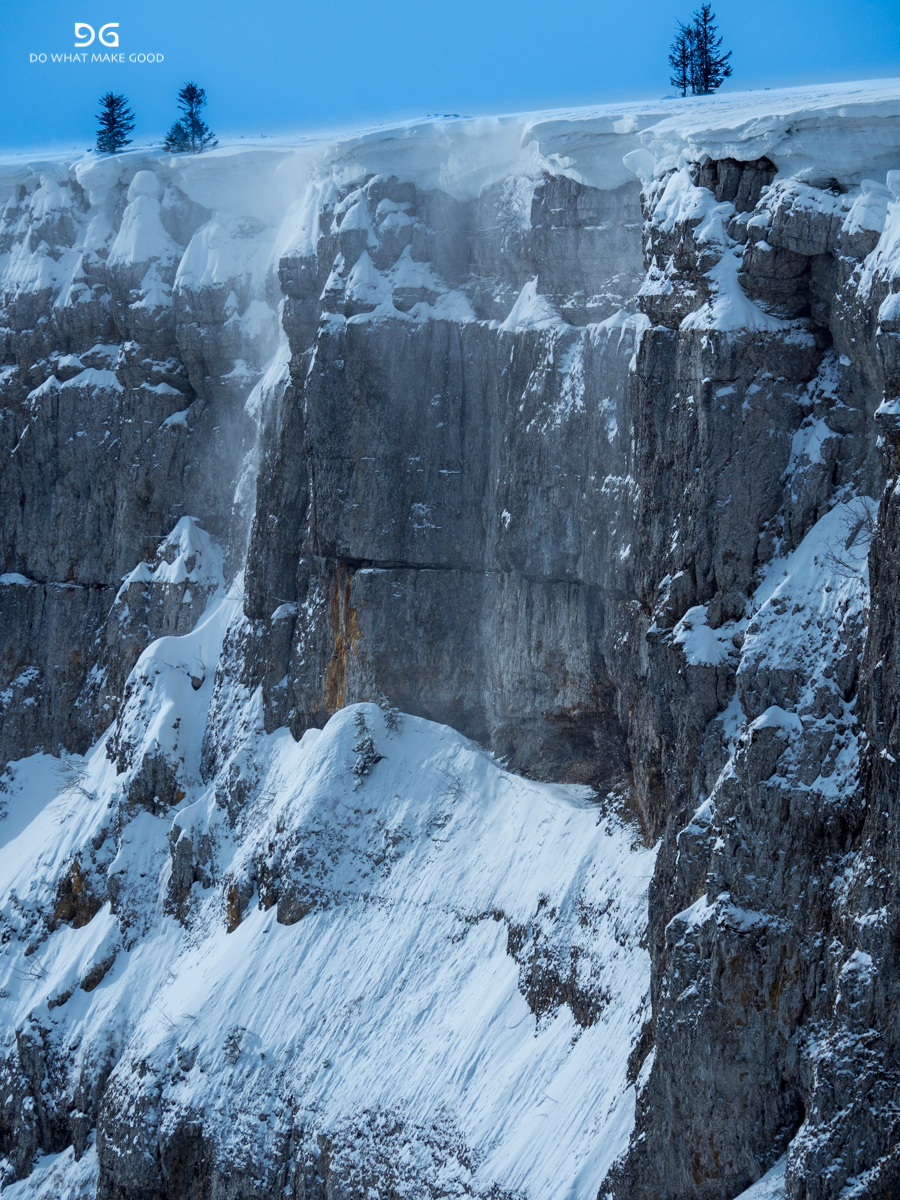
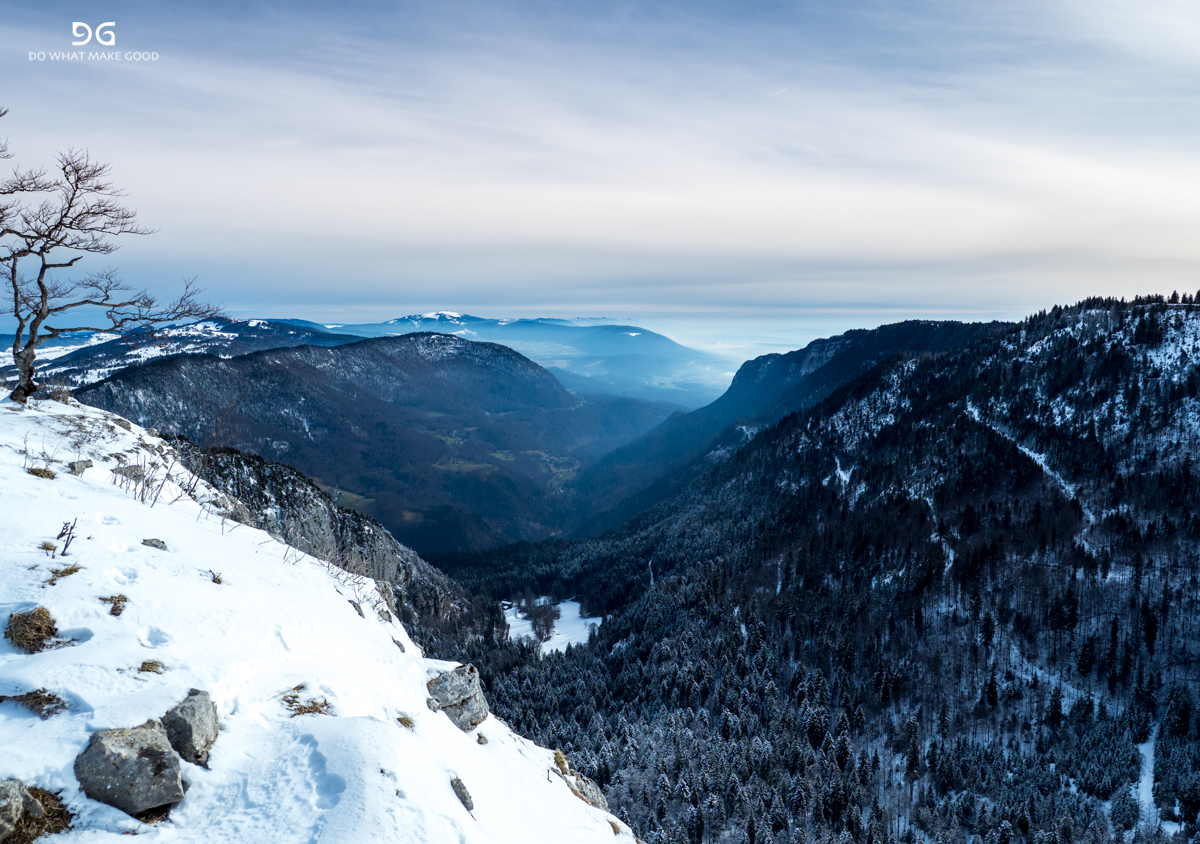
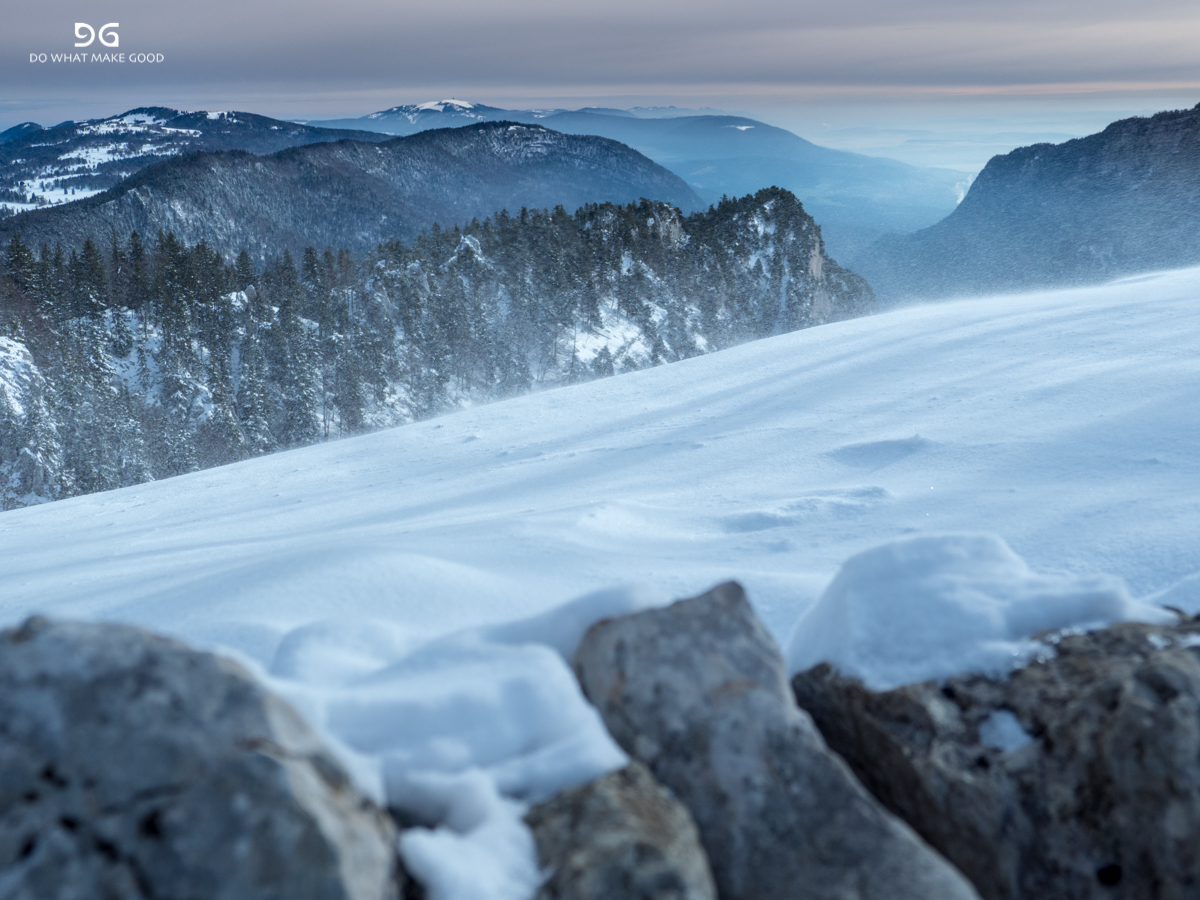
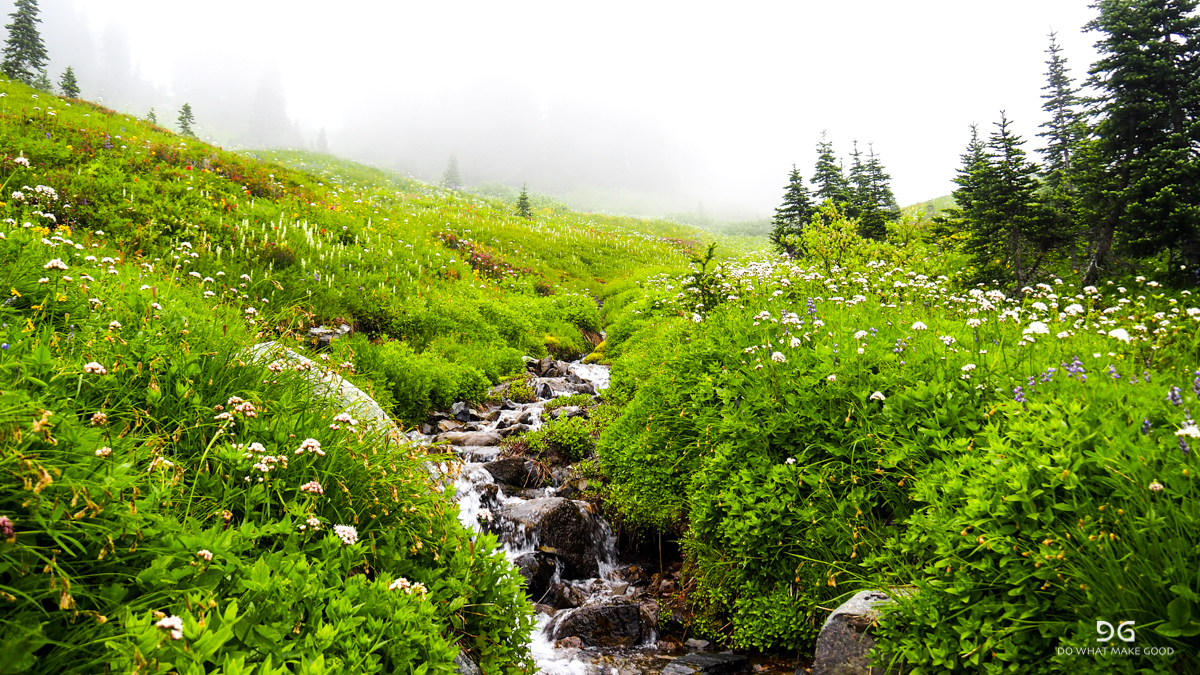
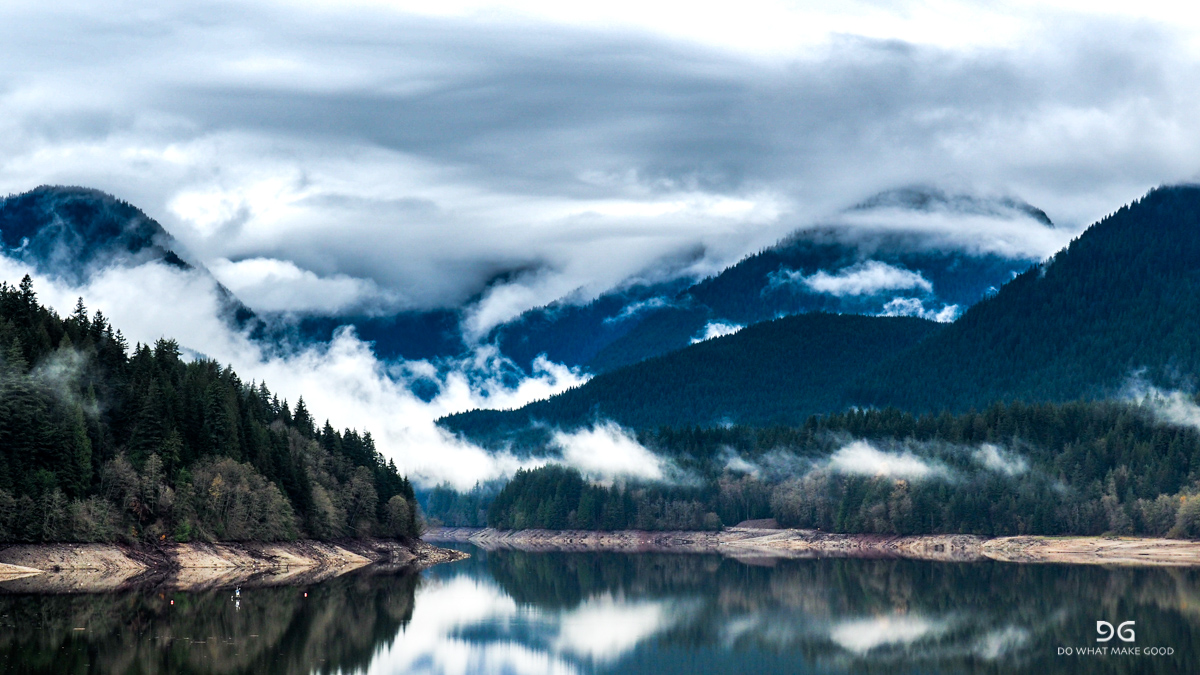
Creux du Van
2018: Creux du Van, Switzerland
Easter adventure and PCT preparation camp for the Swiss-PCT-team of 2018. Snow line at around 1.000masl and we hiked above 1.300masl most of the time in knee deep snow. First attempt to climb a narrow gorge had to be aborted due to massive ice and avalanche left-overs on the trail... But Creux du Van was worth the effort. We camped close to the rim and had a fantastic sunset and sunrise at around -6C. #ilovemountains #havetomovetoswitzerland


My re-supply strategy for the PCT
I have to admit I a) was a bit more relaxed on my second (PCT) thru-hike than on my first and b) I only had 3 weeks being stuck in Colombia to prepare anyways. That limited my options.
Also in my year there was a lot of hype and partly fear mongering which went into the re-supply strategies. But, after completing the PCT I will summarise my experience and recommendations here. Obviously this is my personal opinion and it’s definitely neither right nor wrong. It’s one way. My way.
I did send a few food boxes ahead because I also didn’t know. But to make a long story short I would highly recommend to just wing it all the way. If you are not the person who dehydrates food in advance (which is amazing and I have to admit I was jealous many times for your meals) or if you have any special dietary needs I don’t think it’s worth sending any packages ahead except a couple of spots.
Why would I wing it again? I don’t see a lot of benefits in sending packages compared to the many downsides of it. The clear advantage is that you will be able to send certain items to more remote places where you will probably not have a great variety. But now the reasons why I would not send any packages:
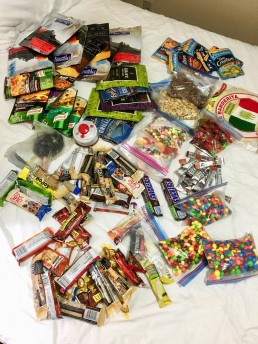
1. All resupply points have food
Almost every single resupply point has a decent selection of food and supplies. All business owners along the way know about the PCT and stock accordingly. Even if it says “limited selections” in some comments I have always found enough stuff to make it work. Most of them were actually pretty well stocked with everything we want & need including dehydrated food, beef jerky, tuna, granola bars and you name it. Will it always be the most exquisite food? No. But it’s not a gourmet journey anyways. The worst I had to deal with was actually in Mt. Hood since there is no shop for resupply in the lodge. So I ended up stuffing 30$ into the candy machine taking every single Snickers, Twix, and candy bar out collecting the most jealous looks from all the kids - only therefore it was already worth it 😂. Was it fun to go three days on Snickers. No. But it worked and the first burger in Cascade Locks was even better.

2. Price difference
The price difference or mark up you have to pay in some of the remote areas are usually not too bad at all. And even if you end up paying 15-20% more on some of the items you will also have to add up the fees you have to pay for sending packages which easily exceed 20$. And on top some places will charge you to receive and hold your packages. You will need to buy a lot of food to balance this.
3. Amount of food
Also something which is not easy to plan is how much food you will need when you get to places. Why? Because you will get faster along the way. And I usually carried a bit of a safety amount anyways. And with this you roll into town with food left. If you have a resupply package with extra food in it you end up ditching it into the hiker box and the advantage of buying cheaper is gone even more.

4. Type of food
At the end of the trail one of the most challenging things for me was to find stuff that I actually could still eat. And then I found myself with two big packs of Sour Skittles which I really loved four weeks earlier but couldn’t stand anymore now. Getting sick of food happened quickly for me - within one stretch food that I loved went on the no-go list for the rest of the trail...

5. Logistics
You will massively depend on opening hours of post offices which can be an annoying factor. Having to pull huge days to make it to town before the post office closes and then still not making it by five minutes sucks. And you might end up being stuck in a town for two days to be able to pick up your package. On top you will also depend on opening hours to send packages which can be annoying - not as bad as picking up usually but still something to consider.

6. Change of plans
In case shit happens or plans change having resupply boxes sitting all over the country is a hassle too since they won’t be stored forever. In our year with almost everybody flip-flopping we all had resupply packages sitting in spots where we didn’t need them and ended up with extra cost to send them, ditching them completely or having food which went bad. Special year in 2017 but you never know if you have to take an unexpected break or so.

6. Hiker boxes
I know this is nothing you can plan and rely on. But on our tour there was tons of stuff in the hiker box and I truly enjoyed using them. Not because I couldn’t afford buying food in the stores but I really love the concept of not wasting stuff. And with reusing food which went into the hiker boxes ensures we don’t throw food away someone is not willing to carry anymore. The best meals I had on the trail where the un-labeled home-made dehydrated meals from other hikers - a big thank you!!!

7. Only exception - Kennedy Meadows South
The only package I would send is to Kennedy Meadows South since the guy in the General Store is an as…., it’s way overpriced and limited. And you will probably end up sending extra gear into the Sierras anyways. But do yourself a favour and send it to “The Grumpy Bear” - the owners are really nice and supportive and you can send your packages to them.

So all in all I don’t think it’s worth sending a boxes. You will get everything you need in all resupply points. Yes, food here will be a bit more expensive but I fully believe that with hiker boxes, less stuff you have to ditch because you have too much, saving postage and storage fees and maybe the one or other extra night in town to wait for the post office to open will more than over-compensate the cheaper sourcing costs in big supermarkets. And saving the mental hassle to deal with the packages also makes it more enjoyable. And if you don’t get something you really need there is always the possibility of catching a ride to the next bigger town.
So, WINGit baby 😎🤘
Happy trails & merry Christmas fellow hiker trash 🎅
My 11 "unusual" tips for a long distance hike.
Many essential things are discussed in depth in the hiker scene when it comes to long distance hiking. There is a lot of high quality recommendations and feedback on gear, food & planning. That's why I don't even want to bother taking this topic up again.
But I would like to share some of the small and little things which I discovered during my last 8.000km of hiking. Little things which made my hiking life a lot easier or which I found extremely important for an enjoyable hike, a sustainable setup and time & weight savings on the journey.
1. Clothes line in the tent
Usually there are two loops in the top corners of most tents. Get a very thin line or even a fishing line and tie a piece betweeen these two loops. You will have a perfect cloth line in your tent to hang socks or other wet/damp items. If it's warm enough you will have a chance to dry them. And they are also off the ground which will minimise the risk of mice getting them or being attracted by the smell.

2. Gaiters
If you wear trail runners do get gaiters. Since trail runners have a low cut they are prone to collect a lot of little rocks, sand and branches which you kick up while walking. They are now offered by most companies and these tiny little things are great. They have two great advantages: Firstly you don't have to take your shoes off so often anymore to prevent bilsters from rubbing and secondly you will make your shoes and socks last longer. Every little sand crystal stuck in our sock will create more friction between it and the shoe with the consequence of getting holes earlier.

3. Waterproof gloves
There are times where you wish you had waterproof gloves. This usually happens when it is a bit chilly, it rains and you get a bit of wind. With your hands on the poles they are very exposed and they also don't move much by holding the poles. With this the circulation is also not supported much. Does it make sense to carry big and heavy water proof gloves. Usually not. An easy fix for this are zip-lock bags. Take a gallon bag or smaller, put a little piece of ductape over one of the side-edges and then cut a little hole in that piece. That's were you can stick your trekking pole through and your hand will go through the regular opening of the zip-lock. Voila. Ultralight-waterproof gloves:

4. Camera clip
If you carry a camera, especially a bigger one - make sure it is accesible. There is NO sense of carrying a camera which is in your backpack. You will never take your backpack down every time there is a potential photo opportunity. Trust me. And more over many photo opportunities don't even last long enough to take your pack down and get your camera out. Especially when you are taking pictures of wildlife. I started out carrying my camera in a classical camera bag strapped on my chest belt. It works perfectly fine. The only two disadvantages are that the bag stats bouncing once you go a bit faster and you always have to strap and unstrap it when you take your pack up and down.

Now I use a tiny little clip with a little shell which I can pull over the camera to protect it from dust and water. It's a game changer!


Camera can be released with one hand and is always accesible. If you a carry a heavy camer make sure you can also make us of it. Otherwise don't carry it. This is the Peak Design Clip I use for my camera: Pro Clip
5. Food rotation
One of the toughest things at the end of a long distance trail is to actually find something you are willing to eat and which you are not sick of already. Therefore: make sure you rotate your food everytime you can. Even though you might still like it and could do it another turn try not to. Safe it for later so you will be able to eat it until the very end. Because once you have overdone it with one thing it's very unlikely that you'll be able to eat it again on the trail. And it sucks to stand in front of a huge candy bar isle not being able to pick anything because you can't stand it anymore...

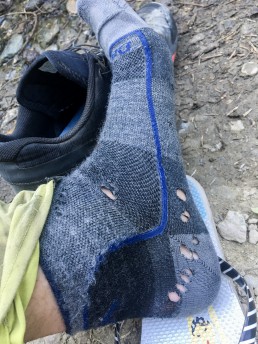
6. Take care of your feet
Tackled very often but can't be taken up often enough. Your feet. They are the most important thing on a thru-hike. They carry you and your gear. If you don't take care of them you will have to suffer with every step or even have to go off trail. The biggest mistakes I (and I guess most of us) have made is to ignore the little signs. Especially at the beginning when you are not fully "grooved-in" this becomes crucial. Therefore: If you only feel the lightest rubbing, pinching or whatever. Stop. Don't think it will be ok for another hour or for the day. If you hike 25 miles a day the slightest rubbing will lead to irritated skin or a blister eventually. To heal something like this on a trail is painful. It takes forever since you usually walk on your feet every day and they don't get the brake to recover. Therfore take a quick break and solve it. If it is a rock in your shoe, take it out. If you have a hole in your sock, change it. If you feel a rubbing, get leuko-tape and tape the area properly. If the tape comes off. Fix it. Prevention is easy but we tend to think it will be ok. Don't let it come so far.
The second point is hygiene. Especially when you sweat a lot during high temperatures make sure you wash your feet and socks as often as you can. Take them off during a break, wash both and if you don't get them dry rather walk in wet socks than dirty ones. Your sweat will build little crystals which will function like sand paper on your feet and especially soles. Once you have open spots it's easy to catch infections. So keep them shiny and clean!

7. Duct tape - reduce your base weight
Duct tape is a great tool to fix many things. But you won't need an entire role of tape to fix something until you get to a point where you can take of any issues properly and with unlimited ressources. Therfore don't roll it on a pen or straw but around your trekking poles. You will therefore not have to carry it on your back and safe precious space in your pack.

8. How to fix cracks in your heels
Sometimes I do get problems with my heels developing cracks. It's hard to heel this. As long as they stay closed and don't open up to much they are usually not a big issue. But if they rip further and you start developing an open wound also the problem with infections can arise again. An easy and very effective way to fix them is to use standard super glue! It sounds a bit odd but it works. It keeps the cracks together and stops them from ripping further.
9. Only carry what you need until the next resupply point
Don't carry anything you don't need! Every step is going to hurt more long term and you will increase the risk of injuries. Therefore - get rid of everything you don't need. And if you have stuff which you will only need for a certain stretch don't carry it the entire way. Send it to where you will need it and once you are out also send it away. Either find a friend where you can store stuff or bounce a box a couple of time until you can pick it up again. More room in your back = more space for chocolate ;-)

10. Use two separate food bags
I find it very helpful to use to separate food bags. One for my breakfast and dinner food and one for snacks and lunch. Why? Because I can leave the breakfast and dinner bag in my pack and I will only have to get a smaller bag out without going through my entire food. And on top it is easier to pack in your backpack if you don't have one giant but two smaller bags.

11. Sleeping pad size
You don't necessarily need a sleeping pad that is long enough for you. If you are inbetween sizes go for the smaller one. Or even try to go one lower. Seldemly you do lie fully extended on your mat anyways. And on top you can also trick a bit. I usually build a pillow out of my jumper and my downjacket. The pillow does not have to lie on top of the mat - 20cm saved. And also our feet can be bedded on your pack or other equipment items instead. So even with 1,90m (6'2) I can easily go with a small mat and save some weight and space... ;-)

That’s it for now. I’ll think of a few more and if you want I’ll put together another set.
Let me know if you have any little tips and tricks you would like to share! I am always curious to learn more. Just leave me a comment...
Te Araroa Gear List
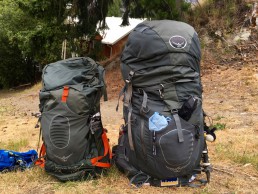
I hiked the Te Araroa NOBO in the season of '15/'16 and in 2017 I also hiked the Pacific Crest Trail. On these two long distance trails I tried out a lot of different gear and also learned a lot. When I started in New Zealand I was completely over-packed! I had a 75l backpack and carried about 16kg of base weight! Only after three weeks I had the first big "roll-over" where I changed my tent, shoes, backpack and also ditched a lot of stuff.
Changing and reducing gear has almost been a sport since then. Looking back now on how carefully I changed and decided not to carry the one or other extra I almost can't believe how much I voluntarily carried 😂
But I also have to admit that without going through the process myself I would probably not be as convinced of my setup now. I also would have felt uncomfortable with some of the stuff I am doing now (not taking) without the first hand experience. Based on the knowledge I have now and also the confidence in my own capabilities eg. with cold, wet, dry and injuries I still feel safe with the minimal equipment.
What to pack?
Pointing it out again - everybody has a different comfort zone! So there is no right or wrong. You should never risk your health or even life by under packing and not being prepared! If you don't feel comfortable take whatever makes you comfortable! You can still throw stuff out on the next re-supply stop but you can't "get it" in the middle of nowhere if you need and don't have it with you.
In general I do recommend the same stuff I carried on the PCT at the very end. The two trails have a lot in common so also the same gear works fine. So the base with all the detailed explanation is my "Final PCT Gear List" - check it out if you need detailed info to the single sections and items.
One of the major differences between the PCT and the Te Araroa: there is a lot more water involved on the TA! From both sides - above and below. You have more river crossings and many more rain days. Also the Kiwi forest - called bush - stores a lot of water and since the trail is very often overgrown you will have to brush through soaking wet ferns and other vegetation. Therefore the rain gear is more important than on the PCT. I highly recommend a rain skirt for this. It will most likely be to warm for rain pants but the rain skirt is perfect for the TA. It prevents your shorts from getting wet and cold since they also don't dry quickly in the wet forest. I would also recommend a stronger rain jacket than on the PCT since you will go through much rougher terrain - a lot of thorn-bushes, scrubs and more. The very thin ones will most likely not survive for long. Or you'll have to replace them along the way.
Sleeping bag: You can definitely go with a lighter one. Since you are able to spend most nights on the South Island in the backcountry huts you will always be warmer. A +6C comfort temperature sleeping bag was more than enough.
Also the Sawyer Mini will do instead of the Squeeze since you won't really need it.
The entire gear list in a quick overview:
|
Item
|
Product
|
Weight
|
|
The hiking outfit
|
||
|
T-shirt
|
130g
|
|
|
Shorts
|
130g
|
|
|
Socks
|
40g
|
|
|
Shoes
|
650g
|
|
|
Gaiters
|
34g
|
|
|
Sun protection
|
Prana Journeyman Trucker
|
100g
|
|
Trekking poles
|
600g
|
|
|
Watch
|
64g
|
|
|
1.748g
|
||
|
The big three
|
||
|
Backpack
|
811g
|
|
|
Pouch for backpack
|
14g
|
|
|
Tent
|
539g
|
|
|
Stakes
|
MSR Ground Hog Mini tent stakes (8)
|
80g
|
|
Sleeping bag
|
595g
|
|
|
Waterproof stuff sack
|
25g
|
|
|
Sleeping pad
|
Therm-a-Rest NeoAir Xlite (small - 119cm)
|
230g
|
|
2.294g
|
||
|
Cooking
|
||
|
Cooking pot
|
Trangia Pot incl. handle
|
142g
|
|
Stove
|
83g
|
|
|
Fire
|
Lighter
|
10g
|
|
Spoon
|
10g
|
|
|
Water filter
|
91g
|
|
|
Water container
|
40g
|
|
|
Water Bottle
|
Powerade
|
50g
|
|
Food bag
|
28g
|
|
|
454g
|
||
|
Cloth
|
||
|
Rain jacket
|
180g
|
|
|
Rain skirt
|
54g
|
|
|
Rain pants
|
180g
|
|
|
Down jacket
|
360g
|
|
|
Jumper
|
376g
|
|
|
Beanie
|
32g
|
|
|
Neck gaiter
|
40g
|
|
|
Gloves
|
40g
|
|
|
Socks
|
40g
|
|
|
Stuff sack
|
55g
|
|
|
1.257g
|
||
|
Medics & Hygienics
|
||
|
Teeth
|
Half tooth brush
|
7g
|
|
Teeth
|
Tooth paste
|
24g
|
|
Contact lenses
|
Case, solution, extra pair
|
80g
|
|
Eye
|
Eye infection creme
|
3g
|
|
Nails
|
Standard small nail clipper
|
21g
|
|
Beard
|
Comb
|
6g
|
|
Toilet paper
|
Amount depends on days.
|
30g
|
|
Pain killer
|
Ibuprofen
|
15g
|
|
Diaria
|
Imodium
|
4g
|
|
Disinfection
|
4 alcohol pads
|
1g
|
|
Tape
|
2m of Leuko Surgical Tape
|
30g
|
|
Antihistamine
|
6 capsules
|
7g
|
|
Sunscreen
|
30ml
|
34g
|
|
262g
|
||
|
Repair kit
|
||
|
Tape
|
Ductape wrapped around trekking pole
|
|
|
Fixation
|
6 cable ties
|
6g
|
|
Knife
|
28g
|
|
|
Repair gear
|
1m Dyneema Composite Fabric
|
60g
|
|
Repair gear
|
Special tape for air mattress
|
10g
|
|
Repair gear
|
Tenacious tape
|
15g
|
|
Repair gear
|
Super glue
|
15g
|
|
Stuff sack
|
15g
|
|
|
149g
|
||
|
Electronics
|
||
|
Charger
|
USB with double port & iPhone cable
|
66g
|
|
Battery pack
|
135g
|
|
|
Phone & navigation
|
iPhone 6S
|
145g
|
|
Waterproof case
|
35g
|
|
|
Headlamp
|
55g
|
|
|
Battery
|
2 spare batteries for headlamp
|
22g
|
|
Wallet
|
7g
|
|
|
Stuff sack
|
20g
|
|
|
485g
|
||
|
Camera
|
||
|
Camera
|
Olympus OMD EM1 II (incl. battery & SD)
|
390g
|
|
Lense
|
M.ZUIKO Digital ED 14-150mm 1:4.0-5.6 II
|
285g
|
|
Battery
|
2 extra Olympus batteries
|
90g
|
|
Memory card
|
2x SanDisk Extreme Pro 64GB
|
40g
|
|
Camera clip
|
84g
|
|
|
Camera rain cover
|
Peak Design Shell small
|
113g
|
|
Charger
|
Olympus charger & cable
|
115g
|
|
1.117g
|
||
|
Additional Gear
|
||
|
Pee-bottle
|
Gatorade 1l bottle
|
50g
|
|
50g
|
||
|
Total base weight
|
4.845g
|
|
|
Total base weight incl. camera
|
6.018g
|
|
|
Weight on the hiker
|
1.748g
|
|
As summarised earlier for the PCT already:
Backpack:
Most important with a backpack is that it fits your back. They all have different harnesses and fit different backs. So make sure to try many. The other features are less important. If you carry heavier loads >15kg you want to have a good hip belt or otherwise you will have bruises on your hips and it's uncomfortable on longer hikes.
My backpack of choice is now the Hyperlite Mountain Gear 2400 Southwest. It's specially designed for ultra-light hikers with a 40l volume and only weighs 811g (in comparison my Osprey 50l bag weighs about 1,8kg!) and it is waterproof in itself. It helps you only taking the things you really need since there is not a lot of space 😉. As a reference my bag is maybe half full with all my gear. The rest is "reserved" for food and I usually fit 5 days in it easily. I would not recommend it with a permanent weight over 15kg, but if you exceed it in the first days of a long hike because of food it should be ok since you will get lighter every day.
I also have a Zpacks Backpack Shoulder Pouch on one of my shoulder straps for my phone, ND filter and snacks.
Tent:
The Zpacks Solplex is my choice. It is made out of Dyneema Composite Fabric (also known as Cuban Fibre) which is highly durable and super lightweight with 439g only! Including 8 stakes with 60g the total weight of the tent comes down to 499g. Comfort, space and durability are amazing. Keep your vestibules open for ventilation since in a single wall tent you do get condensation very quickly. It's not cheap with 555US$ but it's well worth every cent if you sleep in it every day.

Sleeping bag & sleeping pad:
The lightest and smallest version is always down. The higher the number of the filling (e.g. 850) the better the quality of the down and therefore the less you need for the same insulation. As mentioned above I would go with the Western Mountaineering Summerlite sleeping bag which is rated for +6C comfort and a max of 0C. I only had a 3 or 4 cold nights below freezing and used used my rain jacket and my backpack as a sack wrapped around my feet for extra insulation in cold nights - just make use of whatever you have if you need it.
Due to packing size I opted for an inflatable sleeping mattress. I am not a fan of the bulky foam pads which you always have to attach to the outside dangling around. The Therm-a-Rest NeoAir Xlite is the lightest one. I used to have a large one but now I go with the extra small one (119cm) since I put my legs on my backpack and other things. Saves 200g compared to the large/regular one.
Cooking:
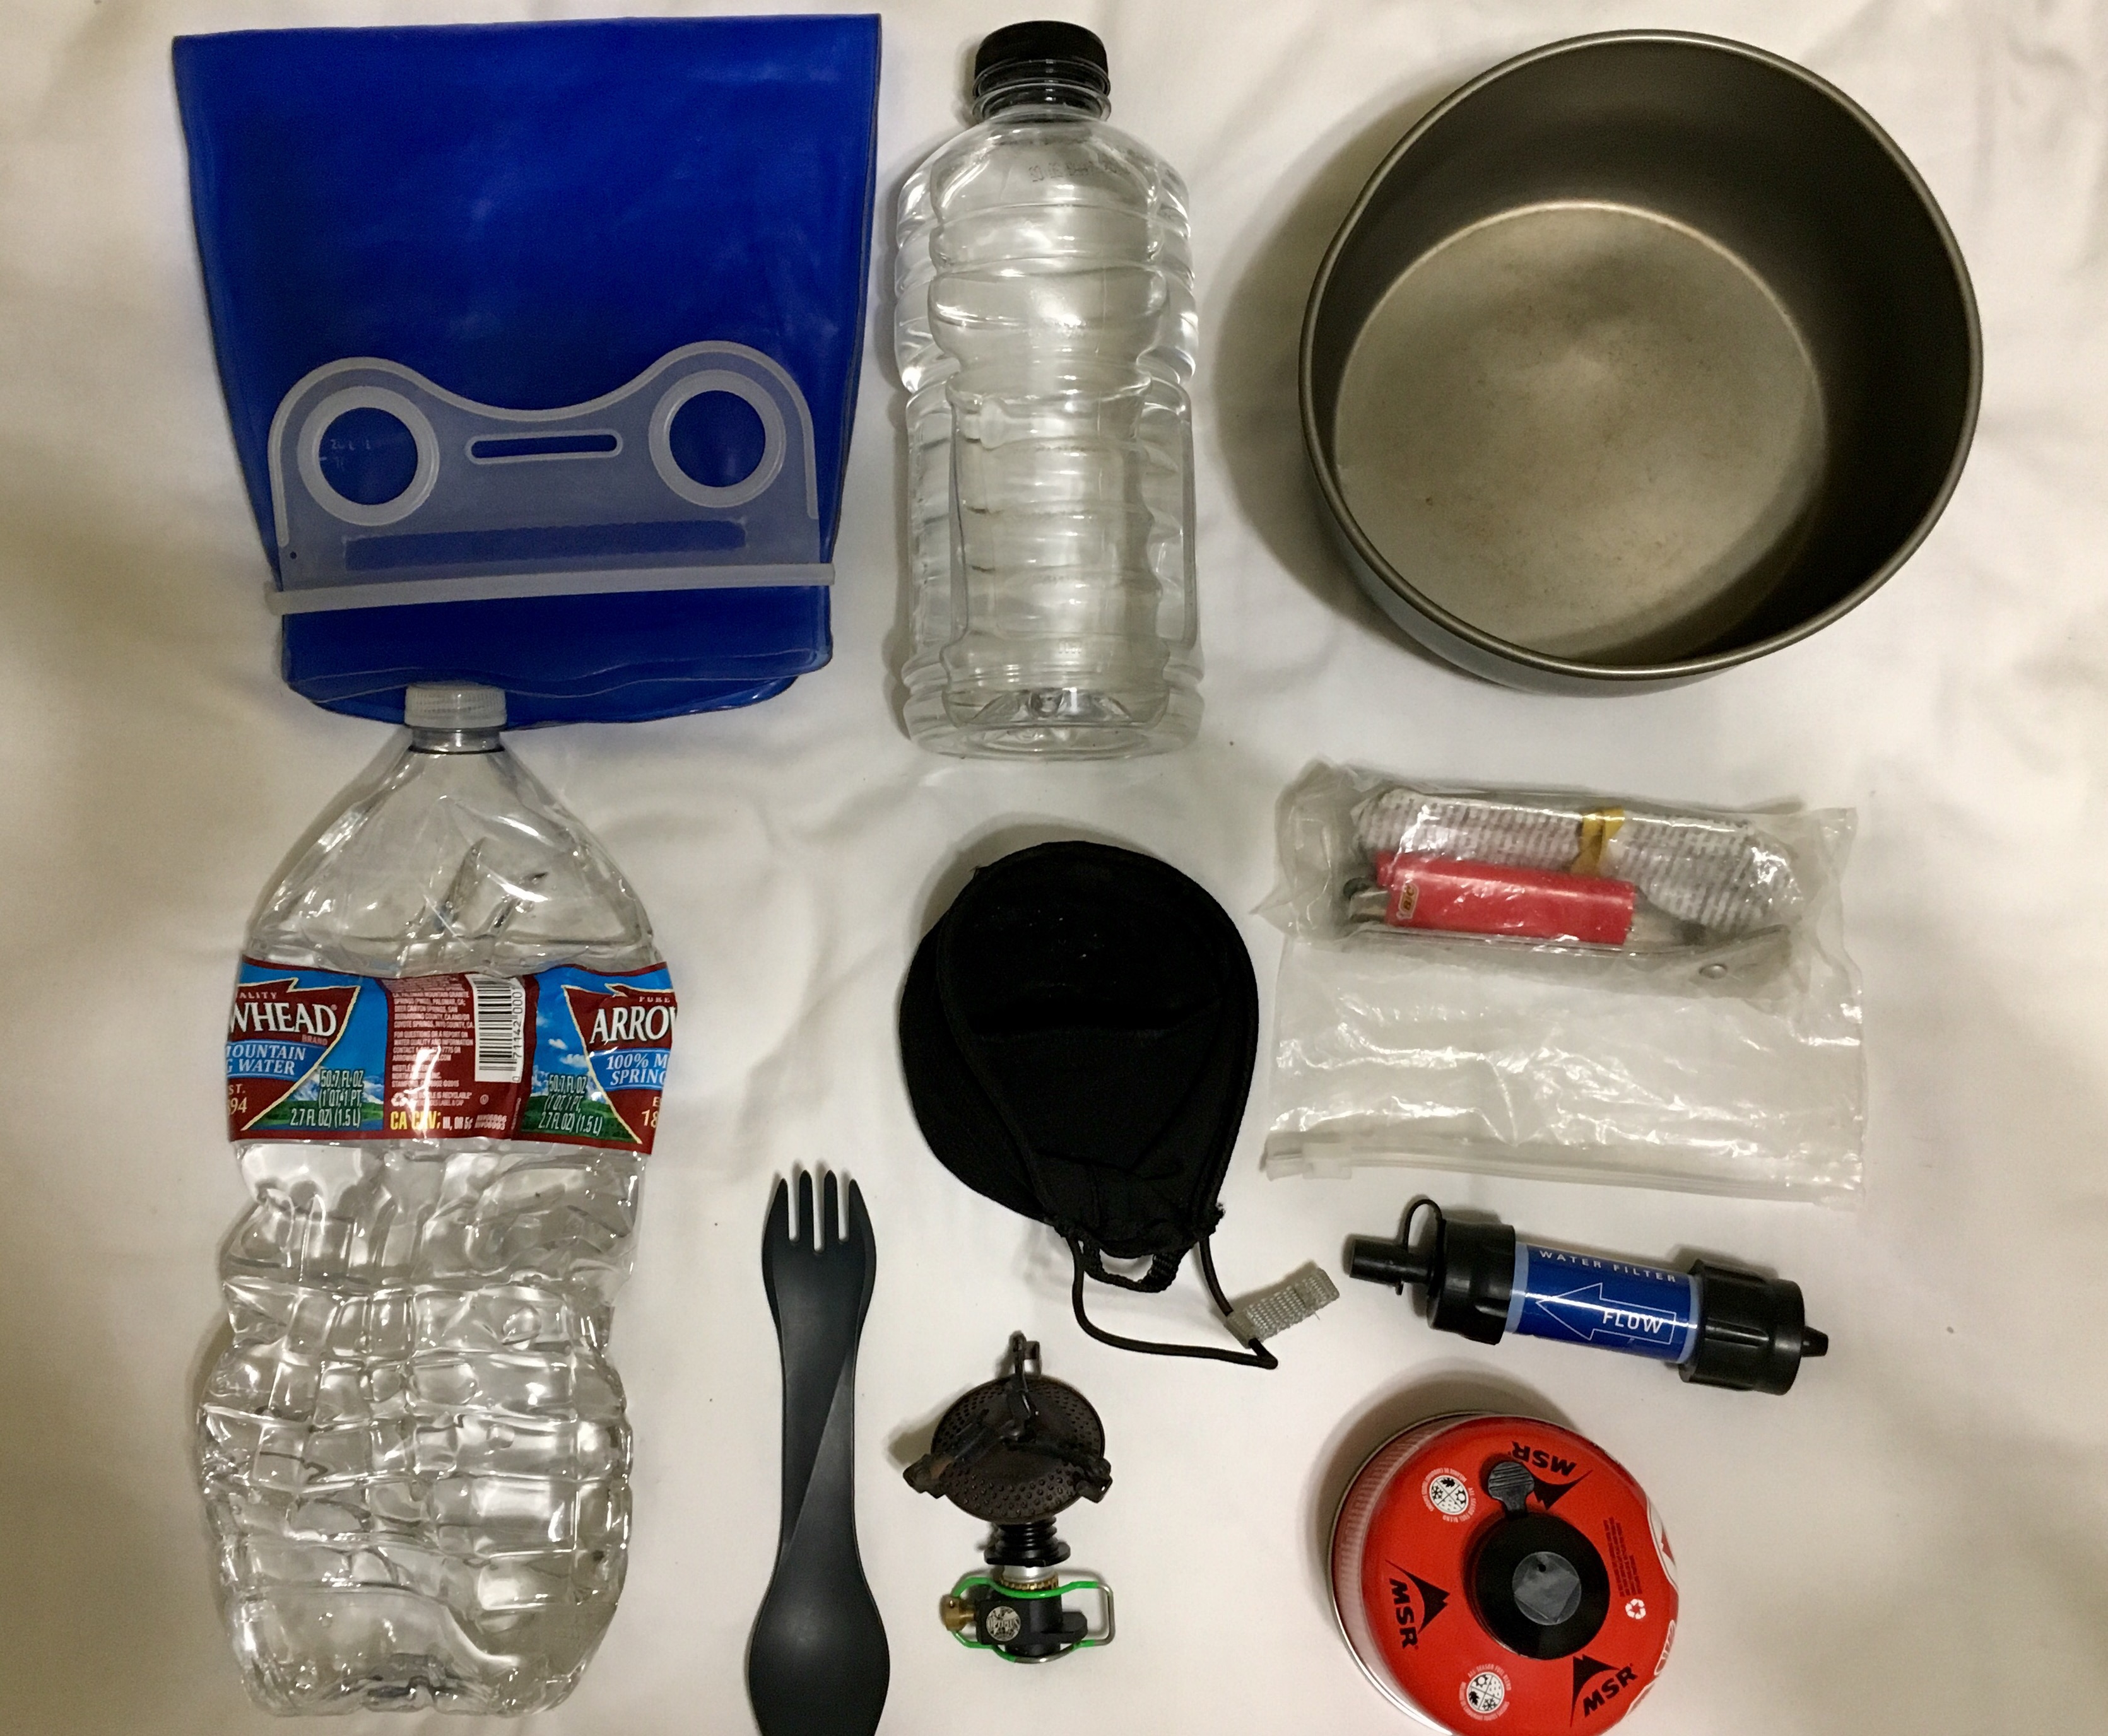
Some people go without a stove and only eat cold or dry stuff. Apparently it works but I wouldn't want to go without one proper meal per day. So I carry a very small and light weight (83g) gas stove from Optimus Crux and a small gas canister. For cooking I have a 1.5l Trangia hardanodized ultralight aluminium cooking pot, the aluminum handle and Sea to Summit plastic spoon.
My main water container is a cheap 1l Powerade plastic bottle - it does the job perfectly, is way lighter than the "proper" ones, the outflow of the Powerade bottle has the perfect size so that you can drink while walking (better than the Powerade one), you can replace it once in a while if it gets to nasty and it costs almost nothing! As a water filtration system you can go with the lighter Sawyer Mini instead of the Sawyer Squeeze. I only filtered my water 4 or 5 times on the entire trail. Since there is water everywhere in New Zealand and you rarely have two hours without a water source you can either carry a 2l Platypus or get an additional thin water bottle for the few occasions where you will need it.
I also have two stuff sacks (10l and 15l) for my food. It helps to easier squish the food into the backpack and I always separate breakfast & dinner from snacks. By doing that I can bury the breakfast & dinner bag in my pack and only have to take to bag with the snacks out during the day
(What I don't carry anymore different to before the trail and on the picture: camel bag, water bottle)
Clothes:
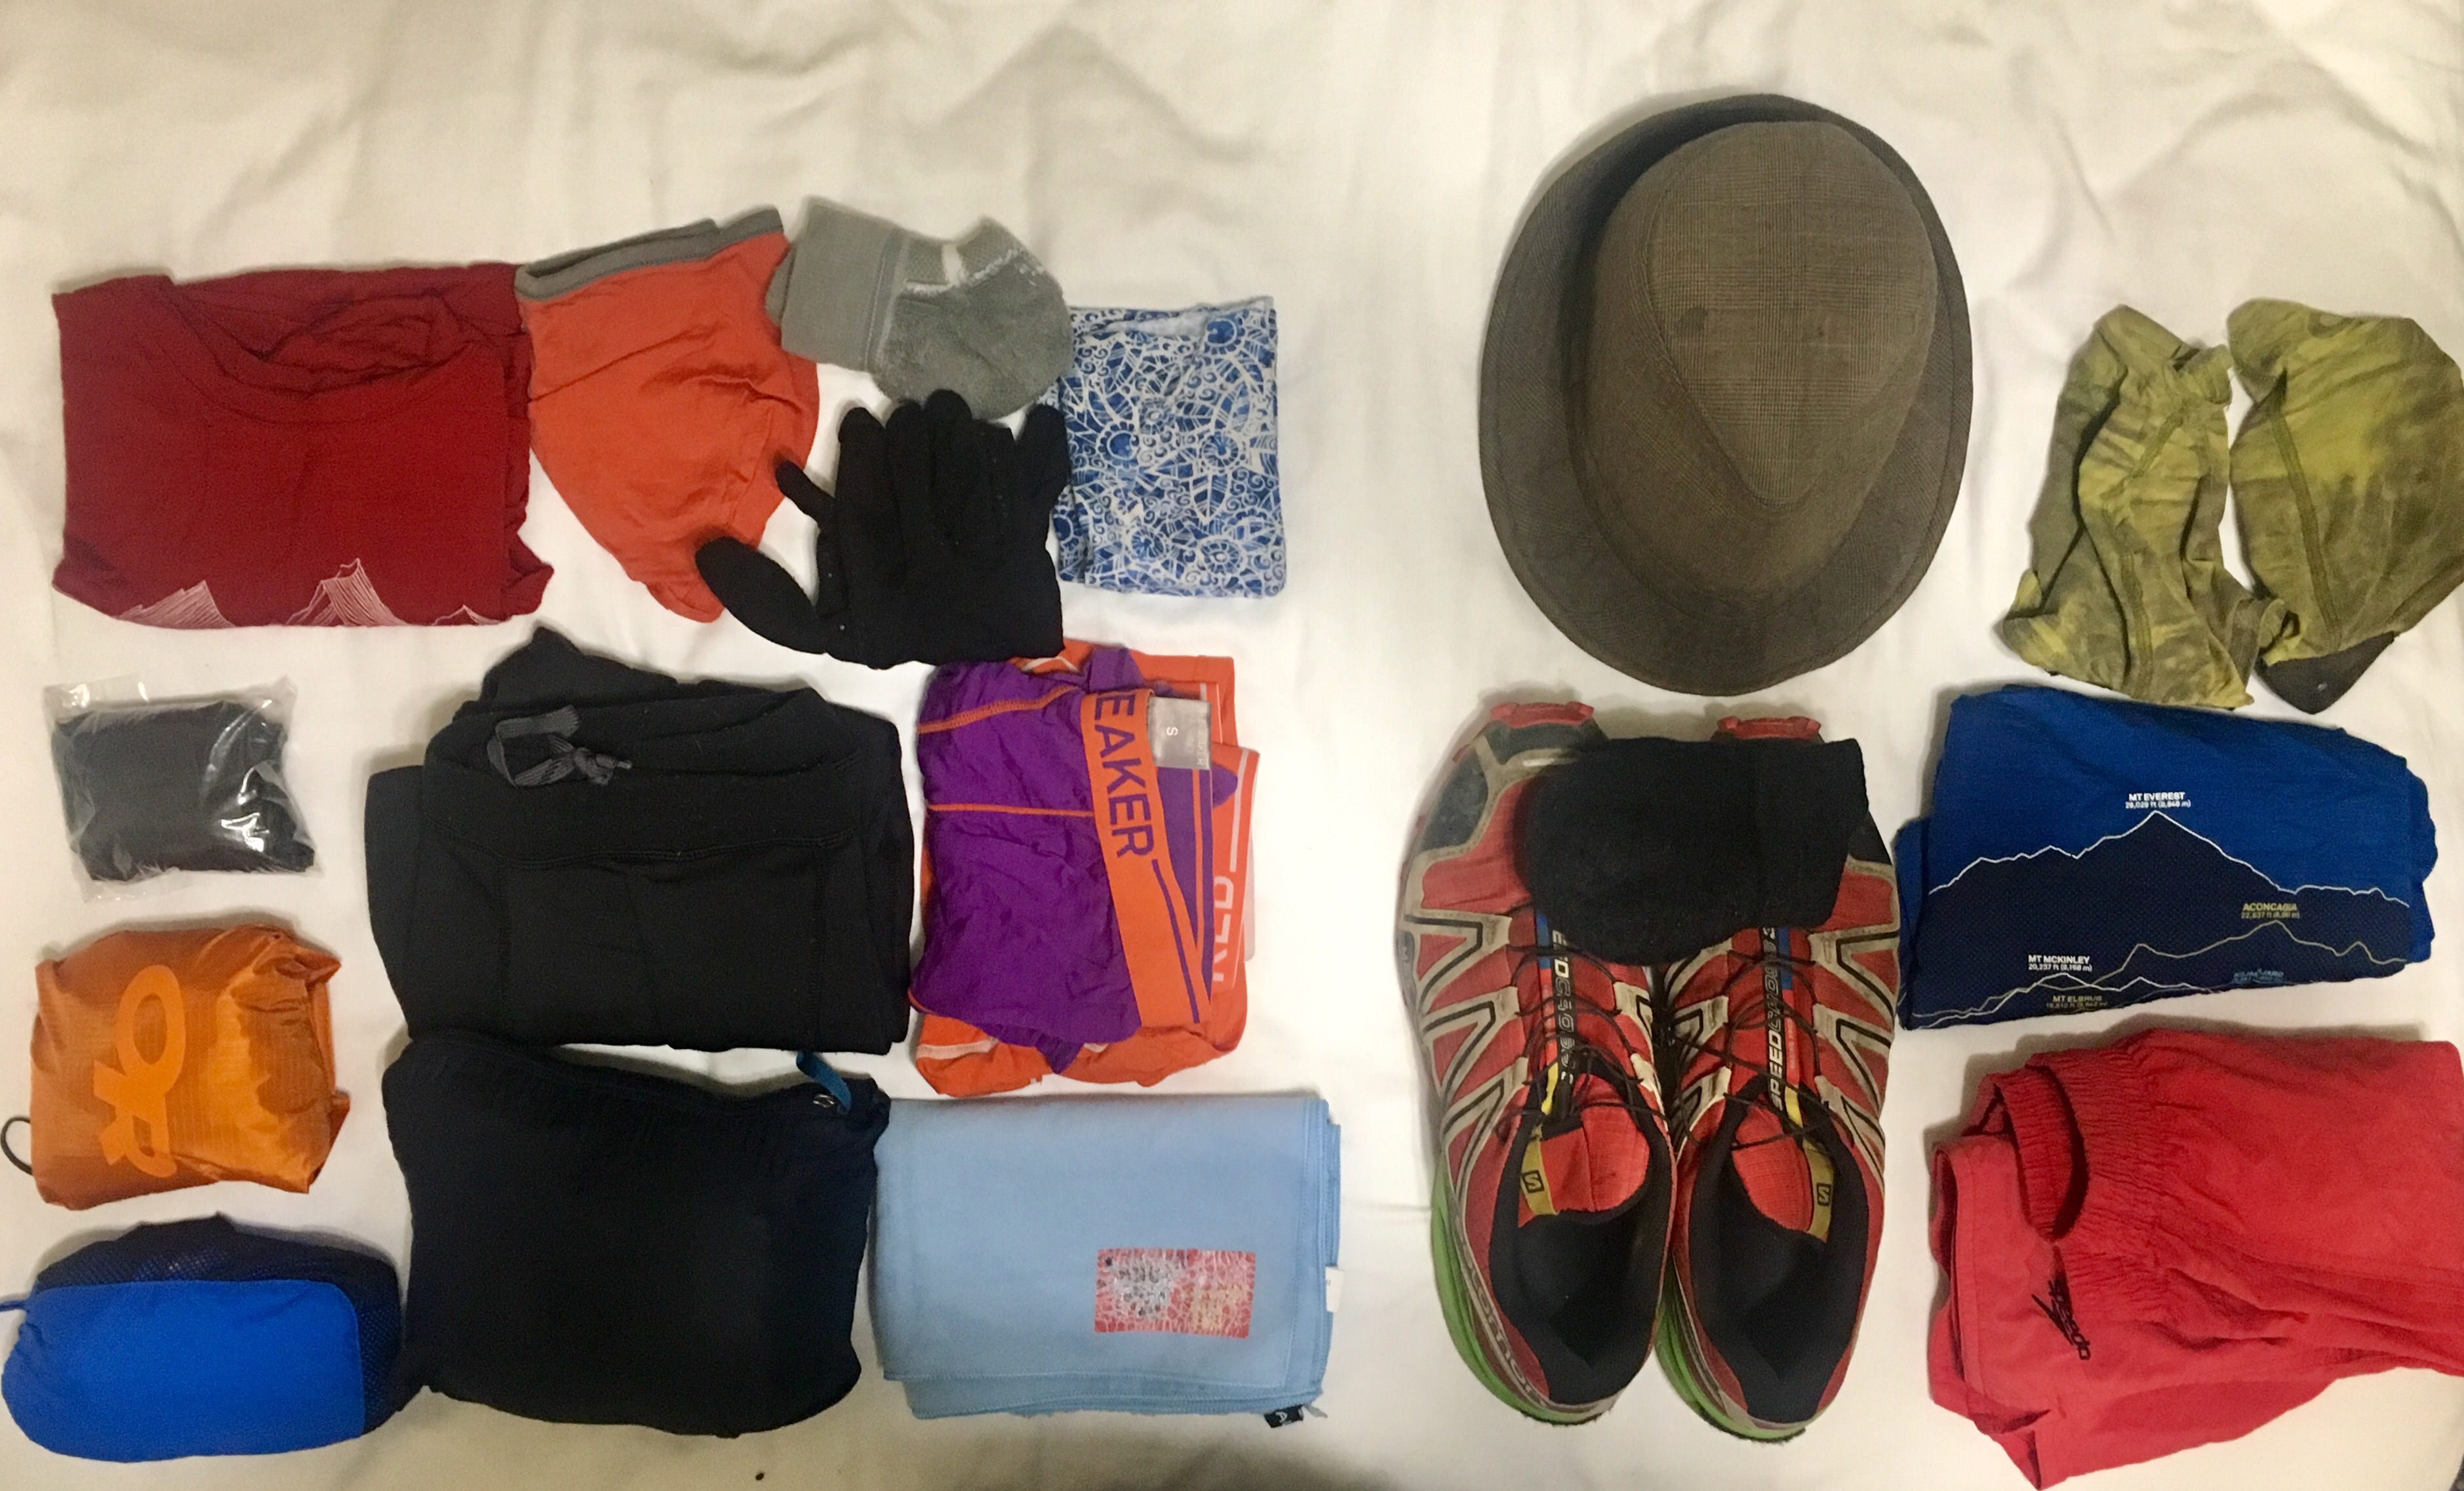
I try to carry as little as I can. Therefore I don't take anything which can't be used on top of each other for the worst case scenario. Don't over pack - yes, you will be smelly and a bit sticky. But everybody is out there. You'll get used to it. Not showering for ten days sounds really bad at the beginning but it's actually not. And once in a while there is also a river to jump in if you are desperate 😉
I usually hike in a Icebreaker merino wool t-shirt, my beloved red/pink Speedo swim shorts, short Icebreaker merino socks and my favorite Salomon Speedcross4 trail runners. To protect my socks and shoes from the insight I use very small Outdoor Research Sparkplug gaiters. As sun protection I have my new and cool Prana hipster cap 😎.
Rain gear: Outdoor Research Helium II rain jacket & Vaude Drop Pants II rain pants - for heavy conditions and when temperatures drop below 0C with rain and wind. And the above mentioned rain skirt Zpacks Rain Kilt. I would personally make it shorter and keep it over your knees for better movability.
My Patagonia Nano Puff jacket with Prima Loft Gold is the piece which keeps me warm in camp or breaks - very small and very warm. I find Prima Loft better on long distance hikes since it even warmth you if it's wet, it dries quickly and you can easily wash it - different to down.
One Icebreaker Descender Long Sleeve merino wool jumper - early in the morning or later in the day on cold and windy days I like to wear this one. Primaloft or down is to warm to walk in.
For the really cold days I carry a thin Icebreaker merino beanie, a Buff (neck gaiter) and a pair of Icebreaker Sierra gloves.
Since my swim shorts have a mesh inside I don't wear underwear. It also helps for better ventilation, less sweating and rubbing. So I only carry one pair of merino underwear to sleep in.
The only extras I carried were one Icebreaker merino t-shirt which is not really necessary - but it is nice sometimes e.g. in towns after a shower when waiting for the laundry to be done. But you don't need it. If its wet I either try to keep in on and dry it with body heat or I take it off and wear my jumper. It sucks in the morning to put it on again but after 20 minutes of exercising it's usually dry. In Oregon I changed one Icebreaker t-shirt for a long sleeve shirt because of the mosquitos and kept it to the end. I also have one pair of extra socks in case a sock breaks down. This usually happens quickly. I went through a pair in 3-4 weeks. Your feet are the most important part on this journey - you do want to do anything possible to prevent blisters and/or injuries! Other than that you only need one pair. Why? How many can you wear? Exactly. If they smell you wash them in a break. If they are wet? Then you walk in wet socks. If it rains on consecutive days even dry socks are wet after 20 minutes so there is no sense in putting dry ones on to into your wet shoes...
(What I don't carry anymore different to before the trail and on the picture: hat, rain skirt, thermal pants, towel)
Medics and Hygienics
How to go light: Try to buy the smaller sizes. No need to carry 200ml of something that will last for 2 month. Resupply more often. I have seen people carrying regular bottles of everything ending up with 3-4kg of liquids 🙈
My daily hygienics consisted out of a small and cut off tooth brush + toothpaste, contact lenses and cleansing fluid (extra pair and a few daily lenses in case of an eye infection), nail clipper, comb for my beard - therefore no razor 😂 and an amount of toilet paper suitable for the days - don't carry an entire roll!
In case shit happens. How much can you do in the wilderness? If it's a minor thing you usually don't really have to do anything and if it's a big thing (broken bones, etc.) you can't heal yourself anyways. So the only thing you have to do is get out and get help. So I am not a big fan of carrying a lot of stuff. For the heavy stuff I rely on painkillers (Ibuprofen), the cable ties and ductape.
I also carry Imodium for diaria (how many do you need? Not the entire pack for sure, just enough to get you out in case it hits you), a cream for eye infection which happens quickly with contact lenses, a couple disinfection/alcohol tissues (also work great if you have to clean camera lenses or surfaces before you repair / glue them). And a few Antihistamine pills after my shocking 25 sting-wasp-experience.
For the smaller issues and especially my feet I have a small roll of plaster tape (Mefix) which is a sticky plaster to seal open wounds and a 2m strip of Leuko Surgical Tape wrapped around a solid plastic tube: it's the only tape which really works. The adhesive is incredible and even stays on feet for days when they get wet. Don't try anything else!
Last but not least a 30ml sunscreen tube and a Ziploc bag to store everything.
(What I don't carry anymore different to before the trail and on the picture: Voltaren, Aspirin, hand sanitizer, bio degradable washing lotion, ear plugs)

Repair kit
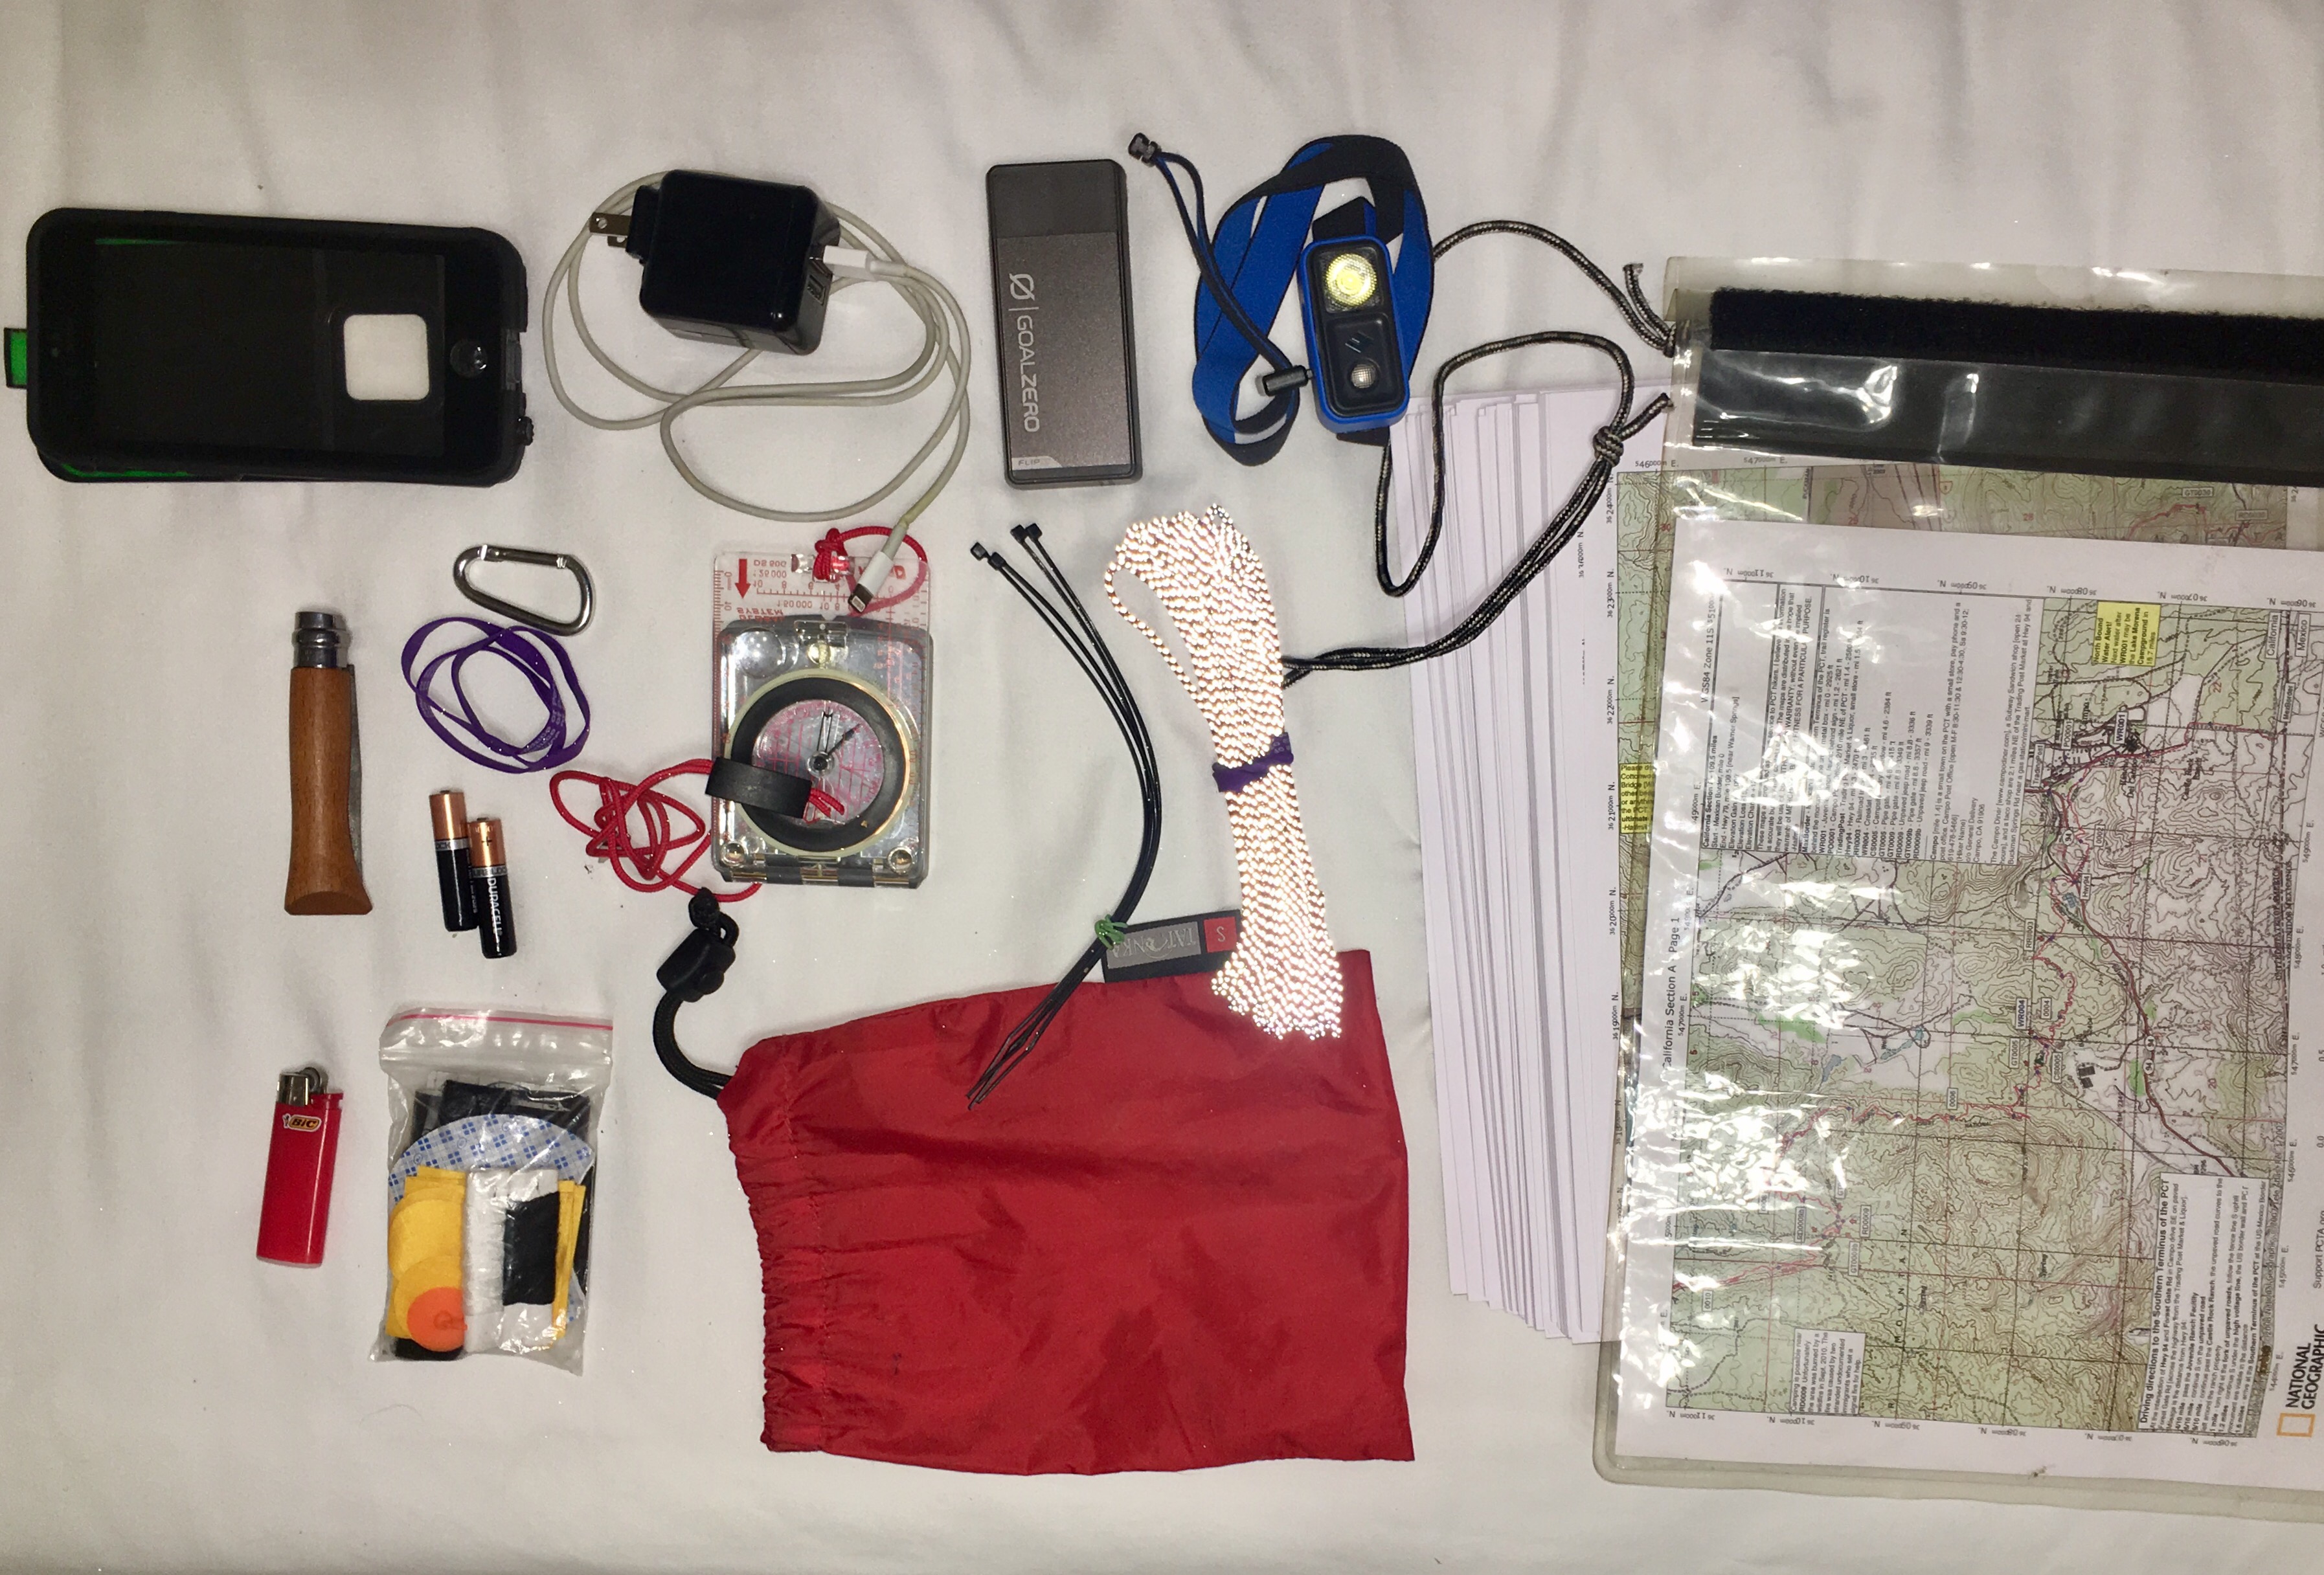
Minimal as well. Tape and cable ties will fix most problems temporarily or even long term. For the electronics I only carry my iPhone for backup navigation (bad weather, emergency situations) and to write the blog.
Sufficient amount of ductape wrapped around my trekking poles so I don't have to carry it in the backpack fixes everything: equipment and also small injuries.
An Opinel Knife No. 6, a stripe of special waterproof repair tape for tents, rain jackets and repair kit for my air mattress, 6 cable ties, super glue, a spare lighter, a 10m MSR Ultralight Utility Cord (cloth line, rope to hang food and possible repair kit) and 2 small carabiners to hang food. On top I carried 4 one gallon Ziploc bags as emergency and rain gloves and socks and a small stuff sack to store everything.
Electronics
USB charger with double port, my iPhone in a waterproof Lifeproof Case - also my fall back navigation and emergency (if I have reception) device, a Goal Zero Flip 20 Powerbank for two charges. A Black Diamond Ion headlamp for hikes during night time and everything else when it's dark. And I have a small Zpacks Wallet Zip Pouch for credit cards &, ID and all of it goes into a 3l Osprey Ultralight Dry Sack.
(What I don't carry anymore different to before the trail and on the picture: compass & maps which you won't need for the PCT)
The only luxury equipment - my camera
Photography is one of my passions. So I can't go without a proper camera. I tried to find a compromise between a full DSLR camera which is to bulky and heavy and a smaller one which will still give me a very high quality. For the last 2 years I have used my Olympus OMD EM10II with a micro four thirds sensor and the M.ZUIKO DIGITAL ED 14–150mm 1:4.0–5.6 II lense. It only weighs 1018g including the lense, battery and memory card which is significantly less than a comparable SLR.
On top I have 2 spare battery, 2 SD memory cards, cleaning wipes, a grey filter and the camera battery charger.
And I also finally found a way to attach my camera to my backpack so that I can always use it without taking my backpack off or it dangling around and being annoying. The Peak Design clip straps the camera to your shoulder belt. It's fixed, secured and you still have easy access to it. And after two years of heavy usage I can only highly recommend this thing including the shell to protect your camera from dust and rain. If you take the extra weight of a good camera with you this clip is a must item - if you have your camera in your pack you'll never use it and just carry dead weight around! Peak Design Capture Clip v3 for the backpack & Peak Design Shell for protection. Use the link to get a free gift 😉

PS: Unfortunately my camera went swimming 3 weeks before the end. So I had to replace it on the go. I have to admit that I used this excuse to directly upgrade to the OMD EM1 II with a 12-100 Pro Lense. It is significantly heavier (+460g) but I will also use it for non hiking purposes now. On long hikes I might try to use the old lense if I can repair it. For the packing list I include my old camera since it was the one I used.
Additional gear
Leki Khumbu hiking poles which I always use. It's said that they save you up to 30% of energy in your legs since you use your upper body which normally is not used when hiking.
Suunto Core Watch. Simple watch, altimeter and compass. I am not a fan of GPS watches since they use a lot of battery which you don't have out there.
Additional 32oz Gatorade (big opening) pee-bottle for the night. I hate getting out of the tent at night. Probably one of my most favorite items 😊

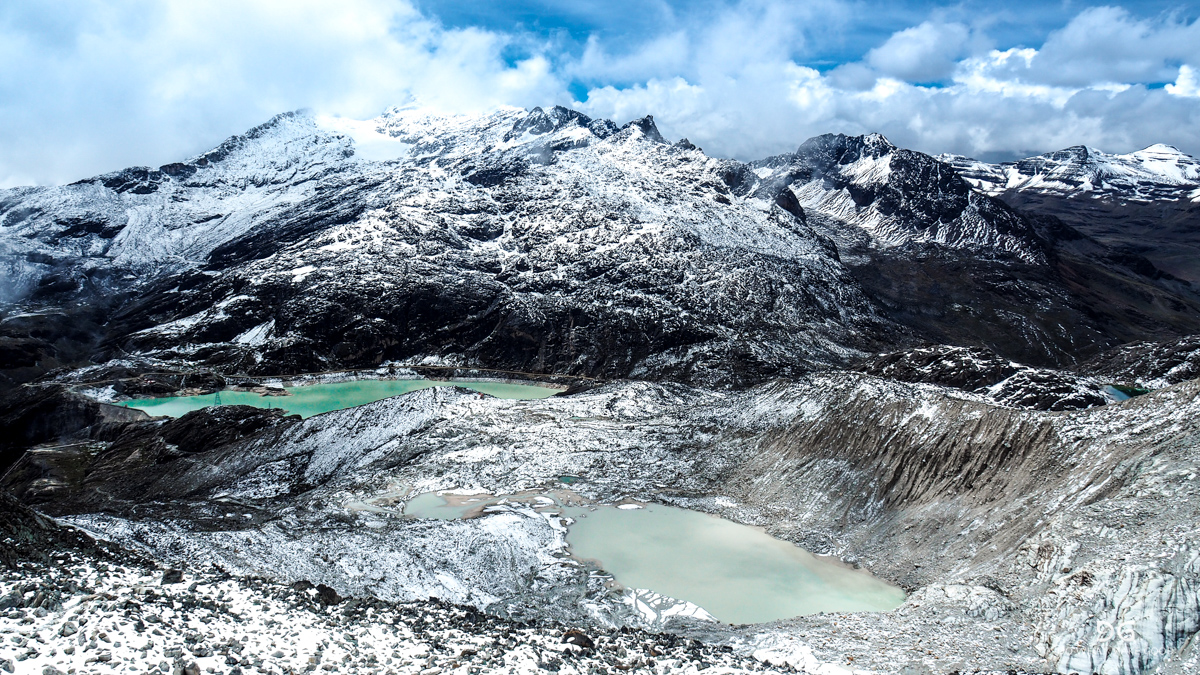
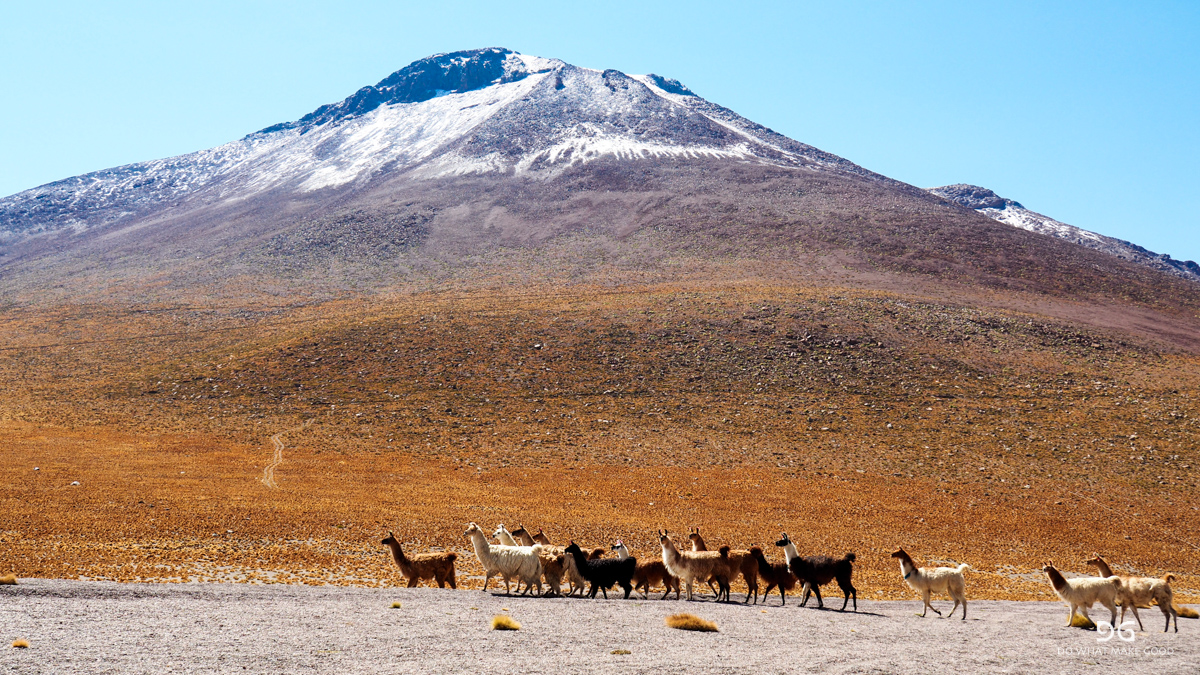
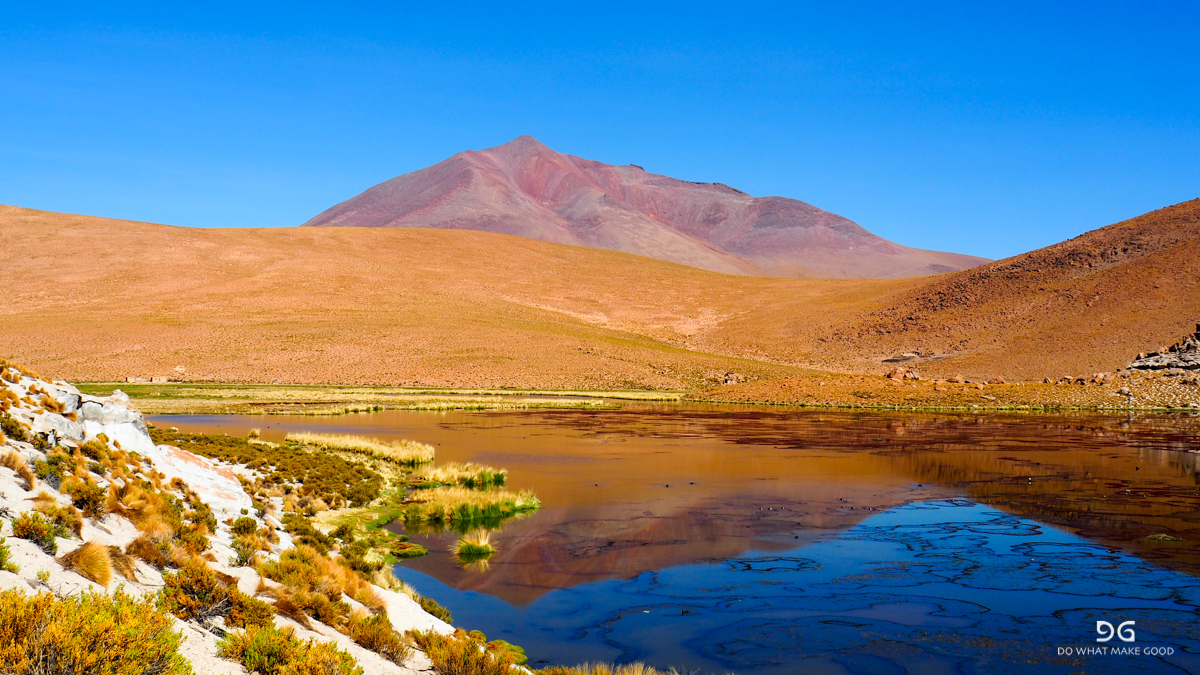
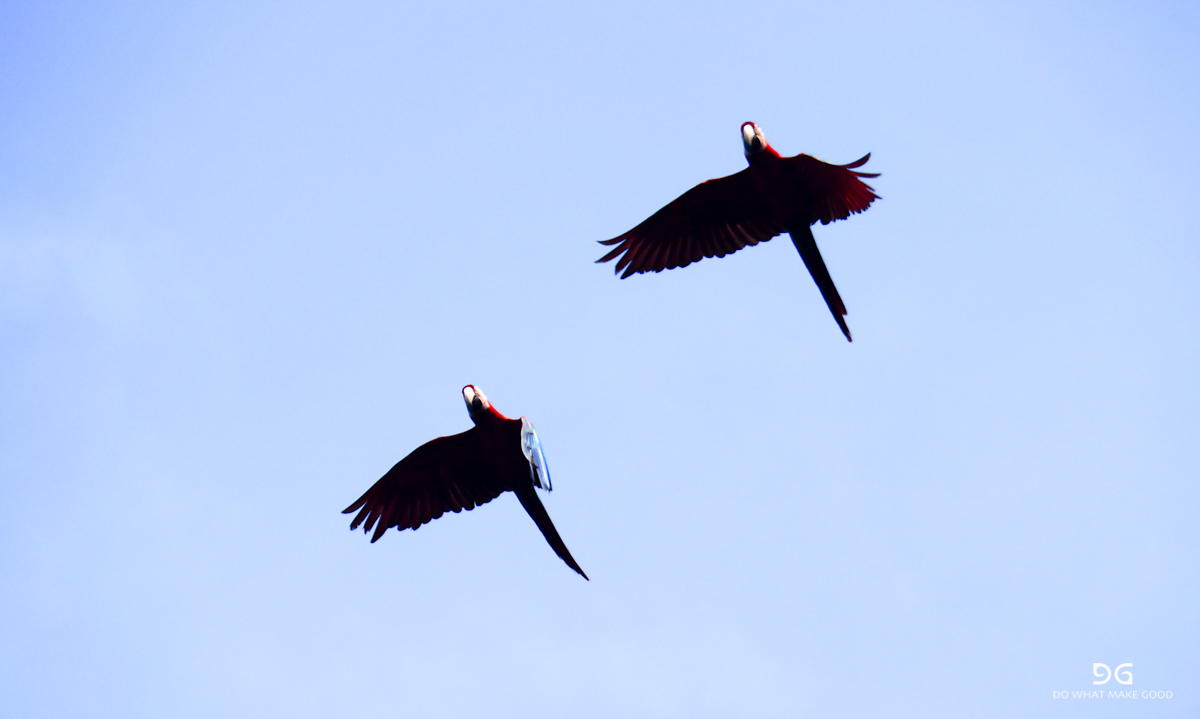
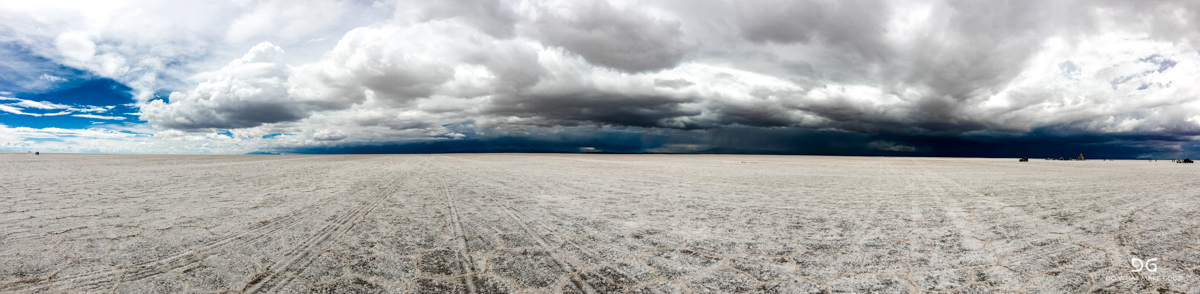
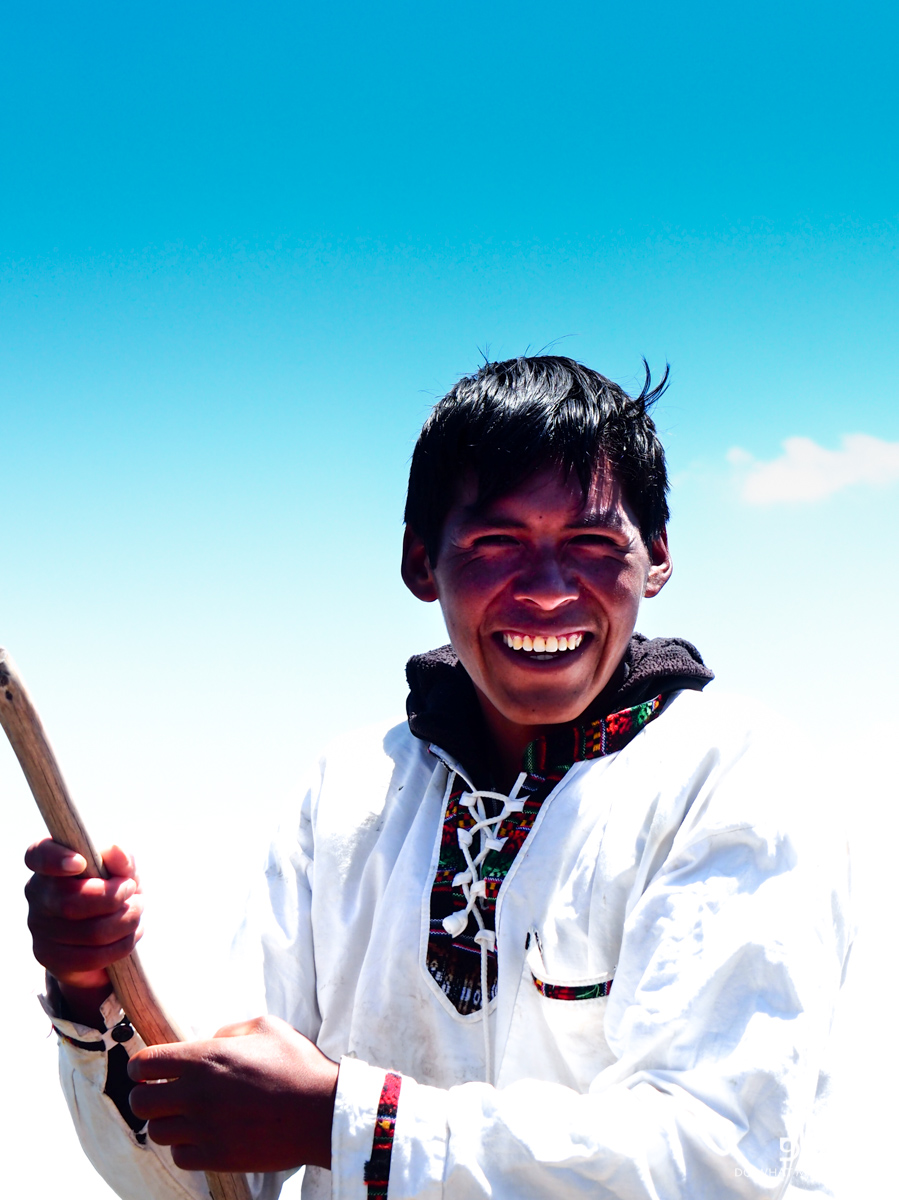
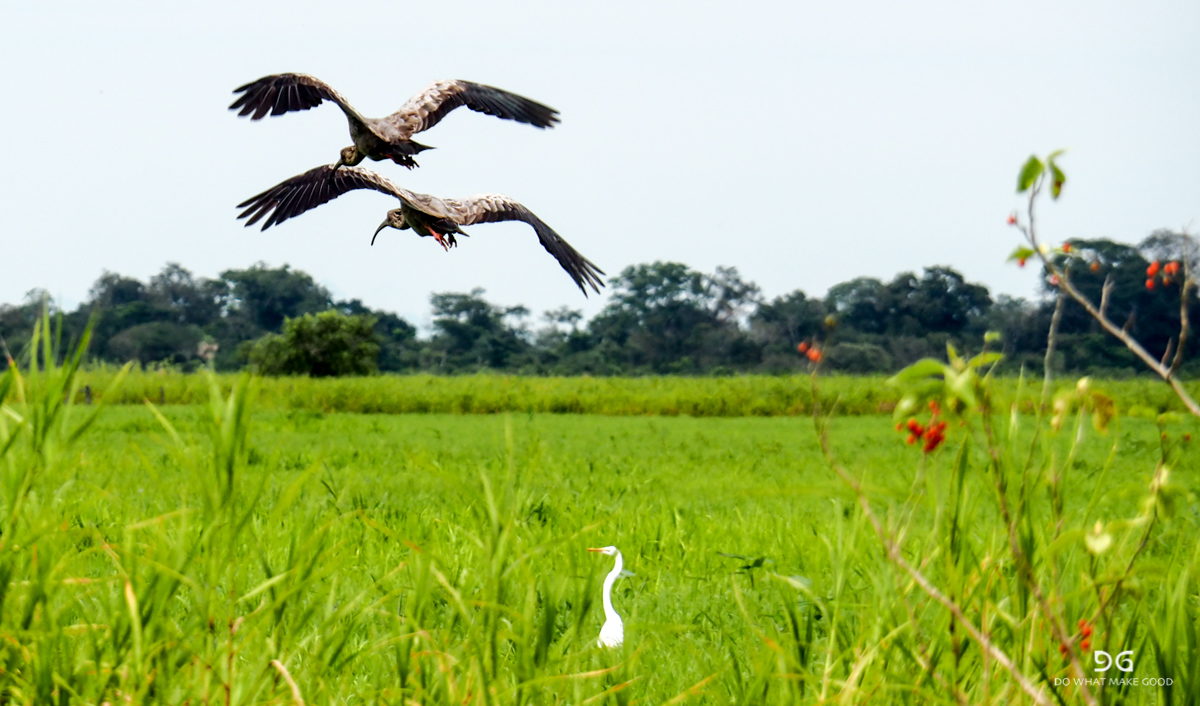
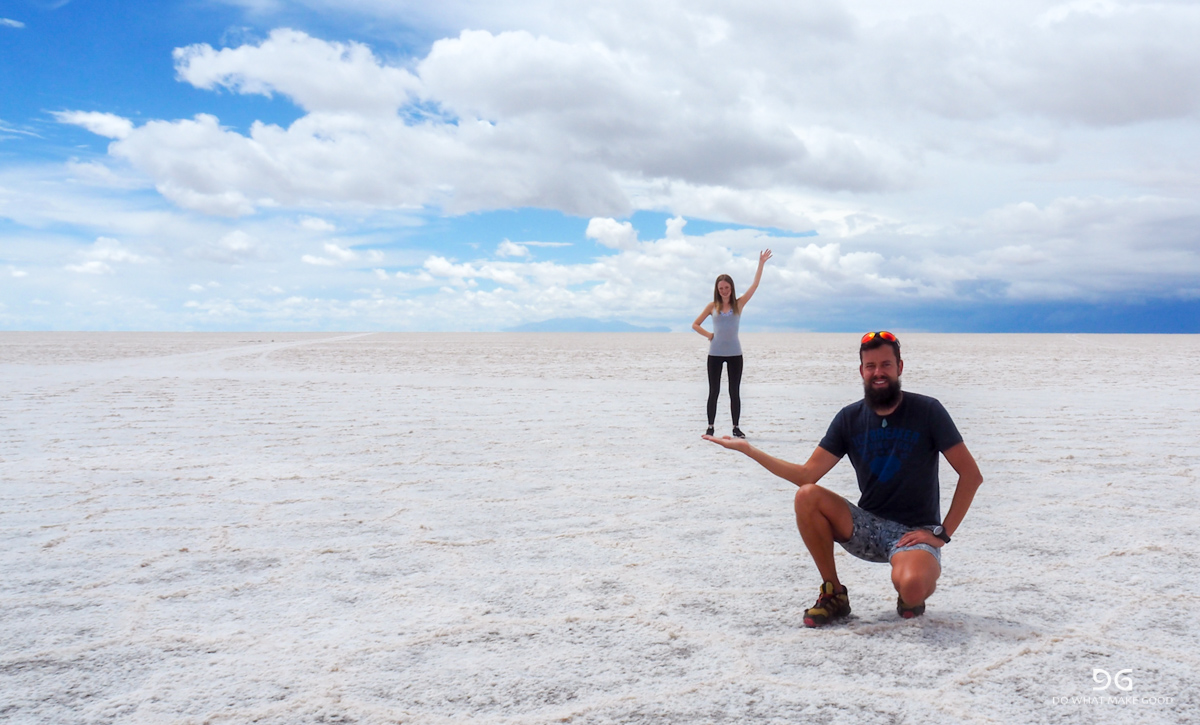
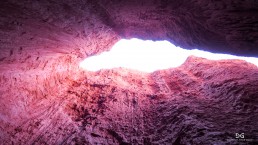
Bolivia
2017: Bolivia
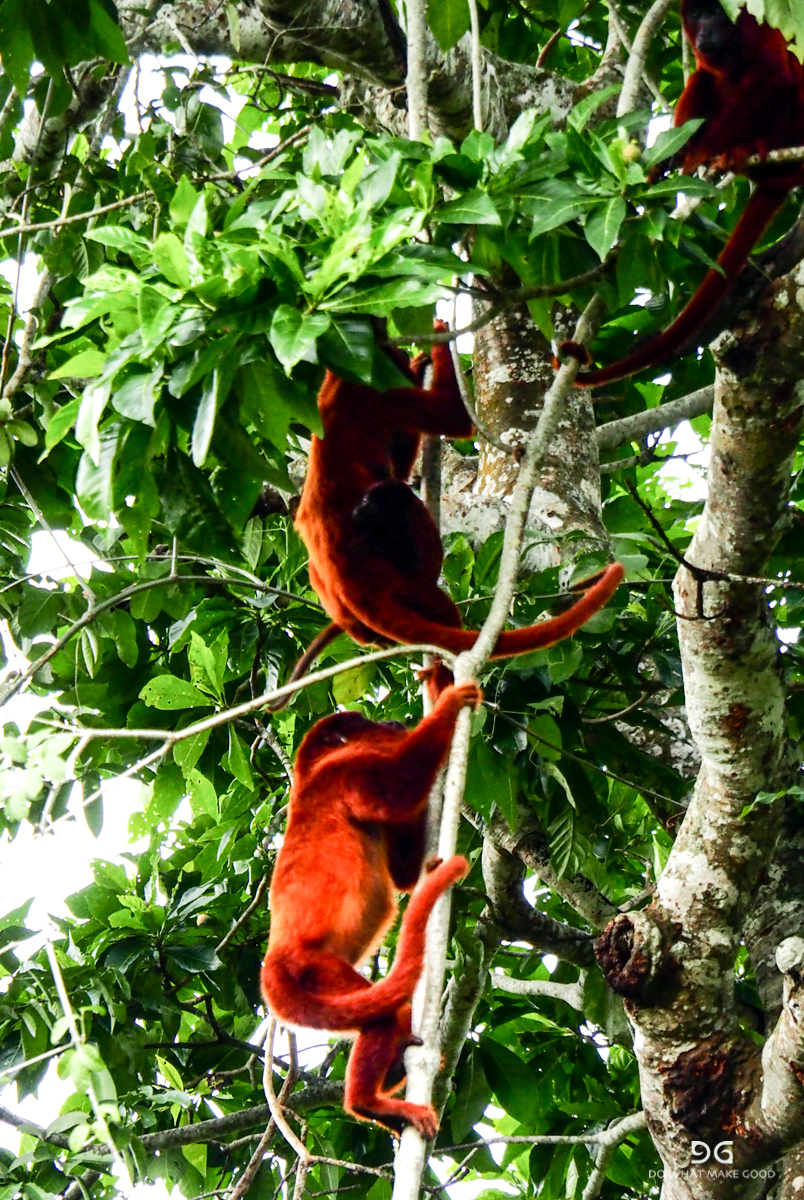
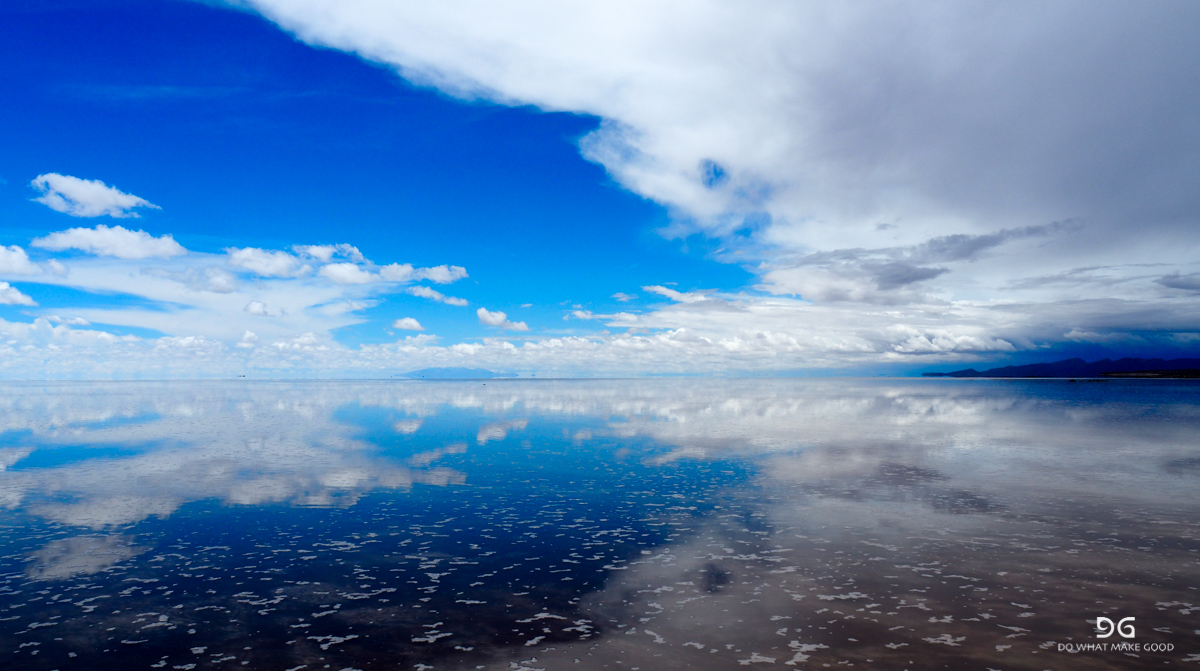
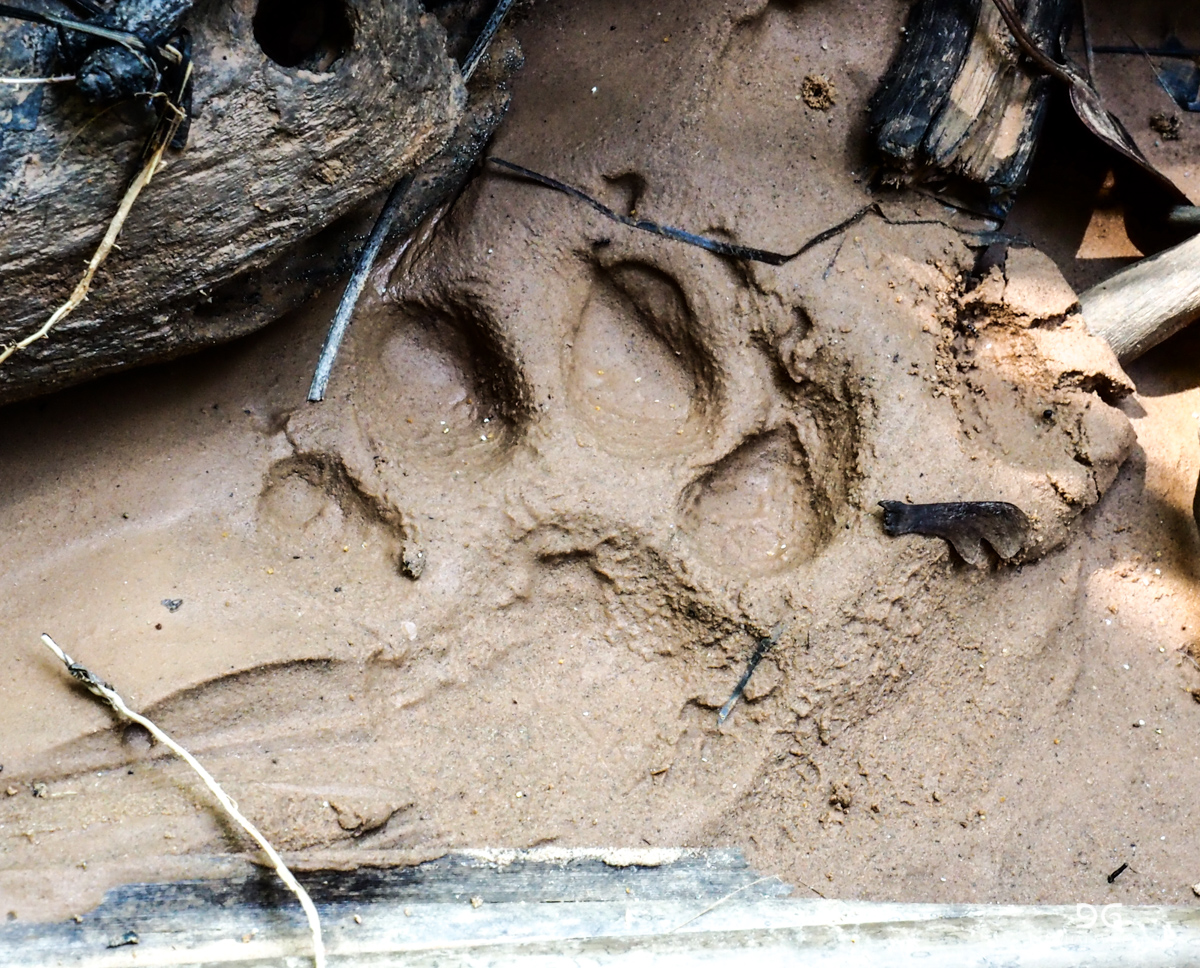
The amazing salt flats "Salar de Uyuni", a spectacular climb on the 6,088m high Huayana Potosi close to La Paz, wildlife from the Amazon basin and more from South America.


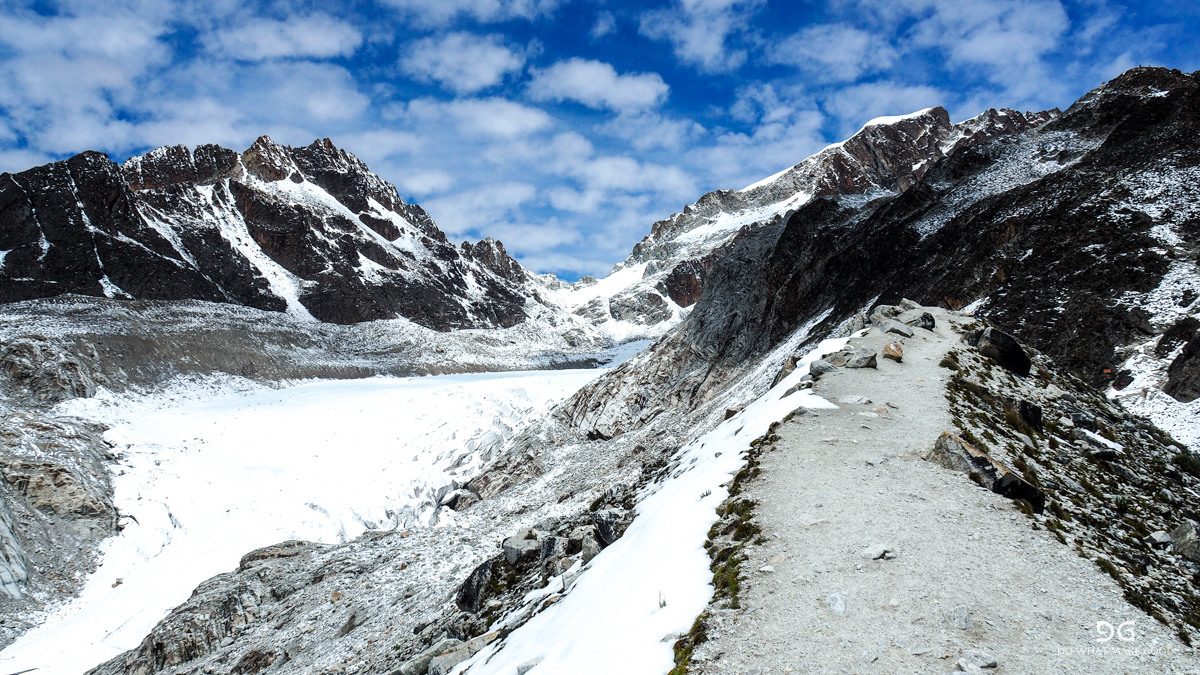


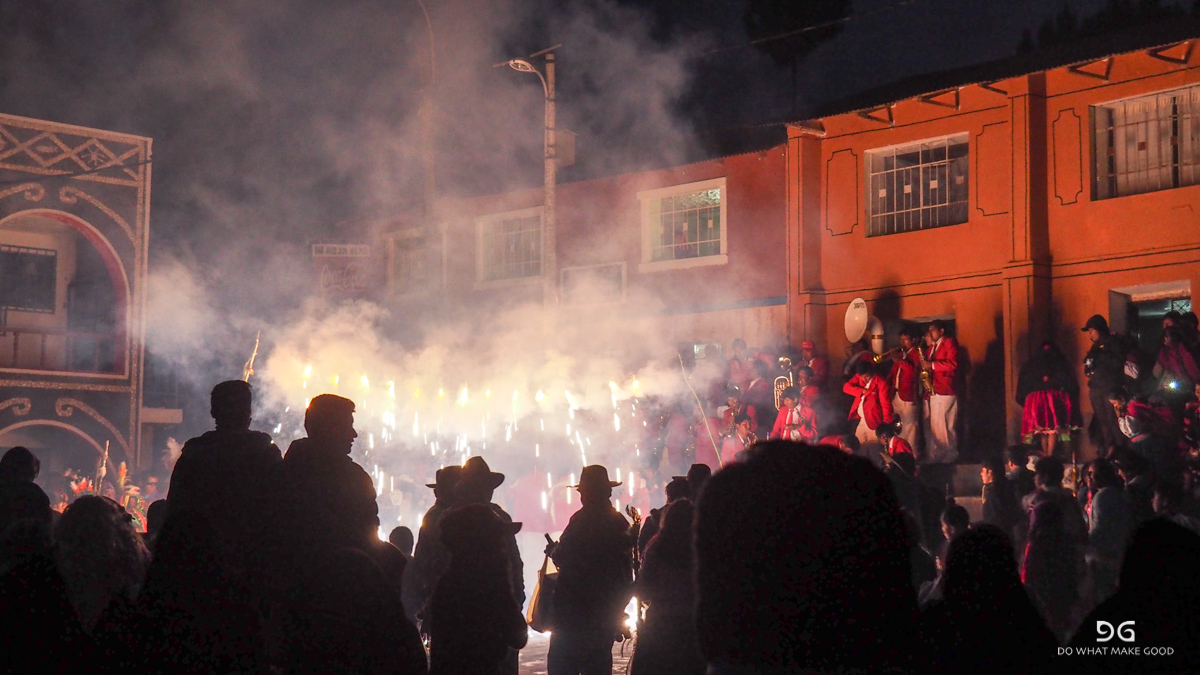
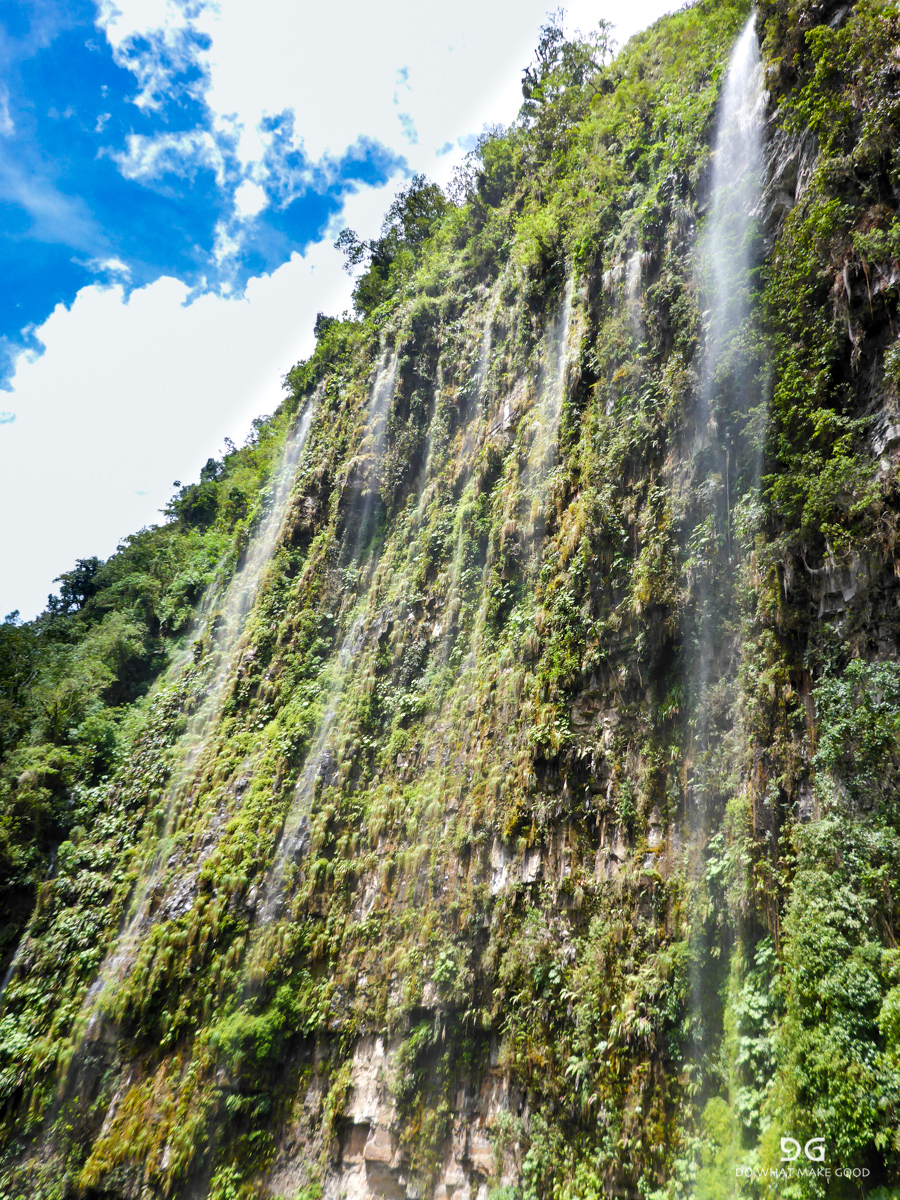


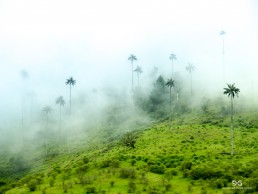
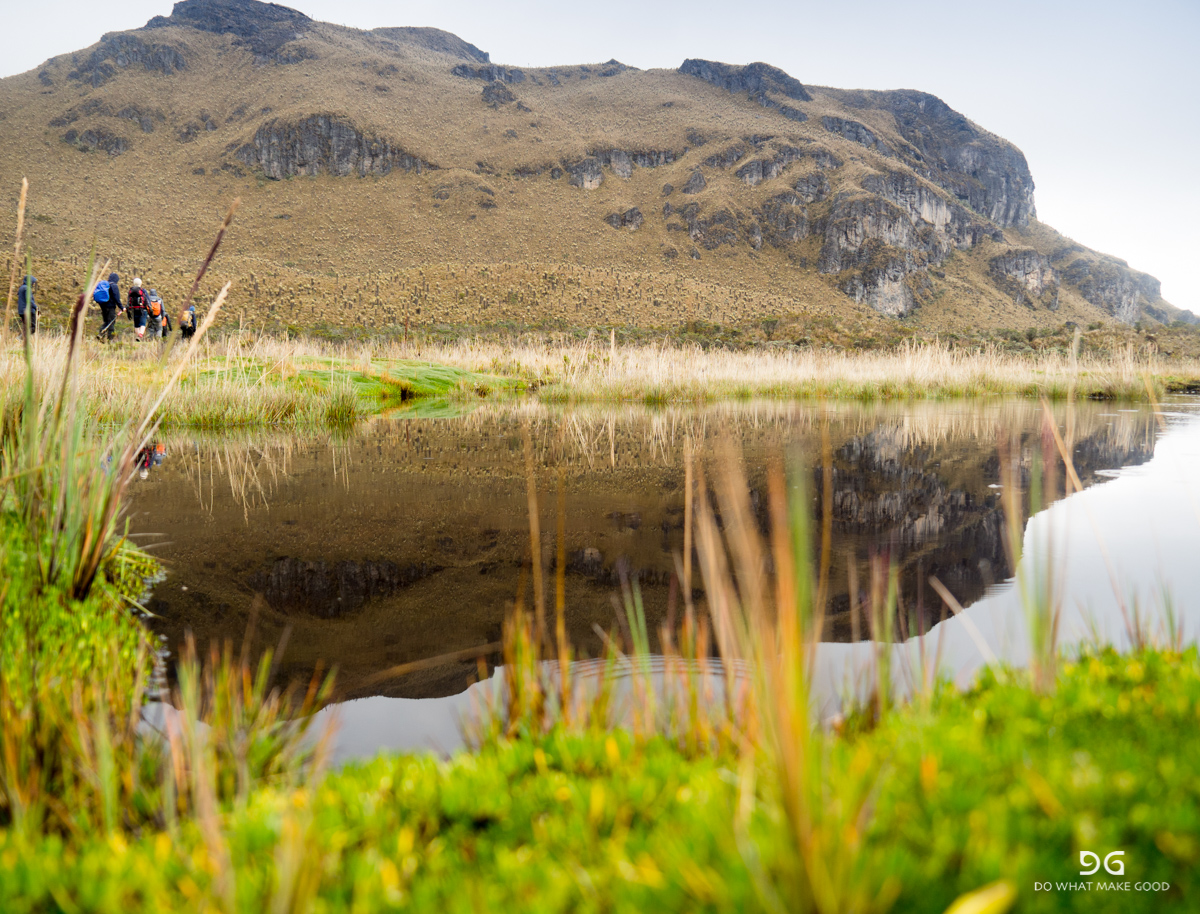
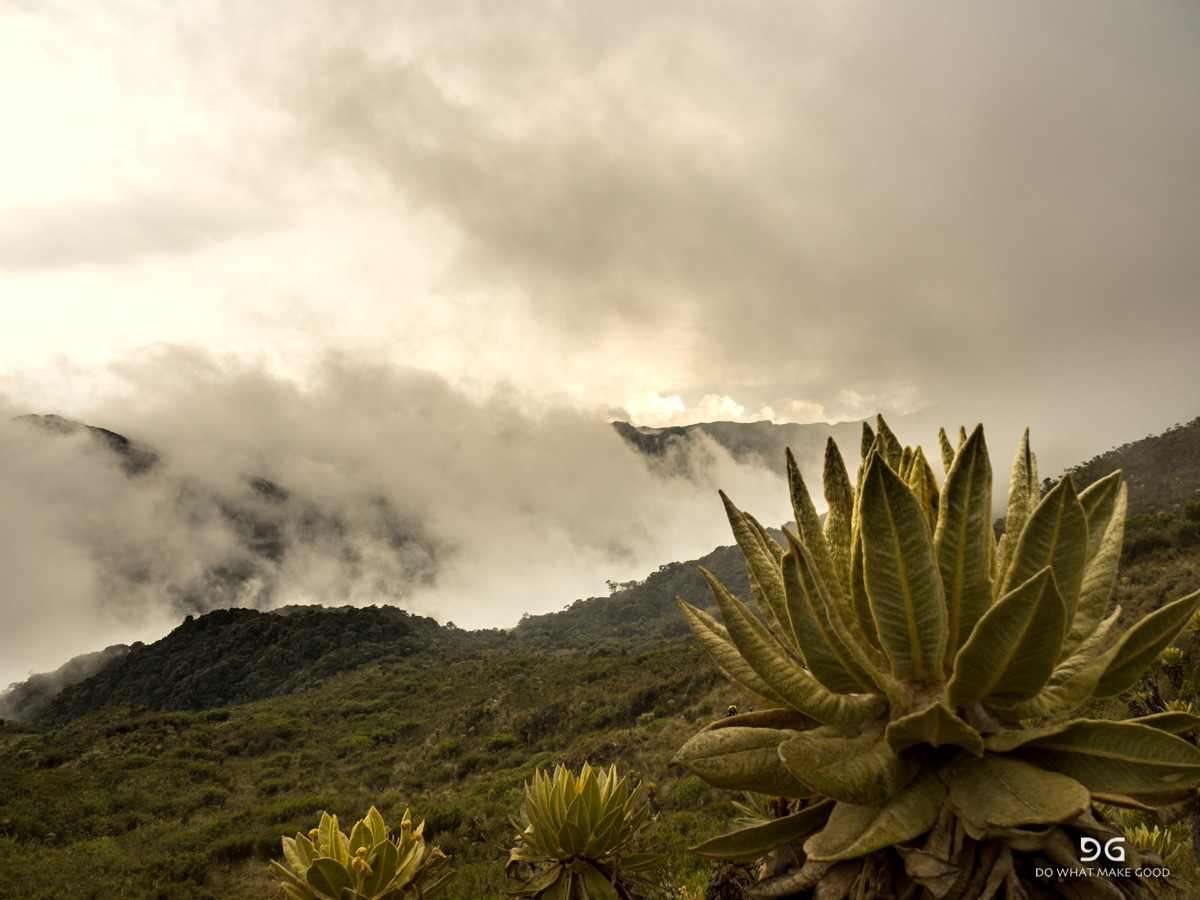
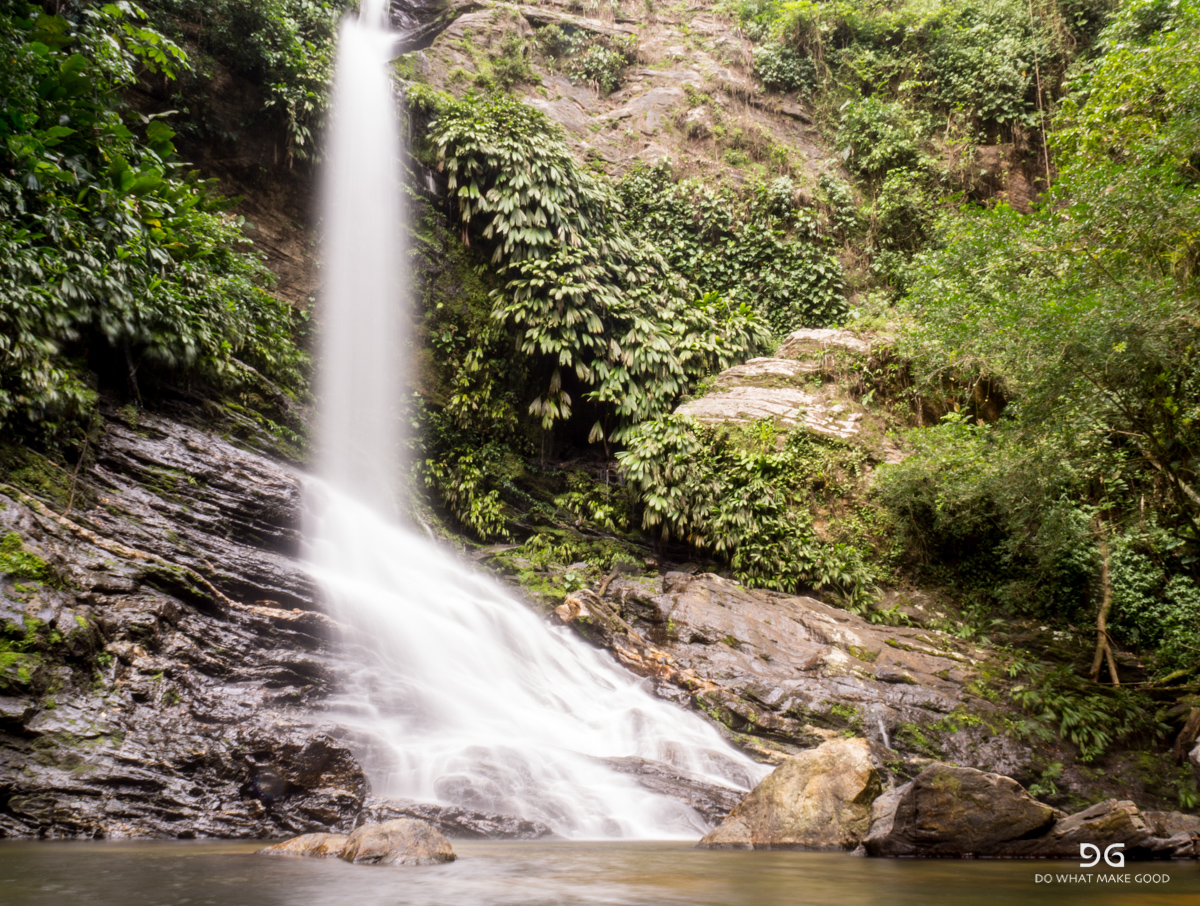
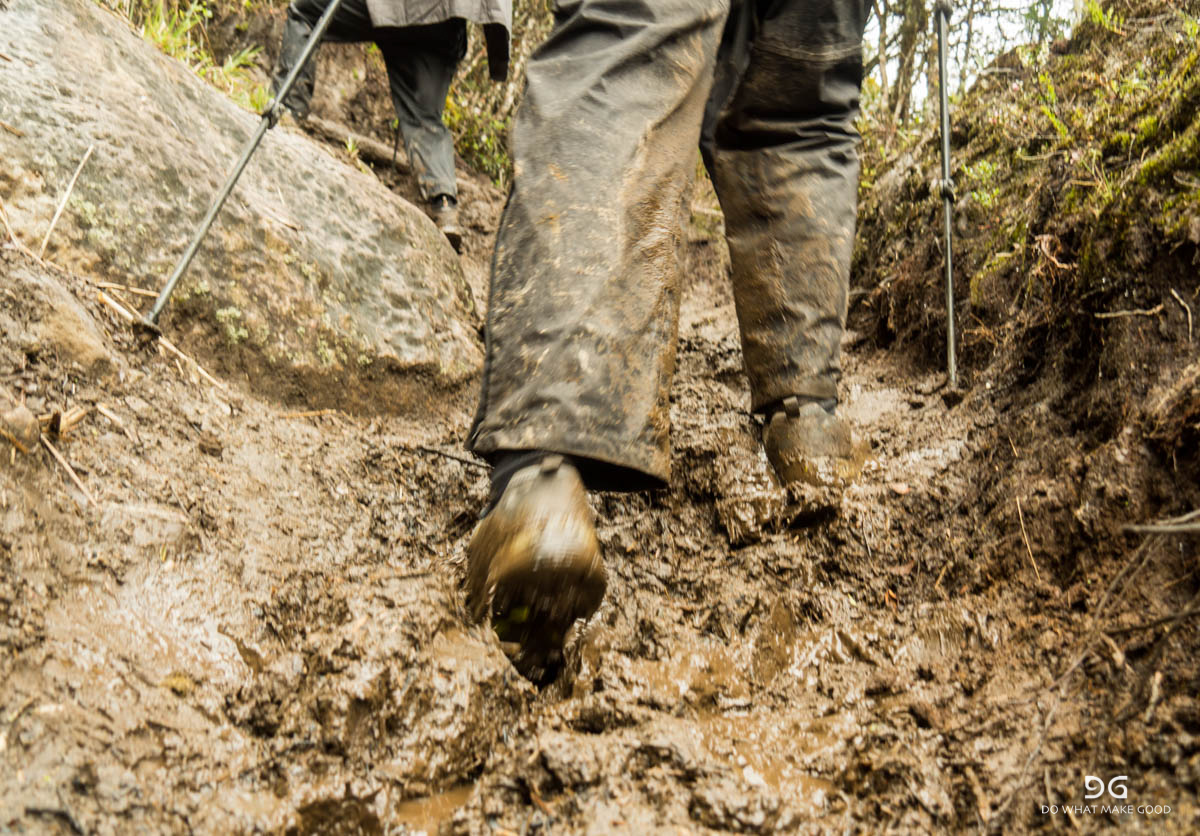
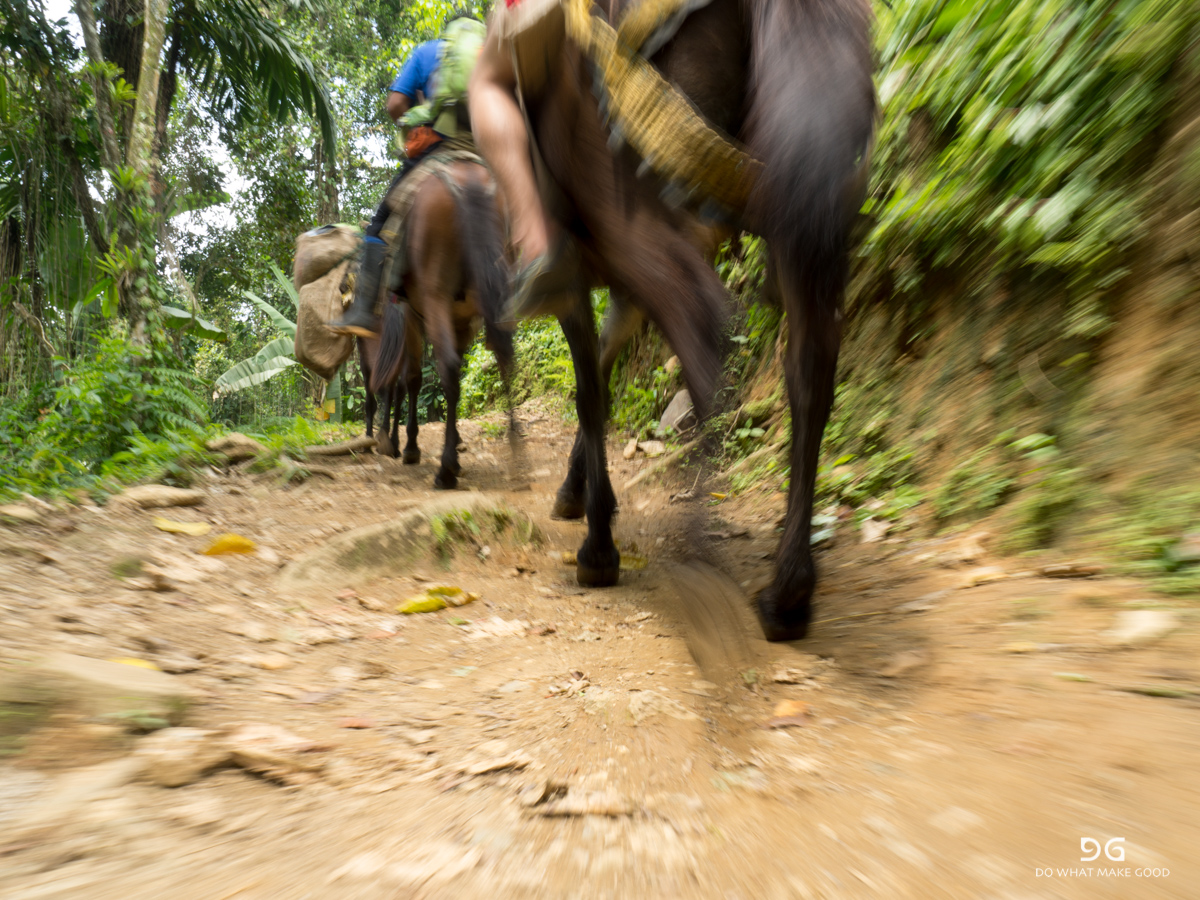
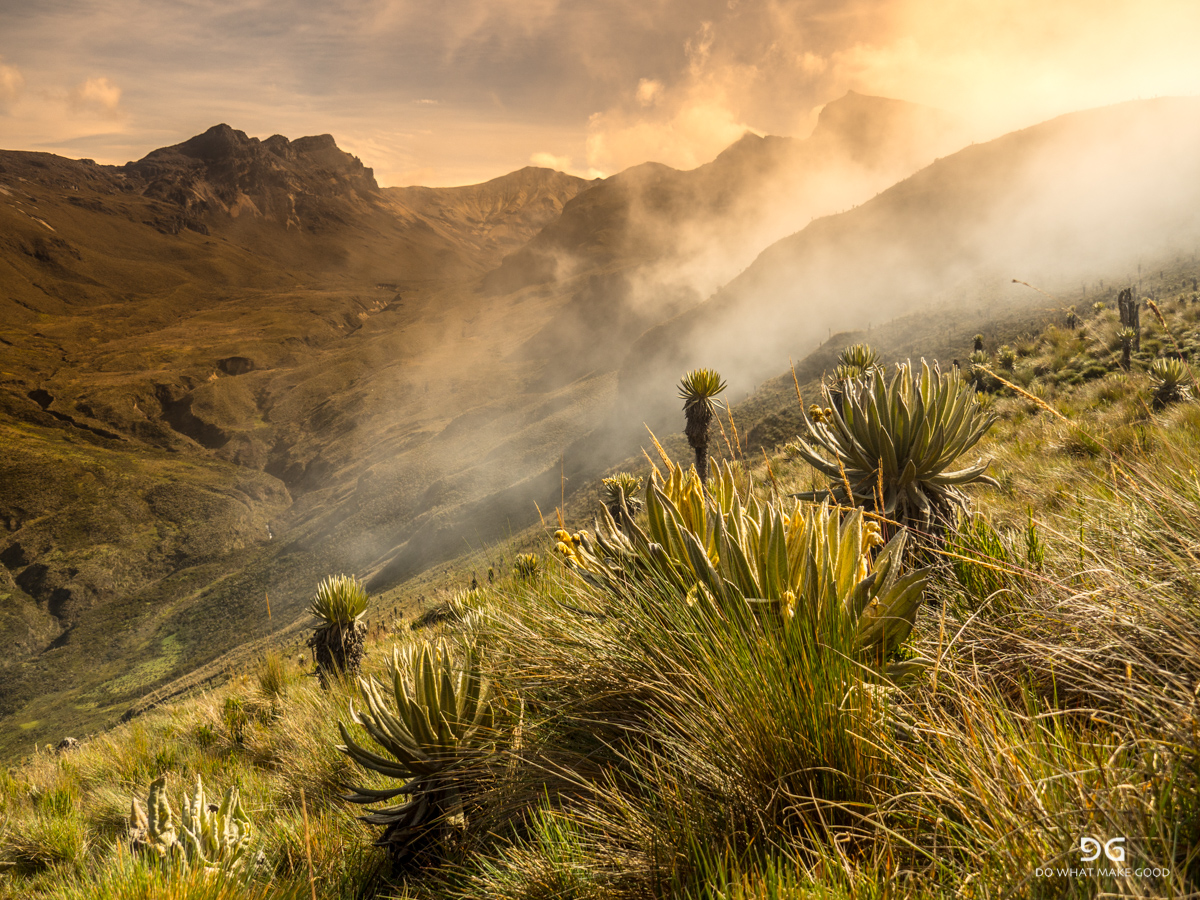
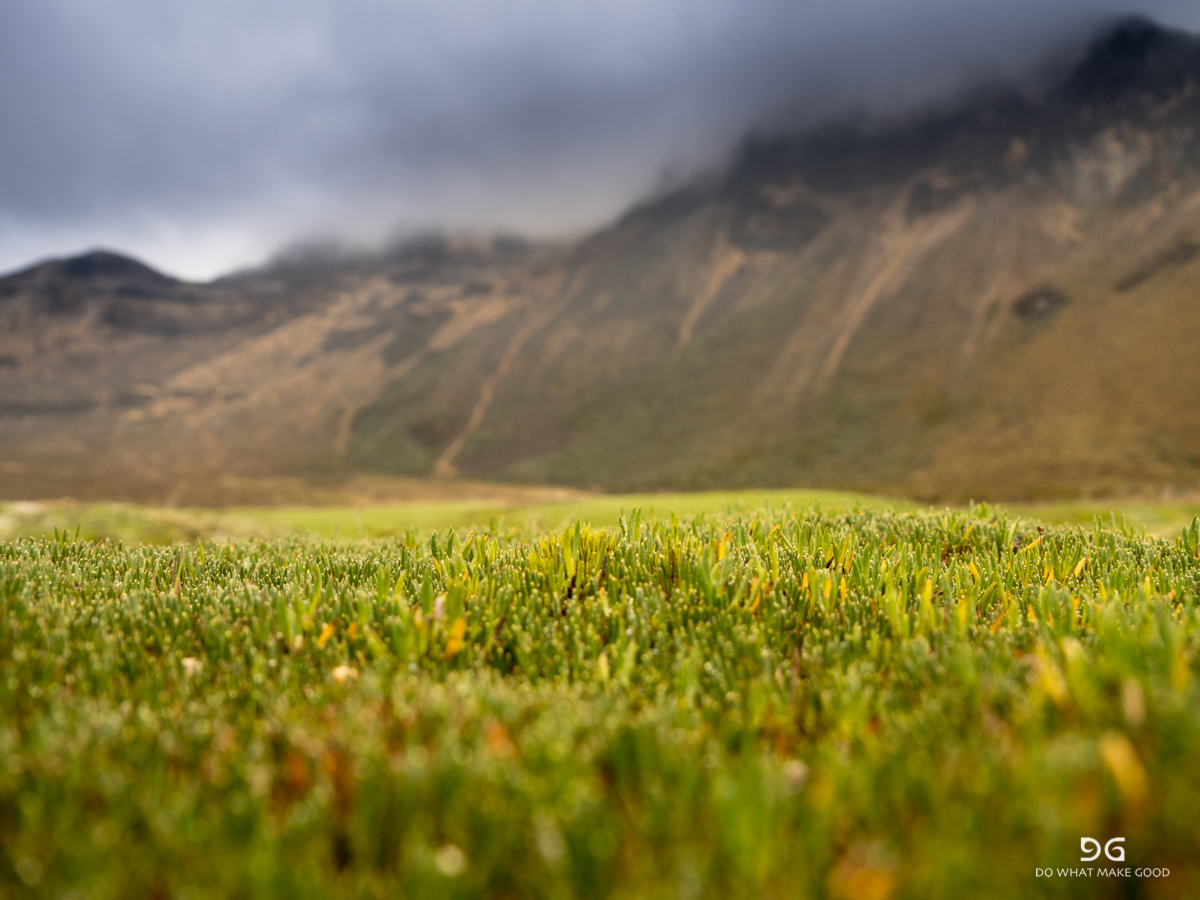
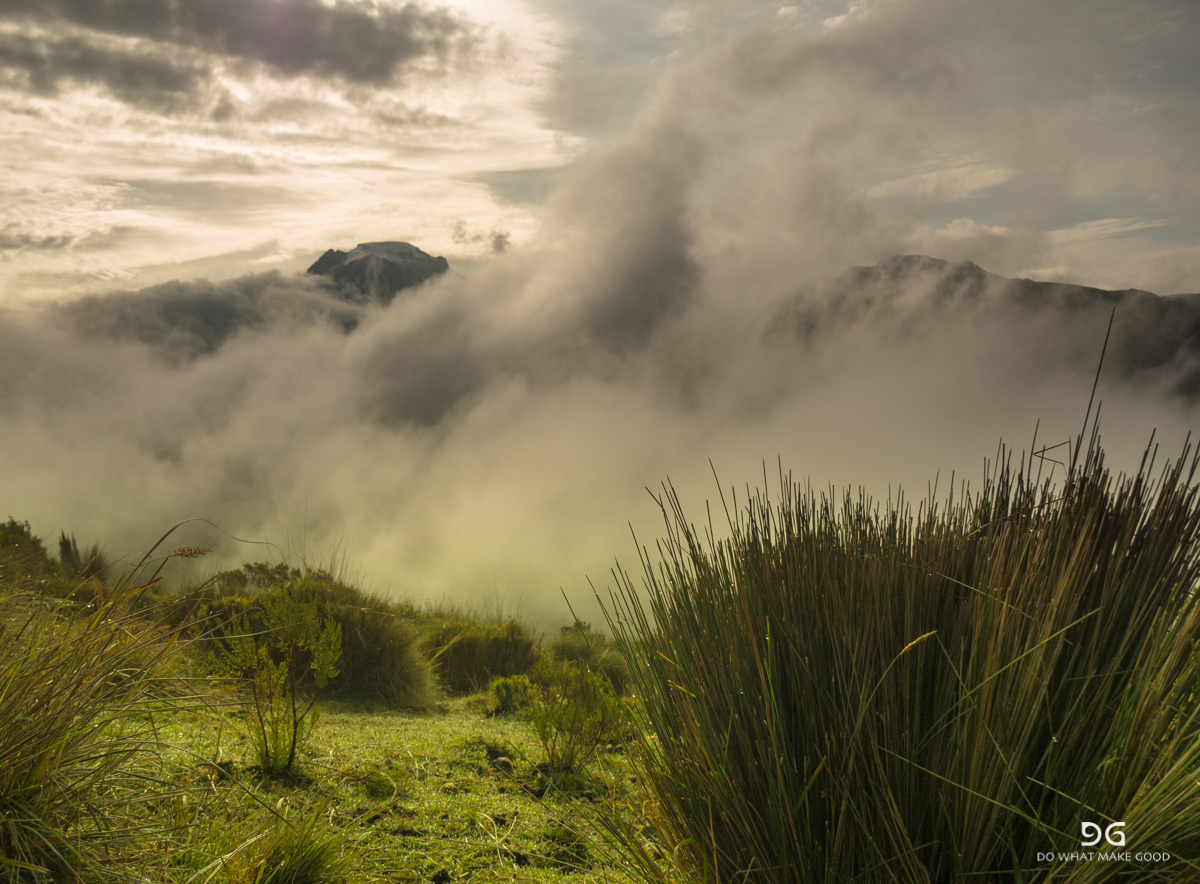
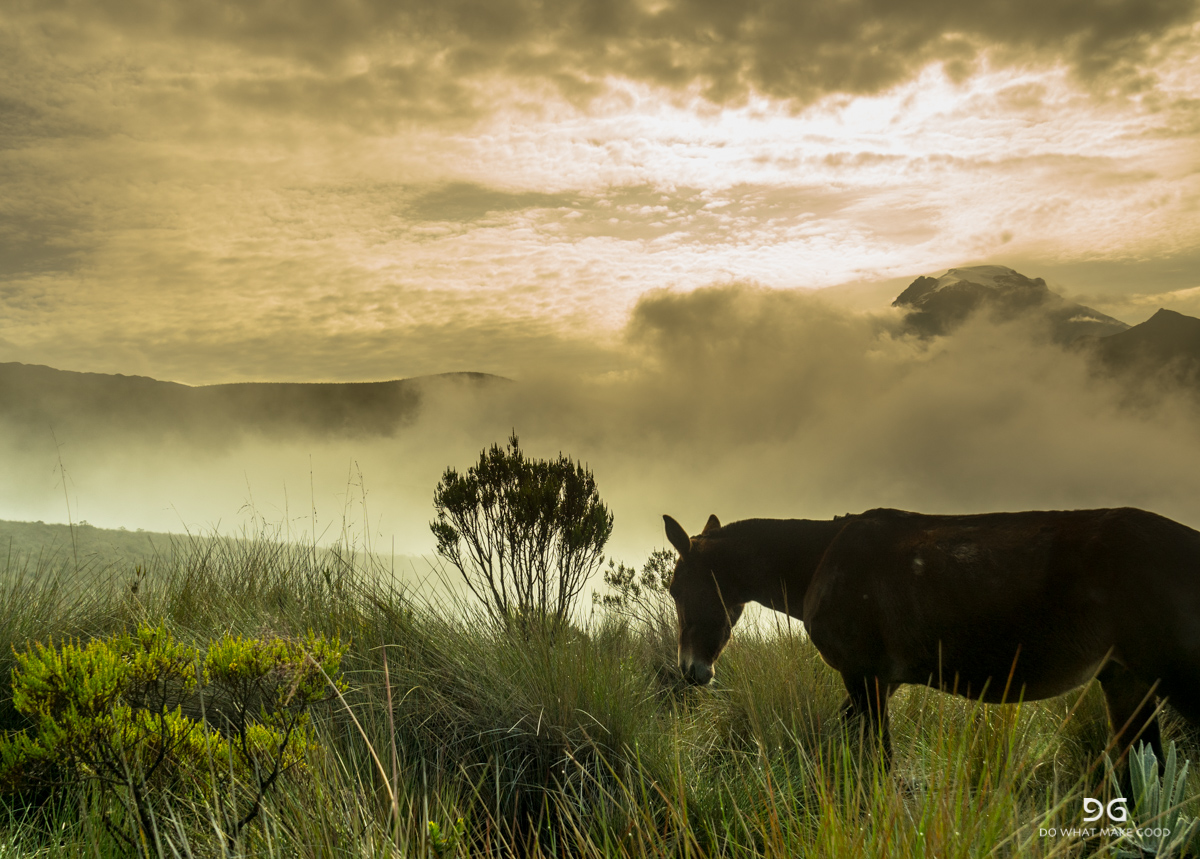
Colombia
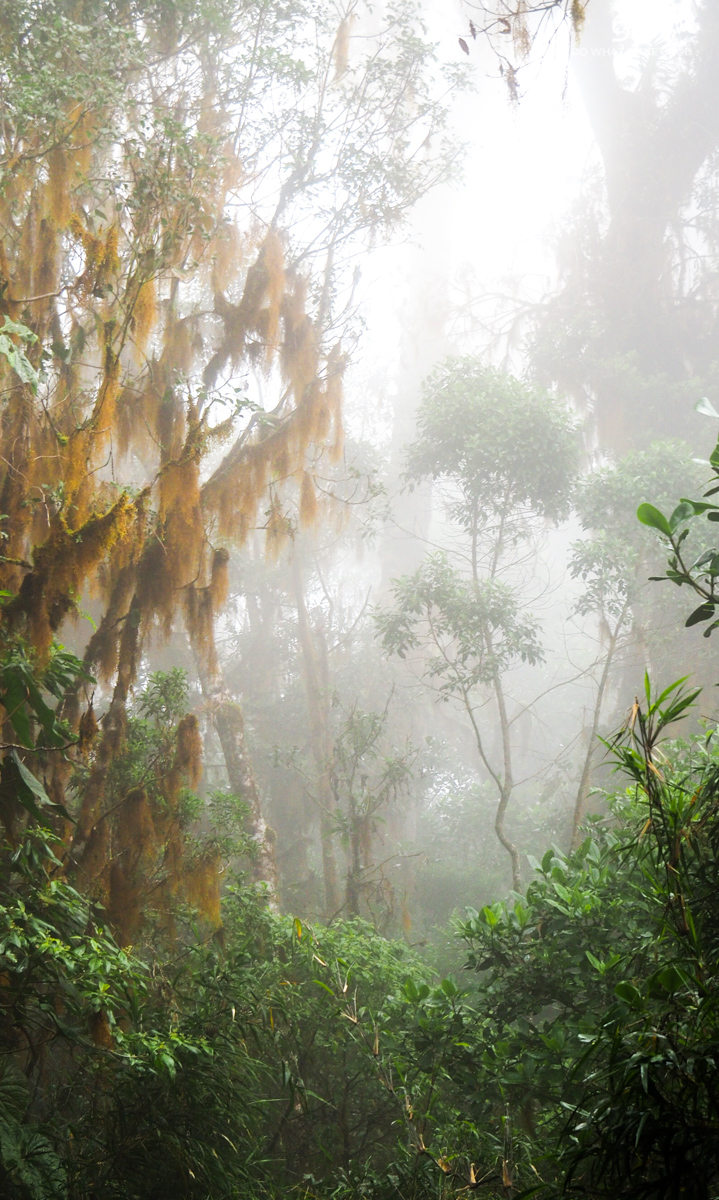
2017: Colombia
An amazing trip into the park of Los Nevados - a up to 5,000m high volcanic area most of the time covered in clouds which are the base for this unique scenery.